5
Configuring the Feature Key
5-29
Configuring the Switch
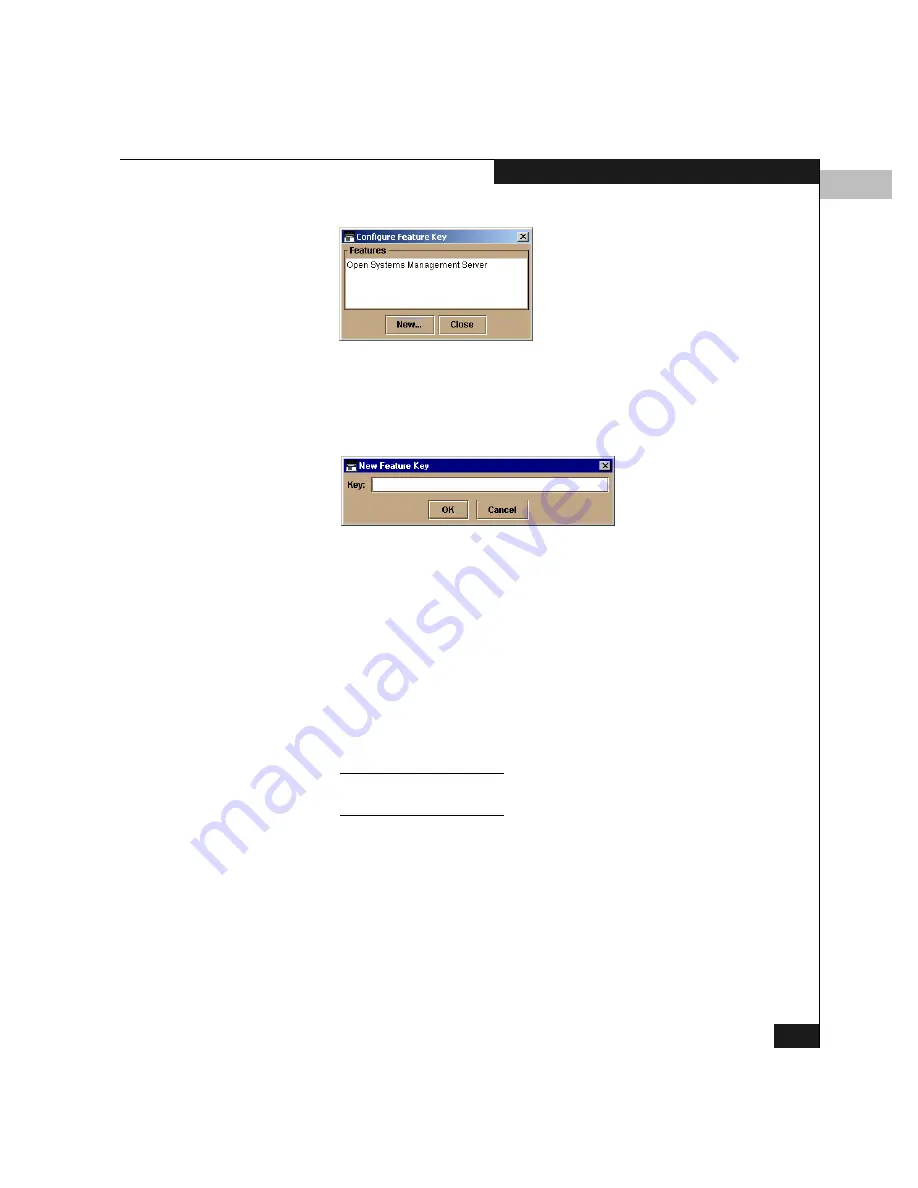
Figure 5-16
Configure Feature Key Window
3. Click New to add a new feature key.
This displays the New Feature Key dialog box (Figure 5-17).
Figure 5-17
New Feature Key Dialog Box
4. The feature key is a string of alphanumeric characters with
dashes. The key is case-sensitive, and must be entered exactly as
printed in the documentation you received for the feature.
Enter the feature key and click OK.
If an
Invalid feature key
message appears, verify that you
have entered the key correctly. If you need to verify that you have
the correct key, check the serial number of the switch in the
Switch Properties window, and compare it to the serial number
listed in the documentation provided with your feature key.
To display the Switch Properties window, click on the director, away
from any FRUs.
5. After you sucessfully enter a feature key (and press OK), the
Enable Feature Key dialog box Figure 5-18 appears.
Summary of Contents for Connectrix DS-32M2
Page 4: ...Connectrix DS 32M2 User Guide iv ...
Page 14: ...xiv Connectrix DS 32M2 User Guide Figures ...
Page 16: ...Connectrix DS 32M2 User Guide Tables xvi ...
Page 24: ...xxiv Connectrix DS 32M2 User Guide Warnings and Cautions ...
Page 42: ...1 1 18 Connectrix DS 32M2 User Guide Switch Operating Features ...
Page 72: ...3 3 24 Connectrix DS 32M2 User Guide Product Manager Overview ...
Page 226: ...B B 8 Connectrix DS 32M2 User Guide Configuring Network Addresses ...
Page 248: ...C C 22 Connectrix DS 32M2 User Guide Configuring the Switch from a Web Server ...
Page 332: ...F F 8 Connectrix DS 32M2 User Guide Customer Support ...
Page 351: ...Connectrix DS 32M2 User Guide g 19 Glossary ...
Page 352: ...g 20 Connectrix DS 32M2 User Guide Glossary ...


