DynaVox M3: Quick Start Guide
Part # 400810-A
27
3.
If the
Allow User to Name Recordings
check box on the
Advanced Settings
tab in the
Interface
Features
menu is selected, the system keyboard page will open. Use the system keyboard to
enter a name for the new recording and then select the
OK
button. Otherwise, continue with
step 4.
4.
The custom recording process will differ, depending on your selection method:
z
Touch Enter - Select and hold the
Record
button and speak your message. When you are
finished, release the
Record
button.
z
Touch Exit - Select the
Start
button and speak your message. When you are finished,
select the
Stop
button.
z
Scanning - Activate the
Record
button and speak your message. When you are finished,
activate the
Record
button again to stop recording.
z
Mouse Pause - Move the mouse pointer onto the
Record
button and speak your
message. When you are finished, move the mouse pointer off of the
Record
button.
5.
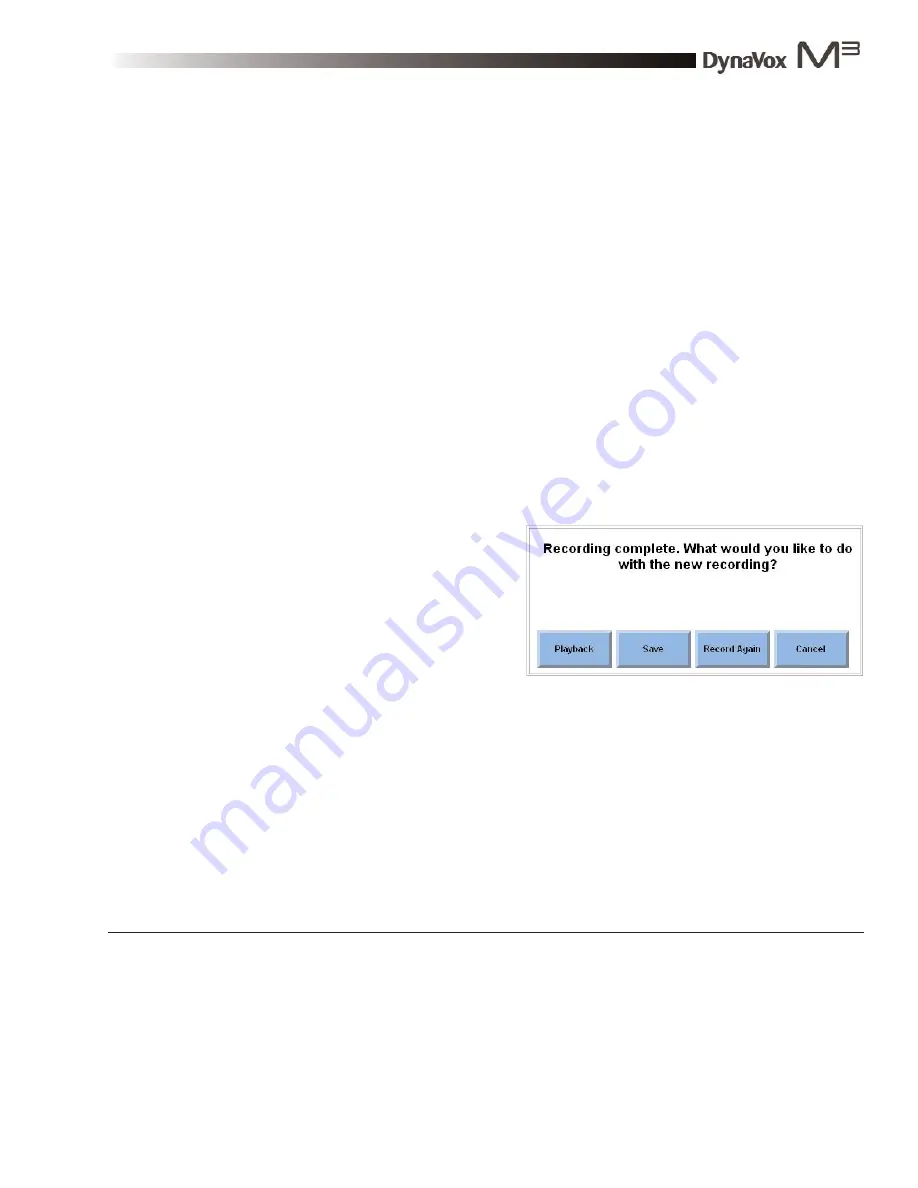
If the
Display Recording Feedback Window
check box on the
Advanced Settings
tab in the
Interface Features
menu is selected, the recording feedback menu will open. Continue with this
step. Otherwise, you have completed this task.
z
If you want to accept your message
as it is, select the
Save
button.
z
If you want to listen to your
message before deciding whether
to save it or record over it, select
the
Playback
button.
z
If you want to record your message
again, select the
Record Again
button.
The sound that you recorded will be assigned to the button that you selected in step 2.
Recording feedback menu
Summary of Contents for M3
Page 1: ......
Page 4: ...DynaVox Technologies iv ...


