ineo+ 650/550/451
2-59
Copy Operations
2
–
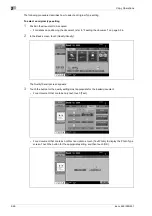
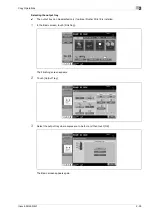
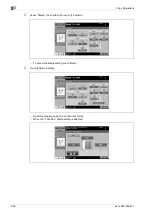
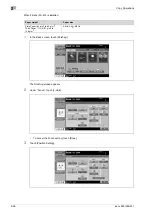
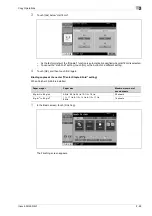
Select the punched hole position, and then touch [OK].
–
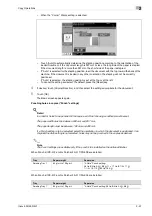
Touch [Auto] to automatically determine the position of the punched holes according to the
orientation of the loaded document. If the document length is 297 mm or less, the holes are punched
along the long side of the paper. If the document length is more than 297 mm, the holes are punched
along the short side of the paper.
–
If "Auto" is selected for the stapling position, load the document with the top toward the back of the
machine. If the document is loaded in any other orientation, the stapling will not be correctly
positioned.
–
If "Auto" is selected, the punched hole position is set at the top or at the left.
–
To cancel the setting and select the default, press the [Reset] key.
4
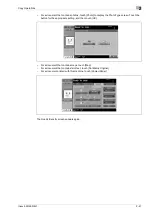
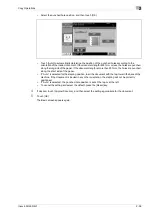
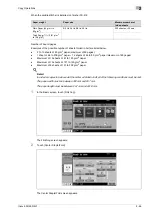
If desired, touch [Original Direction], and then select the setting appropriate for the document.
5
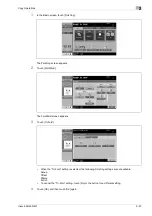
Touch [OK].
The Basic screen appears again.
Summary of Contents for ineo+ 451
Page 1: ...ineo 650 550 451 Dynamic balance www develop de User Manual ...
Page 2: ......
Page 12: ...Contents 10 ineo 650 550 451 ...
Page 13: ...1 Introduction ...
Page 14: ......
Page 38: ...1 Introduction 1 26 ineo 650 550 451 ...
Page 39: ...2 Copy Operations ...
Page 40: ......
Page 181: ...3 Print Operations ...
Page 182: ......
Page 271: ...4 Box Operations ...
Page 272: ......
Page 330: ...4 Box Operations 4 60 ineo 650 550 451 ...
Page 331: ...5 Network Scanner Operations ...
Page 332: ......
Page 387: ...ineo 650 550 451 5 57 Network Scanner Operations 5 Text Date Time Other ...
Page 409: ...6 Web Connection Operations ...
Page 410: ......
Page 459: ...7 Fax Operations Option ...
Page 460: ......
Page 488: ...7 Fax Operations Option 7 30 ineo 650 550 451 ...
Page 489: ...8 Network Fax Operations Option ...
Page 490: ......
Page 515: ...9 Appendix ...
Page 516: ......
Page 520: ...9 Appendix 9 6 ineo 650 550 451 ...
Page 521: ...10 Index ...
Page 522: ......
Page 526: ...10 Index 10 6 ineo 650 550 451 ...

