Note: Use a ZV PC Card in the lower connector only.
PC Cards are generally marked with a symbol, such as a triangle or an arrow, to indicate which end should
be inserted into the slot. The cards are keyed to prevent incorrect insertion. If card orientation is not clear,
see the documentation that came with the card.
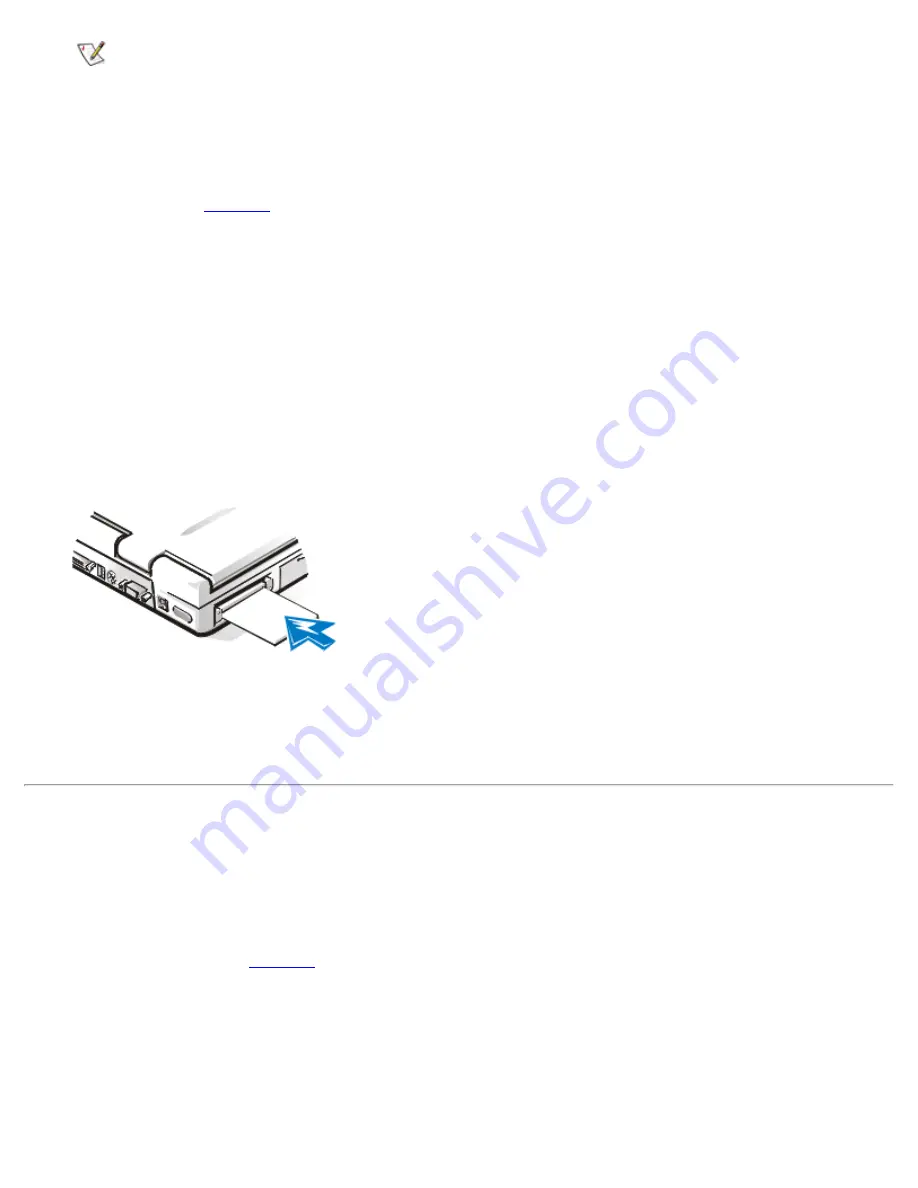
You do not need to turn off your computer or exit suspend or standby mode before you install a PC Card. To
install a PC Card (see
Figure 1
), perform the following steps:
1.
If necessary, remove the blank from the PC Card connector you intend to use by pressing the eject
button and pulling the blank out.
2.
Hold the card with its orientation symbol pointing into the slot and the top side of the card facing up.
3.
Insert the card into the slot, and press in firmly until the card is completely seated in the internal PC
Card connector.
4.
If you encounter too much resistance when inserting it, do not force the card. Check the card's
orientation and try again.
Figure 1. Installing a PC Card
PC Card Blanks
Save the blank to use whenever you do not have a PC Card installed. The blank protects the PC Card
connector from dust and other particles.
Removing PC Cards
NOTICE: If you are using Windows 95, Windows 98, or Windows 2000, use the PC Card
configuration utility on the taskbar to select and stop a card before you remove it. If you do not
remove the card in the configuration utility, you could lose data from open application programs.
To remove a PC Card (see
Figure 2
), perform the following steps:
1.
Stop the PC Card using the PC Card configurations utility on the taskbar.
2.
Press the PC Card eject button.
The PC Card or blank protrudes from the slot slightly. It does not come out all the way.
3.
Gently remove the card.
Summary of Contents for Latitude CPx H Series
Page 5: ...Back to Contents Page ...
Page 19: ...Back to Contents Page ...
Page 48: ......
Page 96: ......


