PS-28 Cruiser
PS-28N Cruiser
CR-MM-1-0-00
CHAPTER 7 – EQUIPMENT
Revision No.: 1
Date of issue: 2011-07-08
7 - 8
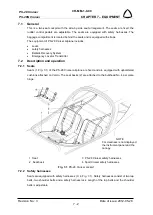
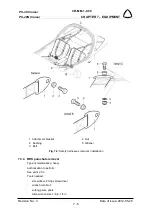
7.3.5 BRS parachute installation
Type of maintenance: heavy
Authorization to perform:
See point 2.5.3.
Tools needed:
-
screwdriver, Philips screwdriver
-
wrench size No.7
-
cutting pliers, pliers
-
Allen wrench size 1/8 in, 1/4 in
WARNING:
UNAUTHORIZED PERSONNEL SHOULD NOT ATTEMPT TO MODIFY,
REPAIR, OR DISASSEMBLE BRS SYSTEMS AT ANY TIME. DURING ALL
SERVICE WORK BEWARE OF ACTIVATING THE BRS ROCKET!
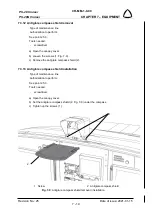
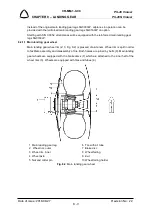
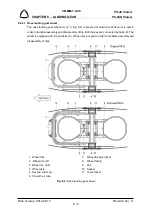
(a) Install the parachute.
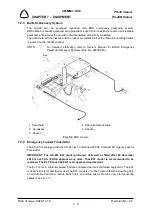
(b) Install the BRS rocket (see 7.3.7)
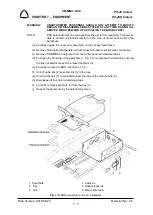
(c) Assemble center panel and install COMM/NAV equipment.
(d) Connect all cable and pitot-static connection and install both instrument panels.
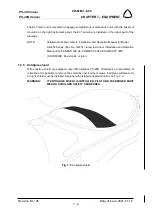
(e) Glue (by means of the Emfimastic PU 50 sealant) the cover over parachute on the
canopy fixed frame.
(f) Perform pitot-static leak test (see Chapter 12.4.1) and check correct function
appropriate instruments and systems.
7.3.6 BRS rocket removal
Type of maintenance: heavy
Authorization to perform:
See point 2.5.3.
Tools needed:
-
screwdriver, Philips screwdriver
-
cutting pliers, pliers
-
Allen wrench size 1/8 in, 1/4 in
WARNING:
UNAUTHORIZED PERSONNEL SHOULD NOT ATTEMPT TO MODIFY,
REPAIR, OR DISASSEMBLE BRS SYSTEM AT ANY TIME. DURING ALL
SERVICE WORK BEWARE OF ACTIVATING THE BRS ROCKET!
NOTE:
BRS rocket motor must be replaced by its date of expiry. This service date is
printed on placards located on the side of center panel and on the rocket.
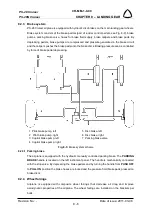
(a) Carefully unglue the cover over parachute on the canopy fixed frame.
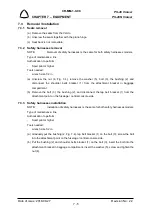
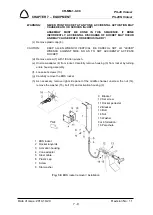
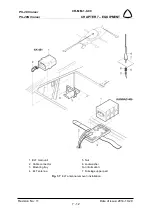
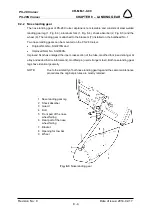
(k) Pull open the front flap of the parachute (16, Fig. 7-6) and expose the small link;
unscrew the link nut and disconnect the rocket lanyards (2).
(b) Cut-off cable ties securing lanyards.

