Maintenance
7-5
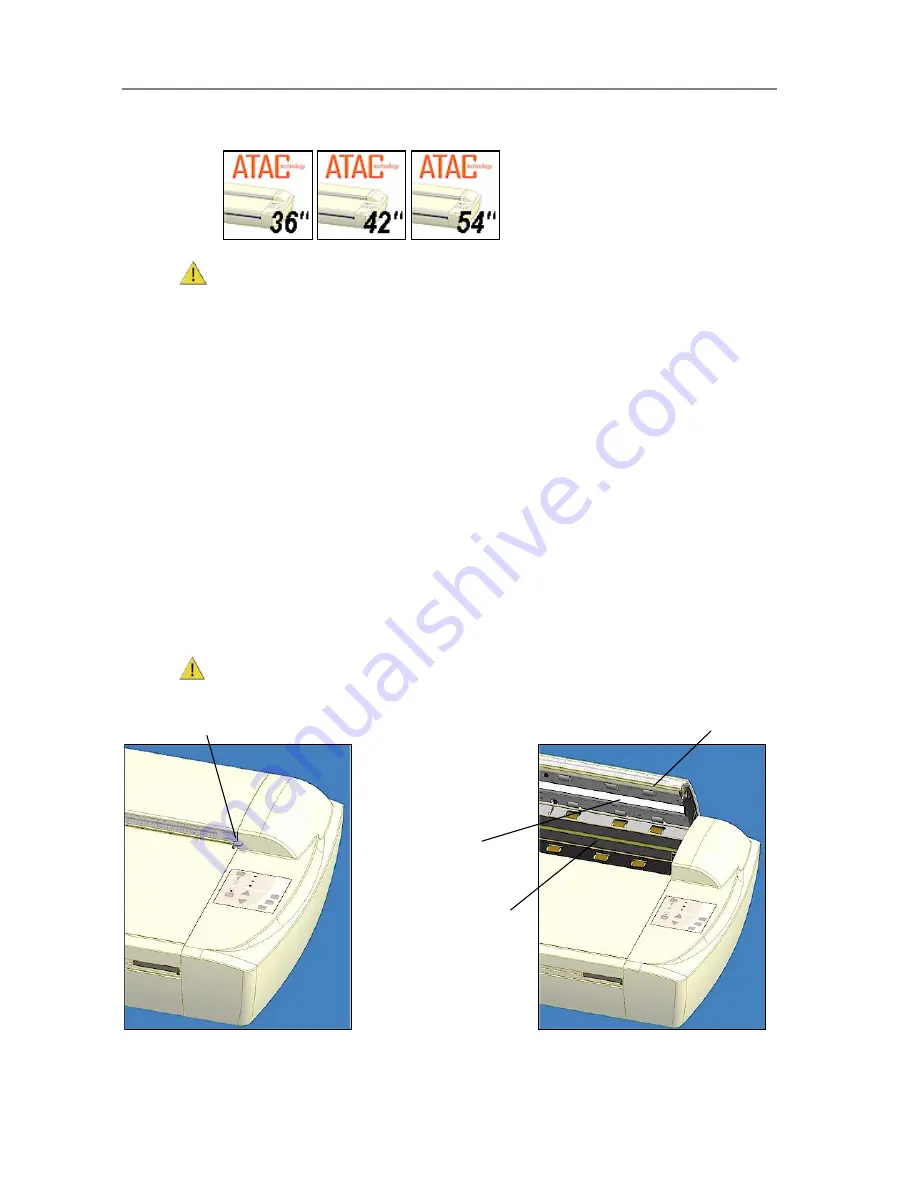
Cleaning the Scan Area
On Scanners
1.
Turn the scanner power off and disconnect the power plug.
2. Push down on the two lever buttons found near the insertion slot on each side of the
scanning area lid.
3. The scanning area lid locking mechanism should now be disengaged.
4. As you hold both lever buttons down, place your free fingers in the insertion slot and flip
the scanning area lid open.
5. The glass-plate is now exposed for cleaning.
6. Clean the glass with a lint-free cloth and a mild, streak-free, glass cleaner. Dry the
glass completely using a separate clean, dry lint-free cloth like the one provided with
the maintenance kit.
7. The pressure-platen with the white-background-platen (white metal area) is fixed in the
scanning area lid. Hold the lid open as you clean.
8. Wipe the white area and the transport rollers with a lint-free cloth and a mild, streak-
free, glass cleaner. Apply the cleaner to the cloth and first wipe the platen’s white area
and then the transport roller’s surface.
9. Dry the platen and rollers completely using separate clean, dry lint-free cloths.
10. Close the scanning area lid when finished. The locks will reengage.
11. Clean also the scanner surface so dirt and dust are not dragged into the scan area with
the original.
12. Cover your scanner with the plastic dust cover when not in use.
Caution
: Make sure the scanner power is OFF when using the scanner dust cover.
Push down lever (on both sides) to
unlock scanning area lid.
While holding down the levers, insert fingers in the slot and flip
the lid open to access the glass-plate and white-background-
platen.
Glass-plate
White-
background-
platen
Summary of Contents for GS67D
Page 3: ......


