Maintenance
7-6
7.3 Running the Scanner Maintenance Program
On All Scanners
For optimal results, you should always run the Scanner Maintenance program after
cleaning.
1. Make sure that the scanner has been turned on for at least one hour prior to camera
alignment and calibration. Slight light intensity changes and camera shifting can occur
just after turning the scanner on and the warm-up time will ensure that light conditions
and camera heights have stabilized.
2. On your PC, Select
Programs
>
Scanner Maintenance
to start the Scanner
Maintenance Wizard.
3. The wizard will guide you through the maintenance steps - Camera Alignment, Stitching
and Calibration. Click the
Next
button in the welcome dialog to proceed.
4. The wizard will ask you to insert the Calibration Sheet that came with your scanner.
The
sheet’s printed side must be inserted face down
. Align the midpoint arrow with the
scanner’s midpoint arrow and feed the sheet into the scanner. Click
Next
to continue.
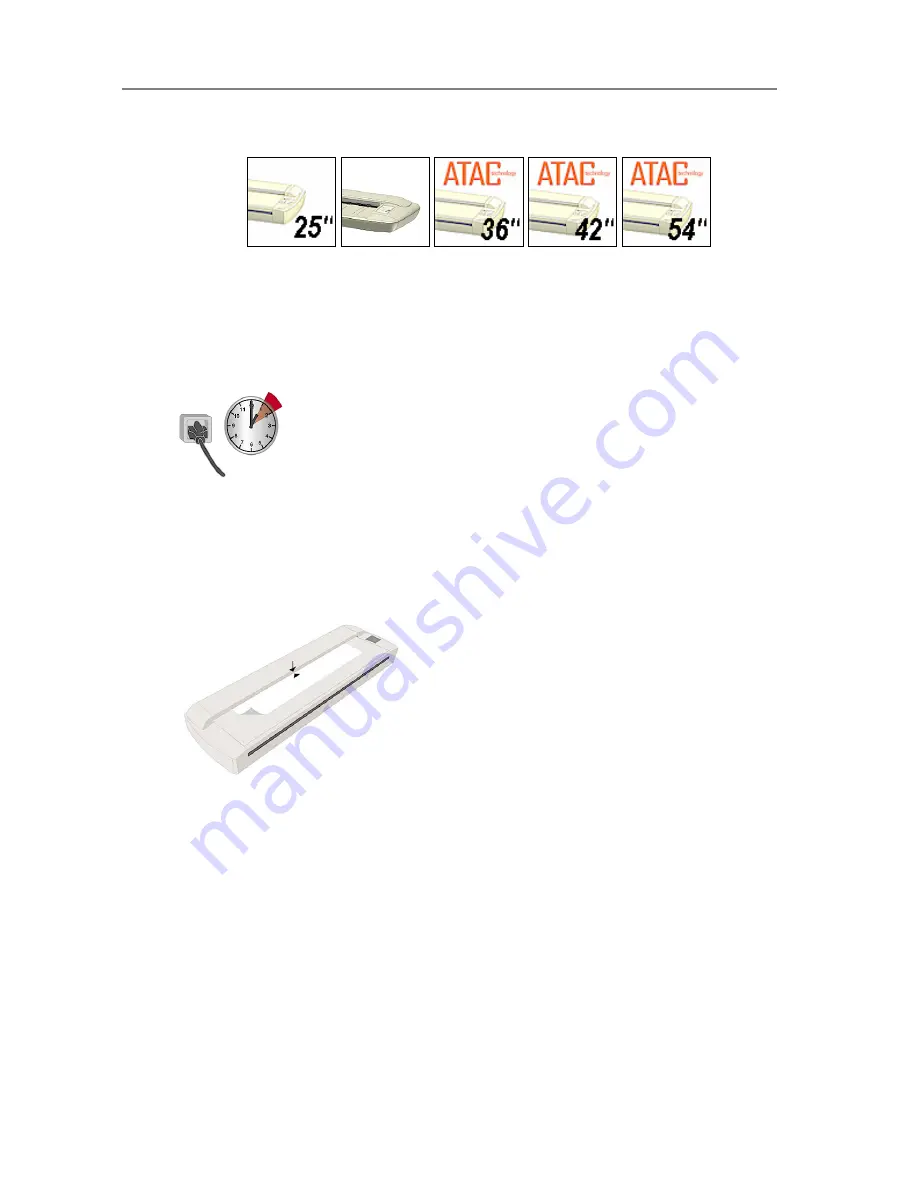
Inserting the Maintenance Sheet
Align the midpoint arrow with the scanner’s midpoint
mark and feed the sheet into the scanner.
5. The program immediately analyses
alignment and stitching
status of the cameras. If
the cameras are unaligned, the program and scanner will automatically make the
necessary corrections. This step will be bypassed on single camera scanner models.
6. After Camera Alignment, the Scanner Maintenance program automatically moves on to
Basic Calibration
. Basic Calibration sets black/white values and ensures stable and
clean scans by reducing noise and unwanted effects caused by dust particles.
7. On color scanners, the program automatically proceeds to
Color Calibration
. Color
Calibration uses the ANSI IT8 standards to ensure stable and predictable colors every
time.
8. Calibration completes the maintenance process. Remove the Scanner Calibration
Sheet from the scanner.
9. Return the Scanner Calibration Sheet to its protective cover and then place it in the
storage folder. Store the folder in a dry place and out of direct light.
Summary of Contents for GS67D
Page 3: ......


