Chapter 3
3-17
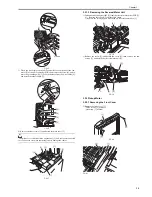
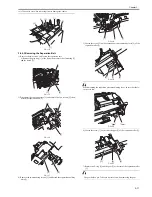
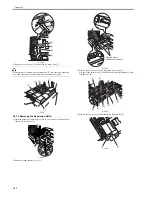
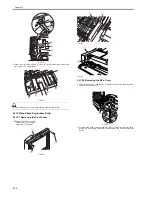
to it. Take extra care when removing it not to damage the cables.
F-3-114
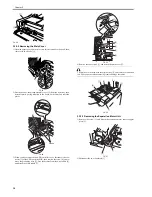
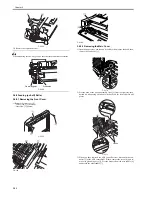
3.4.4.3 Removing the Separation Belt
0011-3610
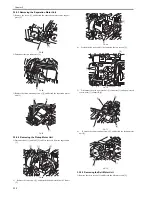
1) Remove the two screws, and loosen the separation unit.
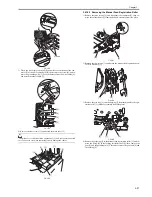
2) Remove the grip ring [1] at the front; then, remove the clutch ring [2]
and the clutch [3].
F-3-115
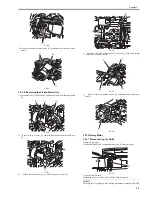
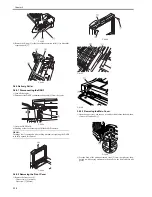
3) Disconnect the two connectors [1], and remove the two screws [2]; then,
detach the separation unit [3].
F-3-116
F-3-117
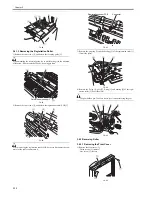
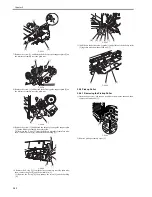
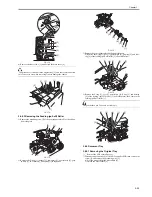
4) Remove the two mounting screws [1], and detach the separation auxiliary
plate [2].
F-3-118
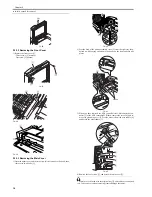
5) Loosen the screw [3] on the separation pressure adjusting lever [2] of the
separation roller [3].
F-3-119
When mounting the separation pressure adjusting lever, be sure that the le-
ver is set to low.
F-3-120
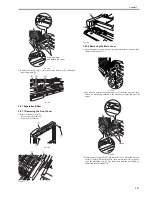
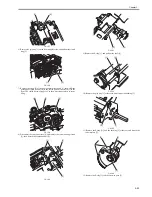
6) Loosen the screw [3] on the thrust stopper [2] of the separation roller [1].
F-3-121
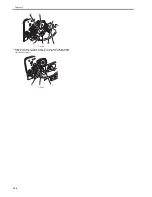
7) Remove the E-ring [2] and the gear [3] at the rear of the separation roller
[1].
The gear holds a pin. Take care not to lose it when removing the gear.
[1]
[1]
[1]
[1]
[3]
[2]
[3]
[2]
[1]
[3]
[2]
[1]
[2]
[3]
[1]
[1]
[2]
[3]
[1]
[2]
"High"
"Low"
[2]
[1]
[3]
Summary of Contents for DADF-Q1
Page 1: ...Aug 24 2007 Service Manual Feeder DADF Q1 ...
Page 2: ......
Page 6: ......
Page 11: ...Chapter 1 Specifications ...
Page 12: ......
Page 14: ......
Page 18: ......
Page 19: ...Chapter 2 Functions ...
Page 20: ......
Page 22: ......
Page 75: ...Chapter 3 Parts Replacement Procedure ...
Page 76: ......
Page 107: ...Chapter 4 Maintenance ...
Page 108: ......
Page 149: ...Chapter 5 Error Code ...
Page 150: ......
Page 152: ......
Page 154: ......
Page 155: ...Aug 24 2007 ...
Page 156: ......

