Chapter 3
3-10
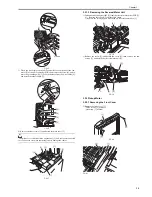
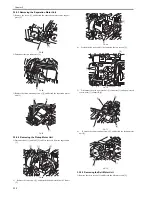
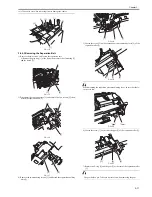
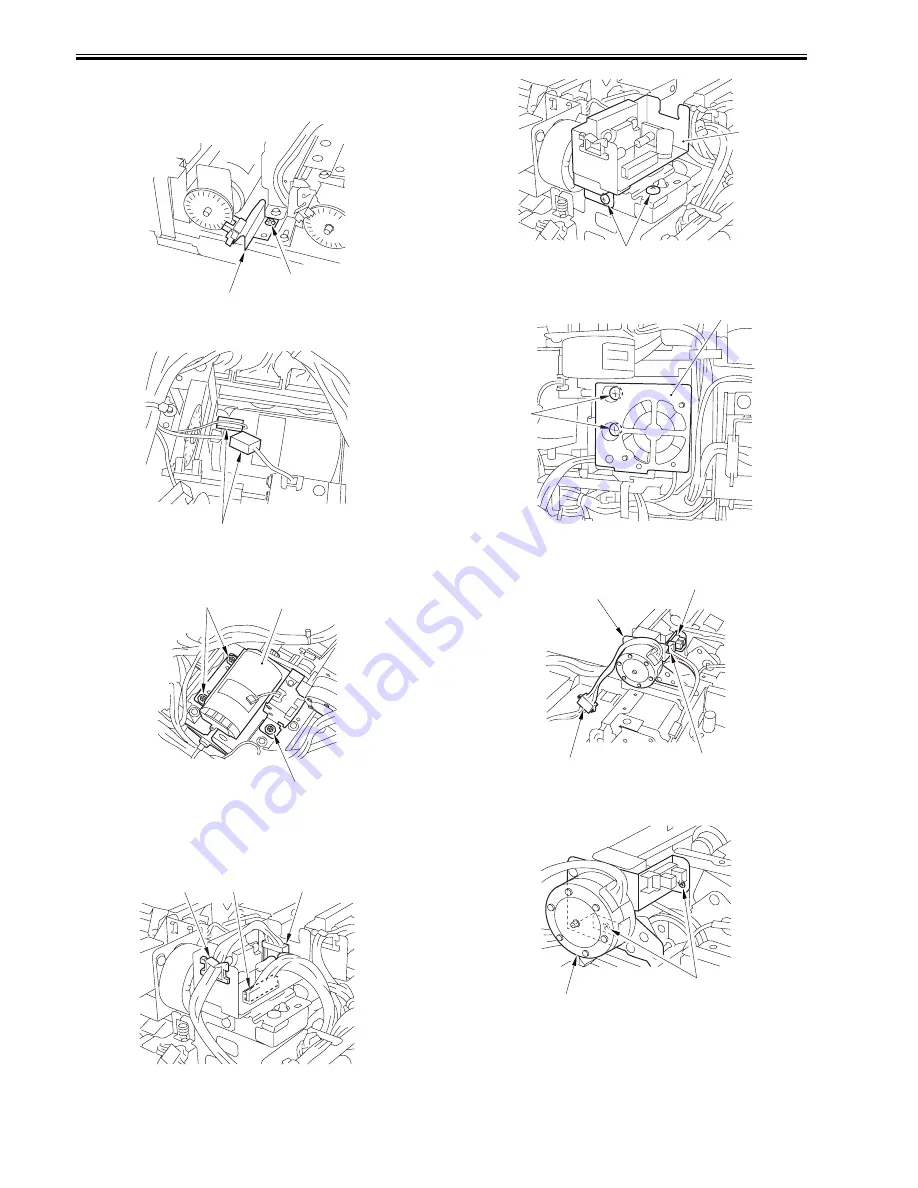
3.3.5.3 Removing the Separation Motor Unit
0011-8133
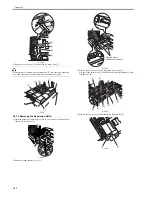
1) Remove the screw [1], and detach the separation motor sensor support
plate [2].
F-3-65
2) Disconnect the two connectors [1].
F-3-66
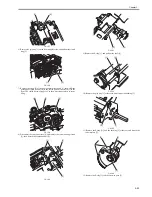
3) Remove the three mounting screws [1], and detach the separation motor
unit [2].
F-3-67
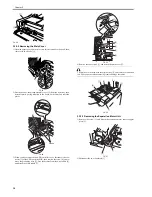
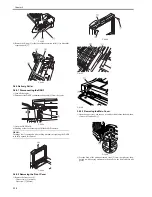
3.3.5.4 Removing the Pickup Motor Unit
0011-8134
1) Disconnect J601 [1] and J602 [2], and free the cable from the edge saddle
[3].
F-3-68
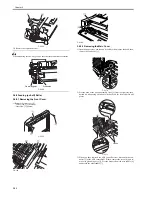
2) Remove the two screws [1], and detach the belt motor driver PCB unit
[2].
F-3-69
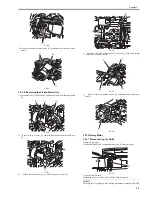
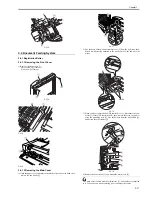
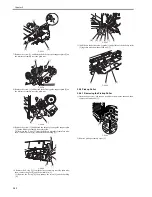
4) Detach the fan mtor unit [1] by removing the two screws [2].
F-3-70
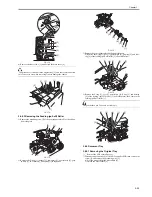
5) Disconnect the pick up motor unit [1] connecter [2] and open/ closed
sensor (rear) [3] connecter [4].
F-3-71
6) Remove the two mounting screws [1], and detach the pickup motor
unit [2].
F-3-72
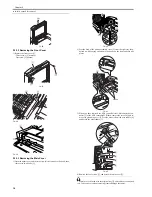
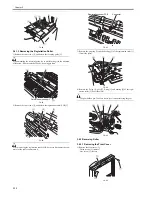
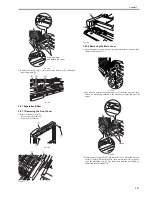
3.3.5.5 Removing the Belt Motor Unit
0011-3448
3) Remove the three screws [1], and detach the belt motor unit [2].
[2]
[1]
[1]
[1]
[1]
[2]
[1]
[2]
[3]
[1]
[2]
[1]
[2]
[2]
[1]
[4]
[3]
[1]
[2]
Summary of Contents for DADF-Q1
Page 1: ...Aug 24 2007 Service Manual Feeder DADF Q1 ...
Page 2: ......
Page 6: ......
Page 11: ...Chapter 1 Specifications ...
Page 12: ......
Page 14: ......
Page 18: ......
Page 19: ...Chapter 2 Functions ...
Page 20: ......
Page 22: ......
Page 75: ...Chapter 3 Parts Replacement Procedure ...
Page 76: ......
Page 107: ...Chapter 4 Maintenance ...
Page 108: ......
Page 149: ...Chapter 5 Error Code ...
Page 150: ......
Page 152: ......
Page 154: ......
Page 155: ...Aug 24 2007 ...
Page 156: ......

