Chapter 3
3-14
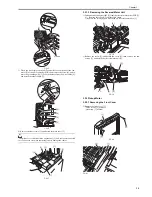
3.4.2.3 Removing the Reversal Motor Unit
0011-8209
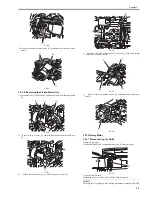
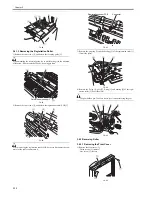
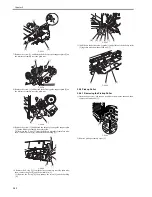
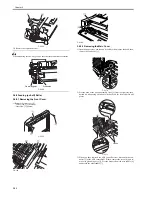
1) Disconnect the connector J602 [2] from the reversal motor driver PCB [1].
2) Remove the cable [2] from the cable clamp.
3) Remove the screw [4], and detach the pre-reversal sensor base [3].
F-3-93
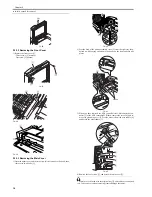
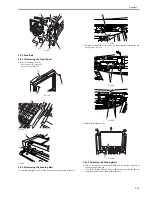
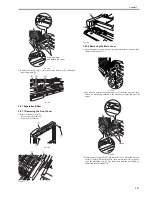
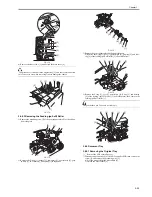
3) Remove the screw [2], and detach the cover [2]; then, remove the two
screws [3], and detach the reversal motor unit [4].
F-3-94
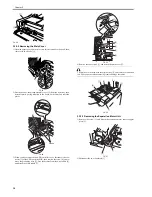
3.4.2.4 Removing the Reversing Roller
0011-2586
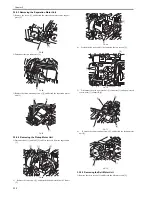
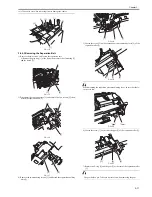
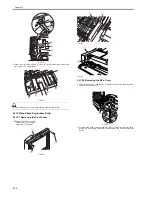
1) Remove the two screws (M3X4) [1] and (M3X6) [2] of the pickup front
side plate , and disconnect the connector [3]; then, detach the pre-reversal
solenoid unit [4].
F-3-95
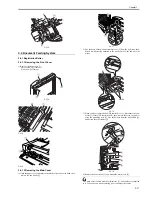
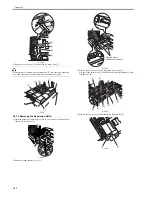
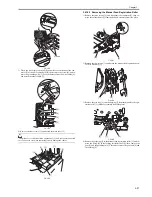
2) Remove the two screws [4], and detach the reversing guide [5].
When mounting the reversing guide, do so while forcing it in the direction
of the arrow. If not properly mounted, it can trigger jams.
F-3-96
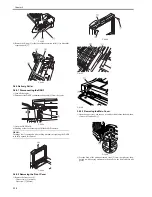
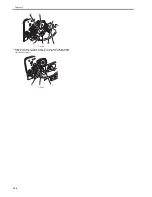
3) Remove the E-ring [2], gear [3], and parallel pin [4] on the rear side plate
side of the reversing roller [1] (2 pc.).
F-3-97
The gear holds a pin. Take care not to lose it when removing the gear.
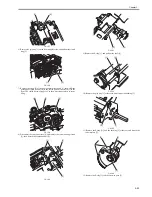
4) Remove the grip ring [2] and the bearing [3] on the front side plate side of
the reversing roller [1] (2 pc.), and remove the E-ring [4] and the bearing
[5] on the rear side plate side.
5) Pull out the reversing roller [6].
F-3-98
[1]
[2]
[3]
[4]
[1]
[4]
[3]
[3]
[2]
[3]
[1]
[2]
[4]
[4]
[4]
[5]
Only when mounting it.
[2]
[2]
[3]
[3]
[4]
[1]
[1]
[2]
[2]
[3]
[1]
[3]
[1]
Summary of Contents for DADF-Q1
Page 1: ...Aug 24 2007 Service Manual Feeder DADF Q1 ...
Page 2: ......
Page 6: ......
Page 11: ...Chapter 1 Specifications ...
Page 12: ......
Page 14: ......
Page 18: ......
Page 19: ...Chapter 2 Functions ...
Page 20: ......
Page 22: ......
Page 75: ...Chapter 3 Parts Replacement Procedure ...
Page 76: ......
Page 107: ...Chapter 4 Maintenance ...
Page 108: ......
Page 149: ...Chapter 5 Error Code ...
Page 150: ......
Page 152: ......
Page 154: ......
Page 155: ...Aug 24 2007 ...
Page 156: ......

