Chapter 4
4-4
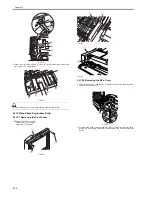
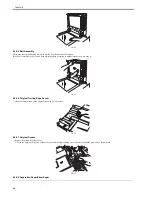
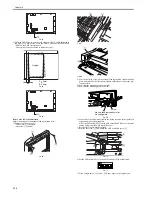
F-4-5
F-4-6
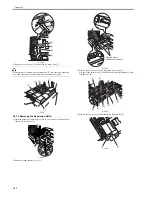
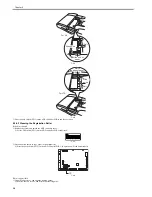
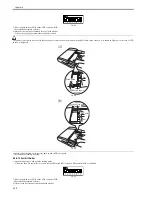
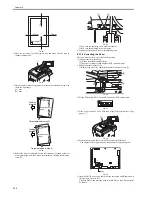
5) Press the push switch (SW2) on the ADF controller PCB to end the operation.
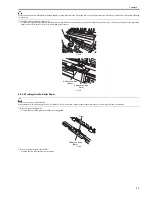
4.2.4.3 Cleaning the Registration Roller
0011-3624
If the dirt is limited,
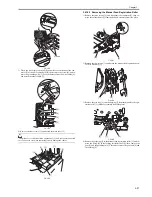
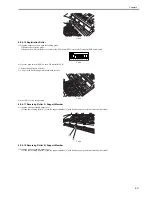
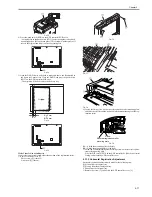
1) Remove the screw, and detach the ADF controller cover.
2) Set the DIP switch (SW1) on the ADF controller PCB as indicated.
F-4-7
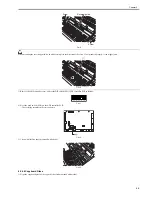
3) Place about ten sheets of copy paper in the original tray.
4) Press the push switch (SW2) on the ADF controller PCB. The operation will end automatically.
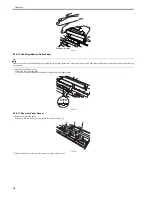
F-4-8
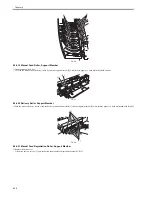
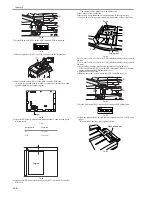
If dirt is appreciable,
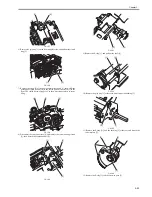
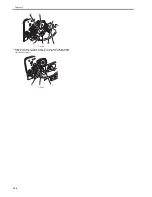
1) Open the upper cover, and open the feeding guide.
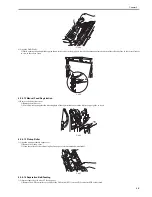
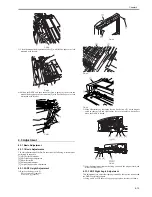
2) Remove the two screws, and detach the reversal guide.
Slide guide
Rail
For A4,
Butt the end of
paper.
Slide
guide
Rail
For LTR,
Match
the edge of paper.
J1
J2
J5
J3
J6
J7
J8
J9
J10
J16
J15
J11
J14
IC8
J13
J12
J4
CB1
SW1
DSP1
SW4SW3SW2
Summary of Contents for DADF-Q1
Page 1: ...Aug 24 2007 Service Manual Feeder DADF Q1 ...
Page 2: ......
Page 6: ......
Page 11: ...Chapter 1 Specifications ...
Page 12: ......
Page 14: ......
Page 18: ......
Page 19: ...Chapter 2 Functions ...
Page 20: ......
Page 22: ......
Page 75: ...Chapter 3 Parts Replacement Procedure ...
Page 76: ......
Page 107: ...Chapter 4 Maintenance ...
Page 108: ......
Page 149: ...Chapter 5 Error Code ...
Page 150: ......
Page 152: ......
Page 154: ......
Page 155: ...Aug 24 2007 ...
Page 156: ......

