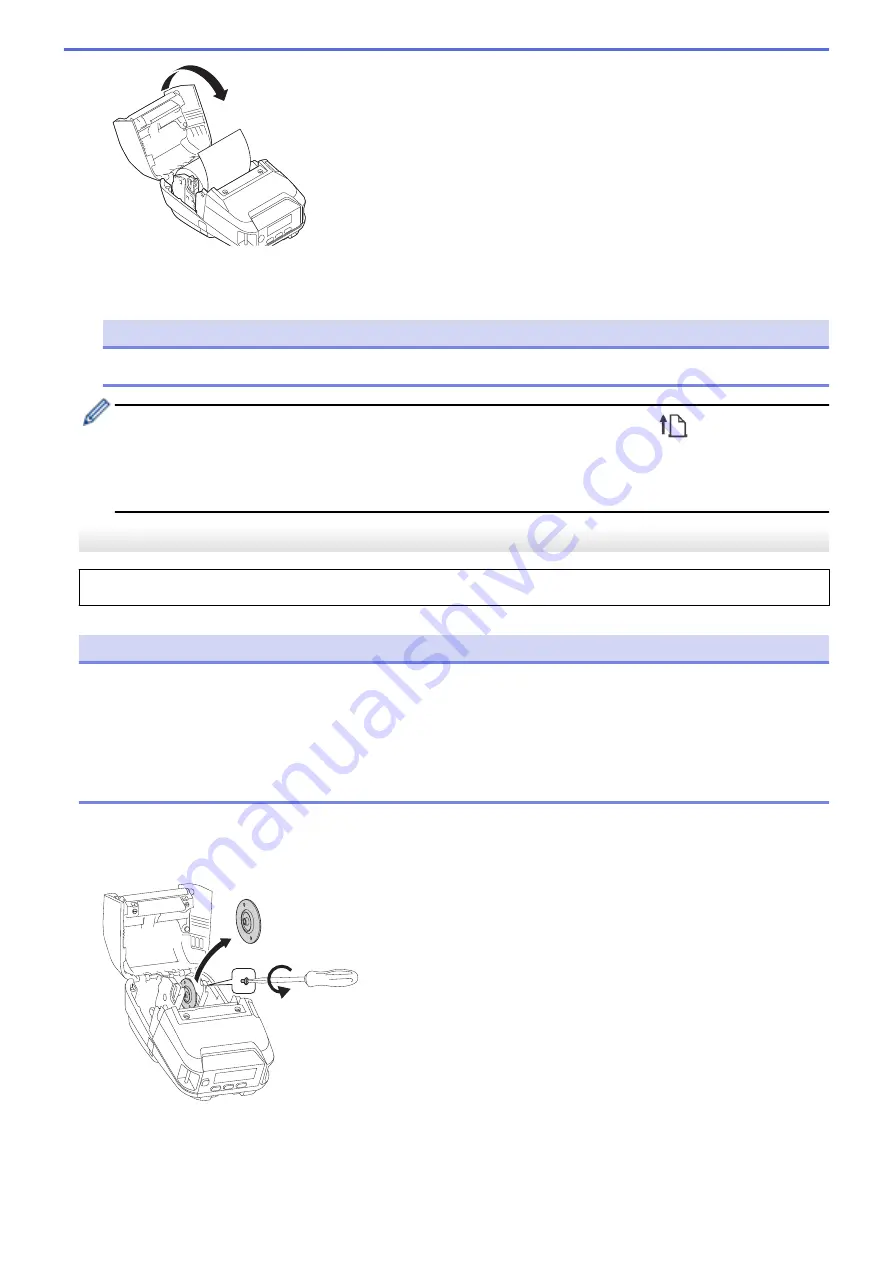
5. If the LCD shows
[Select Media]
or
[Auto Detect]
, select the option you want. To configure these
settings later, go to the
[Media]
.
NOTE
For best performance, use genuine Brother media.
•
When using die-cut labels, set the paper type to
Die-cut Label
, and press the
(Feed) /
OK
button
after inserting the roll. The printer will feed the label to the top of form position.
•
To remove the roll, reverse the loading procedure.
•
Make sure the inserted roll turns freely between the Roll Guides.
Change the Media Roll Holders to Use Custom-Size Media
To use custom-size media, attach the Media Roll Holders that match your media's core size to the Roll Guides.
NOTE
•
Not all types of Media Roll Holders may be supplied with your printer. To purchase additional Media Roll
Holders, contact your local Brother dealer.
•
To check which media core sizes each Media Roll Holder supports, check the information on the center of
the Media Roll Holder.
•
If using multi-size Media Roll Holders, make sure the same-size sides face each other when attached to
the Roll Guides.
1. Push the Roll Cover Release Lever to open the Roll Compartment Cover.
2. Hold the left Roll Guide so that it does not rotate, and then remove the currently installed Media Roll Holder
using a flathead screwdriver.
3. Hold the right Roll Guide so that it does not rotate, and then remove the currently installed Media Roll Holder
using a flathead screwdriver.
4. Attach the Media Roll Holders that match your media's core size to the Roll Guides using a flathead
screwdriver. Make sure you use the same size Media Roll Holders.
26
Summary of Contents for RJ-3230B
Page 1: ...User s Guide RJ 3230B RJ 3250WB 2021 Brother Industries Ltd All rights reserved ...
Page 122: ...Home Security Use SNMPv3 Use SNMPv3 Manage Your Network Machine Securely Using SNMPv3 118 ...
Page 129: ...Home Update Update Update P touch Editor Update the Firmware 125 ...
Page 131: ...Related Information Update 127 ...
Page 163: ...Related Information Change Printer Settings Using the Printer 159 ...
Page 164: ...Home Routine Maintenance Routine Maintenance Maintenance 160 ...
Page 167: ...Related Information Routine Maintenance 163 ...
Page 195: ...Related Information Battery Charger Optional PA BC 003 191 ...
Page 213: ...Related Topics Active Docking Station Optional Problems 209 ...
Page 215: ...1 1 Eject Button Related Information 4 bay Active Docking Station Optional PA 4CR 003 211 ...
Page 217: ...Related Information 4 bay Active Docking Station Optional PA 4CR 003 213 ...
Page 220: ...Side view Battery Charger Front view Back view 216 ...
Page 221: ...Top view Bottom view Side view Cross section 217 ...
Page 222: ...Single Active Docking Station Front view Back view Top view Bottom view 218 ...
Page 223: ...Side view Cross section 219 ...
Page 224: ...4 bay Active Docking Station Top view Bottom view 220 ...
Page 225: ...Back view Side view 221 ...
Page 226: ...Cross section Related Information Appendix 222 ...
Page 228: ...Related Information Appendix 224 ...
Page 231: ...USA CAN Version A ...


