Configuring the GPI Card
146
6. Click Apply.
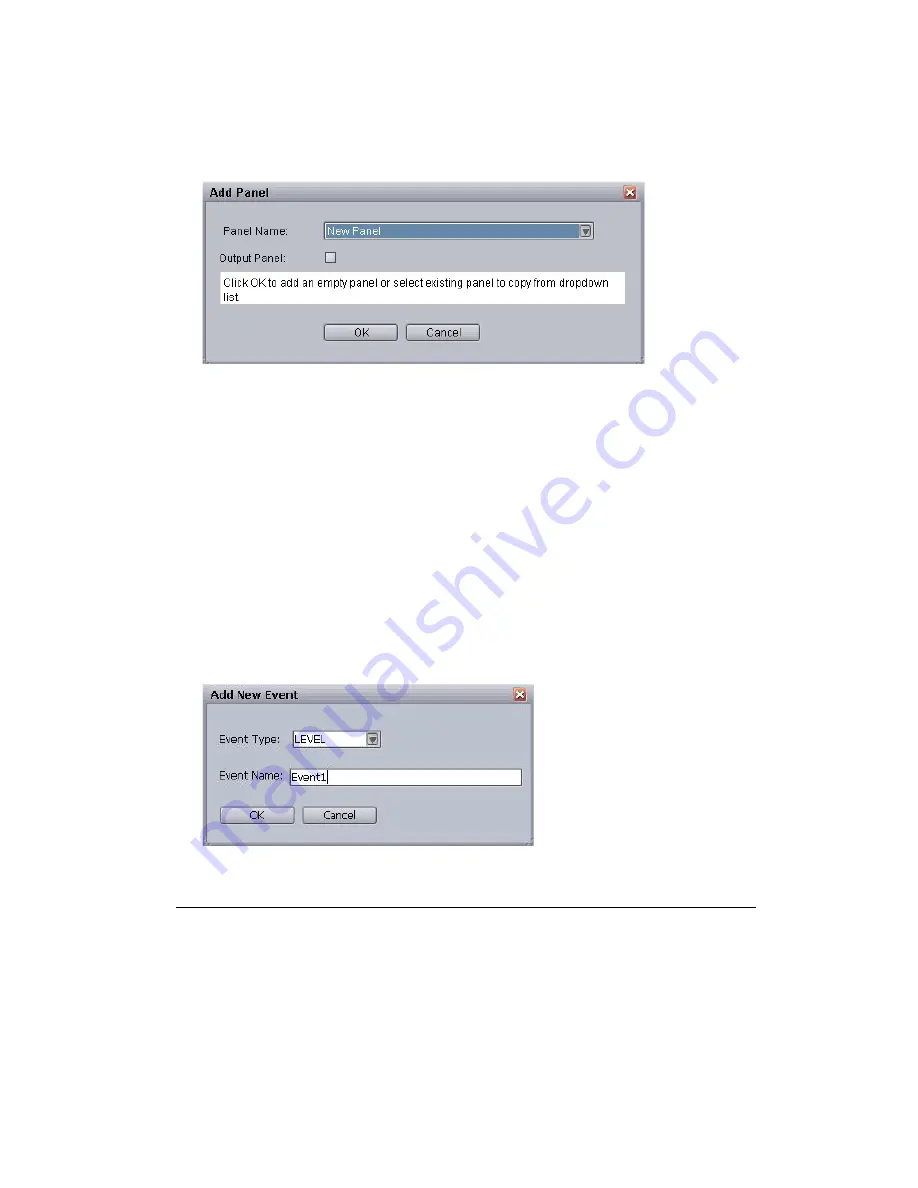
7. Click Add Panel.
The Add Panel dialog box appears.
8. Click OK. The new panel will appear as a tab.
9. (Optional) Rename the panel in the Panel Name textbox and select whether to use it as an output
panel.
n
For input panels, the steps to configure are in this procedure. See steps 12-17. For instructions
related to output panel configuration, see
“Configuring GPI Out” on page 153
.
10. Accept the default Debounce Time. This input threshold setting in milliseconds is 200 by
default, which means the system will ignore any signal shorter than 200 milliseconds.
11. Click Apply.
12. Set First Input Pin. Options include 0-15, with the zero (0) representing the first pin and fifteen
(15) representing the sixteenth pin, which is the maximum. This numerical value is card
dependent.
13. Click Add Event. The Add New Event dialog box appears.
14. Select the type of event. Options include:
Trigger
GPI input. Used for normal, GPI button type; push the GPI button for it to
trigger play, pause, cue, and so forth. The GPI signal occurs only while
the button is held down, usually no more than a fraction of a second.
Level
GPI input. Extended on/off. While on, the voltage (usually around 5
volts) will remain high. This is useful for channel-specific actions like
play (active) and stop (inactive), and can also be used for tally tally
restriction/reflection. The signal will stay active as long as the switch
allows the voltage signal to continue.
Summary of Contents for MediaCentral Command
Page 1: ...MediaCentral Command Installation and Configuration Guide...
Page 192: ...Index 192...
Page 193: ......


