


19
Name
Function
(1) Exit
- Click
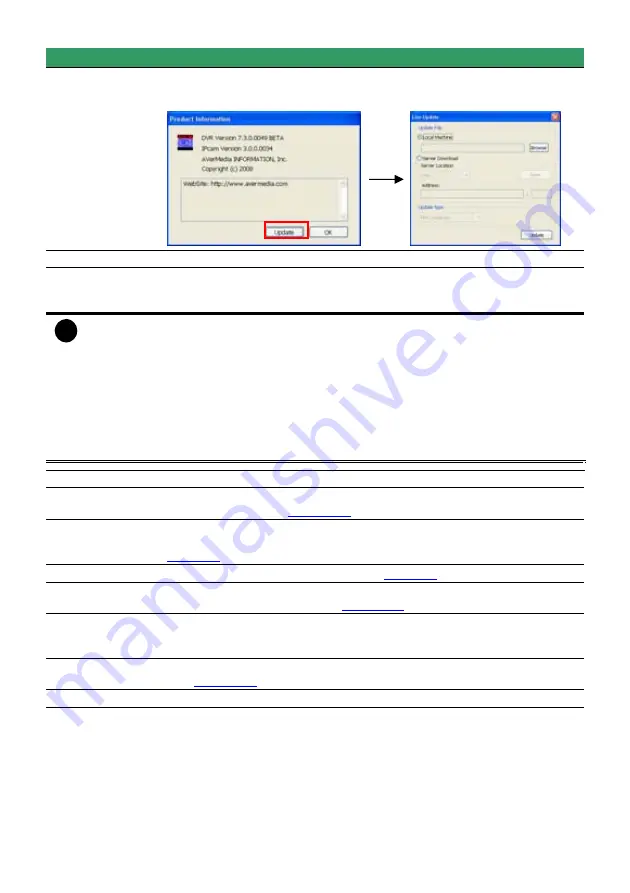
About
to update patch or find about the software info.
To update the patch file, Click
Update
and select the patch file location –
Local
Machine
or
Server Download
.
(2) Volume
Adjust the sound volume.
(3) Split Screen
Mode
Select from 7 different split screen types to view all the camera, or one
camera over the other or alongside on a single screen. It also allows you to
switch and view different camera number.
i
- If there are only 4 cameras, you won’t be able to switch to 9, 16, 13, and 32 split screen
mode.
- The DVR system will save the current operating mode (split screen mode, auto scan, full
screen, and compact mode status) when shutdown DVR application and apply the mode
status for next login.
- When you are in single screen mode,
Right click
and
Drag
a square on the area you
want to enlarge.
-
When you are in multiple-screen mode,
Right click
the video screen of the camera and
Drag
on where you want to relocate it. To only display one of the video in the multiple-
screen mode,
Left click
on the video screen you only want to display.
(4) Record
Start/stop video recording.
(5) Emap
Display the map in each area, and the location of camera/ sensor/ relay and
the warning. (see also
Chapter 4.7
)
(6) Network
Enable/disable remote system access. This feature allows you to access
DVR server from a remote location via internet connection. (see also
Chapter 8
)
(7) Setup
Configure the system settings. (see also
Chapter 5
)
(8) PTZ
Access PTZ control panel. Beside PTZ camera, DVR system also support
mega pixel IP camera. (see also
Chapter 4.6
).
(9) Preview
Switch to Preview/Advanced mode. This allows you to view live camera
display. Press
ctrl + F
can freeze the live preview video screen. And then,
click
Snapshot
can save the freeze video screen.
(10) Playback
Switch to Playback mode. This allows you to view the recorded video file.
(see
Chapter 4.5
)
(11) Status Bar
Display the current date, time and hard disk free space.
Summary of Contents for NX 8000 series
Page 1: ...AVerMedia NX8000 NXU8000 series User Manual April 2009...
Page 24: ......
Page 34: ...26 9 User can select the Date Camera and Cycle to view the report of object counts In Out...
Page 58: ...50 i The UPS application must meet Windows XP or Windows Vista system requirements...
Page 78: ...70 Region 1 Object size frame Region 2 Object counting information display...
Page 81: ...73...
Page 96: ...88 13 To view the all I O devices information click I O Map...
Page 199: ...191 4 Mark the UPnP Framework check box and click OK...


