<7. MAINTENANCE>
7-5
IM 12E04A02-02E
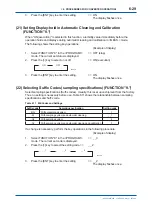
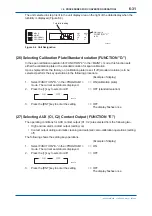
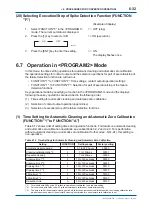
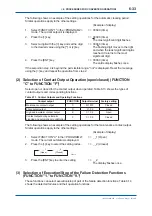
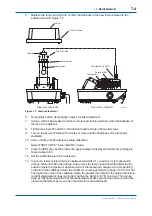
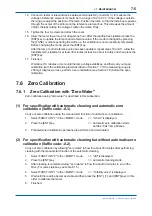
14. Connect a tester or relevant device between terminals S2 (-) and AG (+) to measure the
voltage of reference element. It should be in a range of 0.2 to 2.3 V. If the voltage is outside
the range, readjust the position of the lamp. Position the lamp so that the lamp beam passes
through the center of the pinhole on the reference element box. This increases the amount
of light, thereby raising the voltage. Tighten the clamp
fi
rmly.
15. Tighten the four C screws and attach the cover.
16. Allow the meter to warm up for at least one hour. After the reading has stabilized, press the
[ENT] key to update the lamp control reference value. If the mode is changed by pressing
the [FUNC] or other key during the warm-up, the calibration is not successfully completed.
Before changing the mode, press the [ENT] key.
After the lamp control reference value has been updated, repeat steps 10 and 11, allow the
turbidimeter to stabilize for at least 30 minutes (at least one hour in total), and then press the
[ENT] key.
17. Finished.
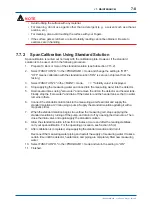
Wait about 10 minutes or more until the lamp voltage stabilizes, and then carry out span
calibration (with the calibration plate) described in Section 7.7. If the measuring range is
200 mg/l (degrees) or less, perform a zero calibration (see Section 7.6) before the span
calibration.
7.6 Zero
Calibration
7.6.1
Zero Calibration with "Zero Water"
Zero calibration using "zero water" is described in this subsection.
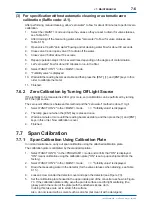
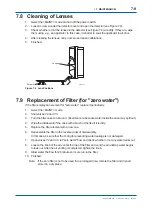
(1) For
speci
fi
cation with automatic cleaning and automatic zero
calibration (Suf
fi
x code: -A3).
Carry out zero calibration using the manual start function of automatic zero calibration.
1. Select FUNCTION "7" in the <MAINT.> mode.
=> "A.CAL" is displayed.
2. Press the [ENT] key.
=> Automatic zero calibration starts
and the "CAL" lamp
fl
ashes.
3. Predetermined calibration operations are performed and terminated.
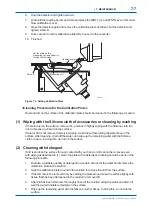
(2) For
speci
fi
cation with automatic cleaning but without automatic zero
calibration (Suf
fi
x code: -A2).
Carry out zero calibration by allowing "zero water" to
fl
ow for about 30 minutes after performing
cleaning with the manual start function of the automatic cleaning.
1. Select FUNCTION "6" in the <MAINT.> mode.
=> "JEt" is displayed.
2. Press the [ENT] key.
=> Automatic cleaning starts.
3. After cleaning is completed, allow "zero water" to
fl
ow for about 30 minutes to run-in the
fi
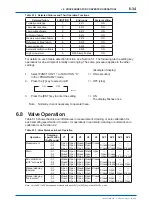
lter. (For valve statuses, see Table 6.15.)
4. Select FUNCTION "1" in the <MAINT.> mode.
=> "Turbidity valve" is displayed.
5. Wait until the reading becomes stable and then press the [ENT], [>], and [ENT] keys in this
order to calibrate the meter.
6. Finished.
3rd Edition : May. 31, 2010-00
Содержание Vigilant Plant EXA TB Series
Страница 49: ...Blank Page ...
Страница 59: ...Blank Page ...
Страница 119: ...Blank Page ...
Страница 125: ...Blank Page ...
Страница 127: ...Blank Page ...
Страница 133: ...Blank Page ...

