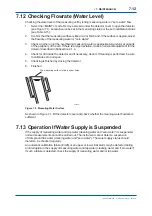
<7. MAINTENANCE>
7-3
IM 12E04A02-02E
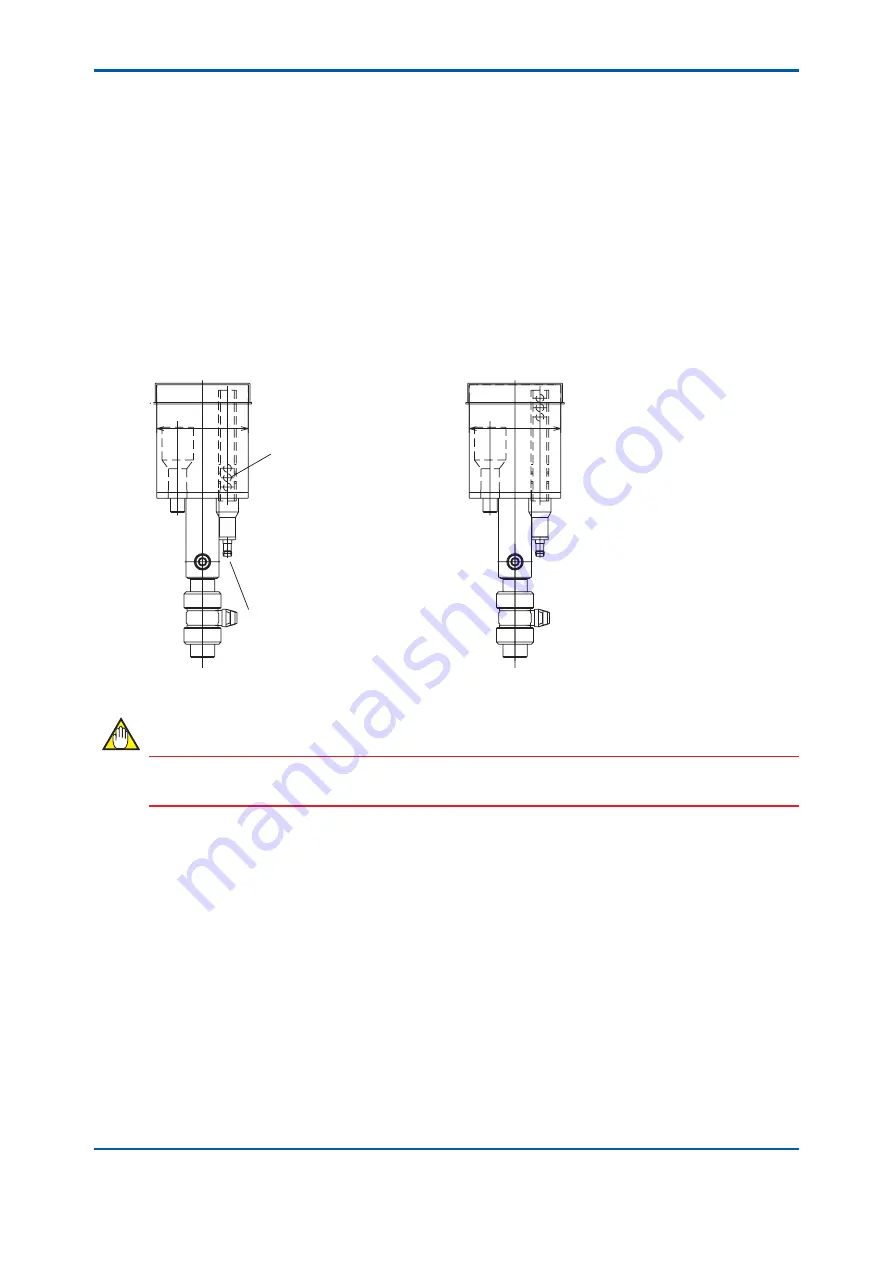
7.4 Cleaning of Head Tank
This section describes the cleaning of the head tank.
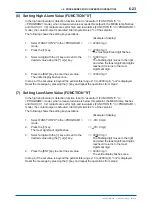
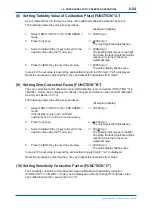
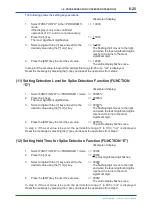
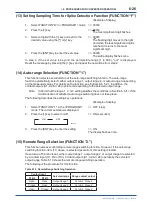
1. Select the <MAINT.> mode.
2. Open the valves so they are set to drain the tank. For the statuses of each valve in draining,
see Table 6.15.
3. After the water in the head tank is drained off, open the upper cover and wipe the inside of
the tank with a soft brush, sponge, or the like.
4. After cleaning is completed, discharge any remaining dirt by supplying tap water or repeat
fi
lling the tank two or three times with "zero water" and then draining it until all of the dirt in
the head tank is discharged with the water.
5. Finished.
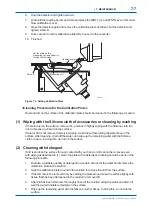
( Good )
( No good )
F0702.ai
Align bleeder holes down.
After washing head tank,
align bleeder holes down.
If you align bleeder holes
up then bubbles (froth) may
cause problems.
Drain pipe
NOTE
After washing head tank, be sure to align holes down. If you align bleeder holes up then bubbles
(froth) may cause problems.
7.5 Lamp
Replacement
The lamp's service life is more than year. However, it is recommended that it be replaced with a
new one after a period of one year as preventive maintenance.
This section describes replacement of the lamp.
1. Turn off the power switch.
2. Remove the four C screws in the upper part of the detector and remove the cover (see
Figure 7.2).
3. Disconnect terminals P1 and P2 by removing them from the terminal board and remove the
two B screws, then remove the lamp holder.
4. Loosen the clamp that locks the lamp.
3rd Edition : May. 31, 2010-00
Содержание Vigilant Plant EXA TB Series
Страница 49: ...Blank Page ...
Страница 59: ...Blank Page ...
Страница 119: ...Blank Page ...
Страница 125: ...Blank Page ...
Страница 127: ...Blank Page ...
Страница 133: ...Blank Page ...

