User’s Manual
62
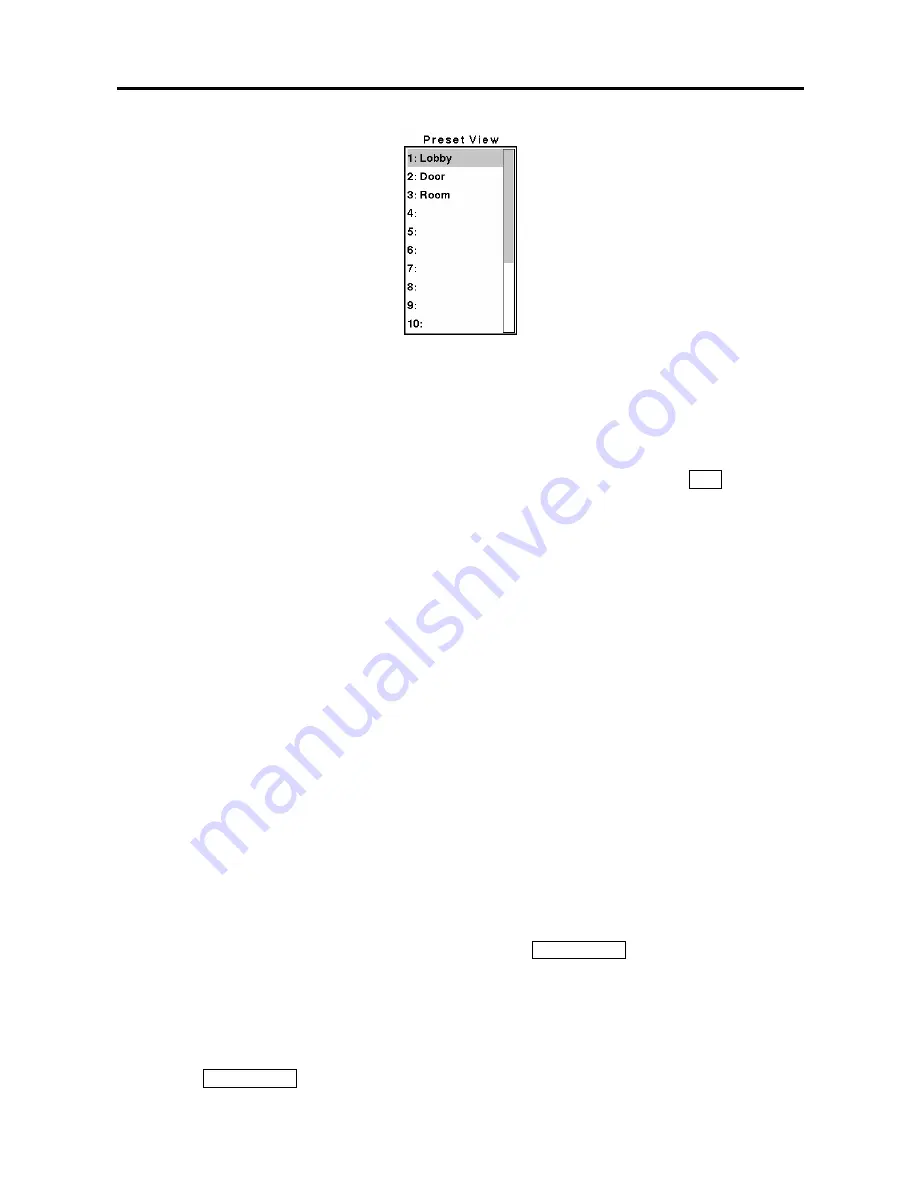
Figure 78 — Preset view screen.
Recording Video
Once you have installed the DVR following the instructions in
Chapter 2 — Installation
, it is ready to
record. Unless you change the setup, the DVR will start recording when you press the
REC
button and
will continue recording until the hard disk drive is full. The factory default is
Stop
when the hard disk
drive is full. The DVR can be set to continue recording (
Overwrite
) once the hard disk drive is full. It
does this by recording over the oldest video.
Although you will be able to record without changing the unit from its original factory settings, you will
want to take advantages of the DVR’s many tools. See
Chapter 3 — Configuration
for detailed
descriptions of the recording mode options.
NOTE: The DVR is NOT recording if only the red LED on the REC button is lit. When the DVR is
set for
Time-lapse
or
Event
recording, the red LED on the REC button indicates the unit is ready to
record. The red dot appears on the monitor when the clock reaches a scheduled recording time
and the DVR starts recording video.
Recording Audio
If the DVR was set up to record audio, it will record audio when video is recording.
NOTE: Make certain you comply with all local and federal laws and regulations when recording
audio.
Playing Recorded Video
Once video has been recorded, you can view it by pressing the
PLAY/PAUSE
button. When playing
video for the first time, the DVR will display the most recent image. When playing video subsequent
times, the DVR will start playing video from the last recalled image.
NOTE: Only the administrator level user can view the covert cameras. The covert cameras in the
playback mode are determined by the current camera setting.
Pressing the
PLAY/PAUSE
button again will freeze the video on the screen.
Содержание ADT16E
Страница 1: ......
Страница 2: ......
Страница 10: ...User s Manual viii...
Страница 80: ...User s Manual 70 Appendix D Map of Screens...


