User’s Manual
32
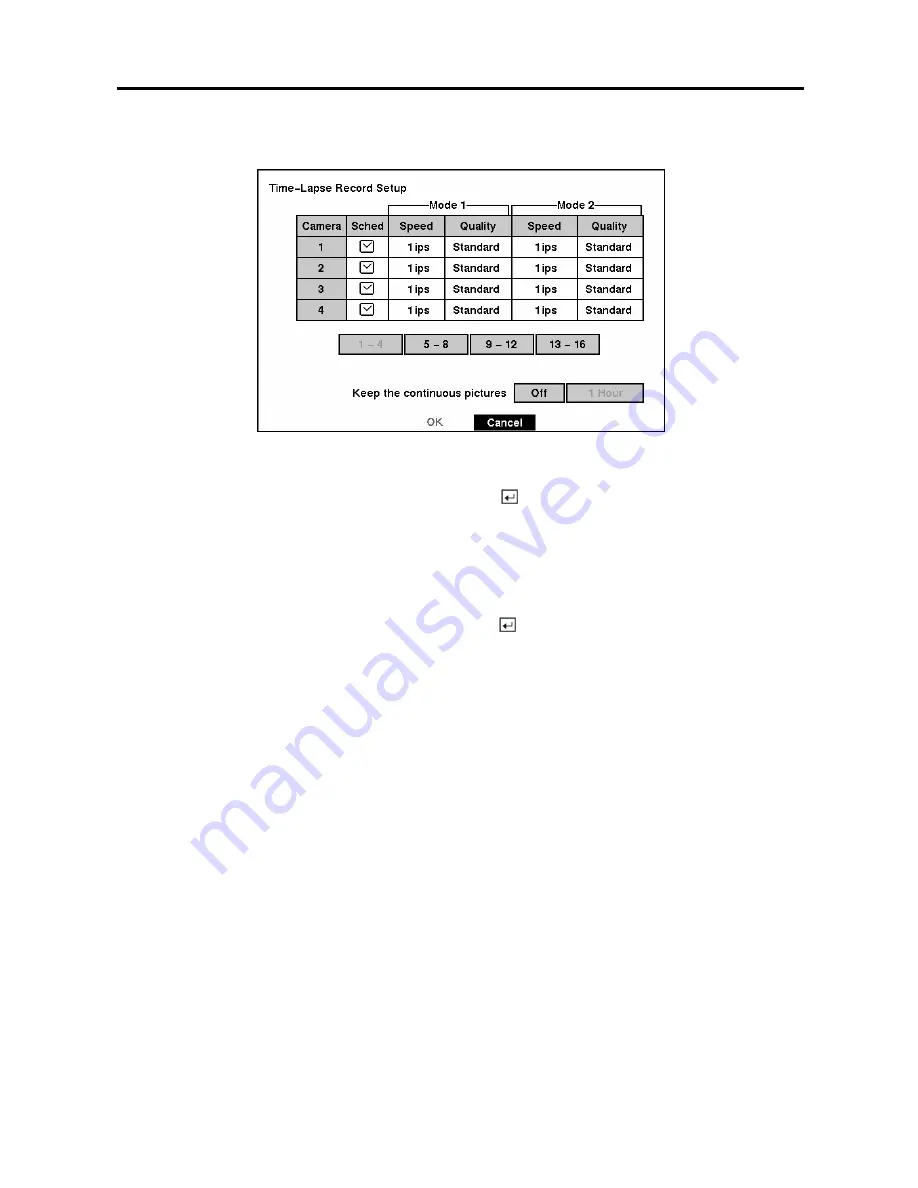
Time-Lapse Record Mode Setup Screen
Figure 45 — Time-Lapse Record Setup screen.
Highlight the box under the
Speed
heading and press the
button. A drop-down list of record speeds
appears. You can select from 1 image per 10 seconds to 60 images per second for NTSC (to 50 images
per second PAL).
NOTE: If you have set the
Record Resolution
for
High
, you will not be able to select 60 ips NTSC
(50 ips PAL).
Highlight the box under the
Quality
heading and press the
button. A drop-down list appears. You can
select from
Very High
,
High
,
Standard
and
Low
image quality. All other variables being equal; Very
High will require 600% more hard disk space than Standard, High will require 250% more, and Low 30%
less.
NOTE: Higher quality images require more storage space and will reduce the recording capacity
of the hard disk drive.
You can set the maximum amount of time-lapse video to be stored. Once the DVR reaches this amount,
it will start recording over the oldest time-lapse video. The time lapse video is stored separate from Event
video. When
Keep the continuous pictures
is set to On, you can set the time from 1 Hour to the
maximum allowed by the storage capacity of your hard disk drive.
NOTE: The maximum storage time is only an estimate because the amount of space required to
store video varies depending on many factors such as motion and image complexity.
Содержание ADT16E
Страница 1: ......
Страница 2: ......
Страница 10: ...User s Manual viii...
Страница 80: ...User s Manual 70 Appendix D Map of Screens...


