Installing the System
MicronNav System
0656-SOM-00001-07
19
© Tritech International Ltd.
•
Task Scheduler
- this option installs an additional software package to automate the
recording of logfiles with Seanet Pro.
•
Sonar Image Tiler
- this option installs an additional software package that can mosaic
sonar imagery from Seanet Pro onto background images.
Note
Do not attempt to remove the CD-ROM from your computer during the installation
process.
3.2.3. Surface Hardware Installation and Configuration
Caution
The power should be turned off before making a connection between the sonar
head and surface controller (SCU or SeaHub).
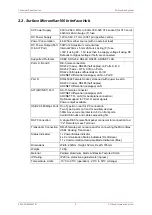
Carefully unpack the system from the transit case and uncoil the USBL cable, the
MicronNav100 Hub is located underneath the lift out section containing the Subsea Modem
Head and cable assemblies.
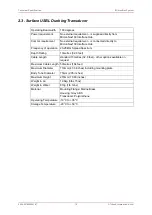
If the supplied mounting pole is to be utilised fit it to the standard plumbing fitting on the brass
mounting plate on top of the USBL Head and connect the USBL Head cable connector to the
DB-25 socket on the rear panel of the MicronNav100 Hub.
Note
It is recommended to wait until after the system has been fully configured and
the Dry System check completed before fitting the USBL Dunking Transducer to
the desired mounting arrangement.
Connect the computer USB port on the rear panel of the MicronNav100 Hub to a USB 2.0
port on the User computer with the supplied USB cable assembly.
Connect power to the MicronNav100 Hub and switch on. The indicator LEDs on the front of
the unit will flash and the ports will auto-install on the computer - this will take a minute or so
to complete and you may be prompted to re-boot the computer.
The Seanet software must now be configured for the MicronNav100 Hub – click the
Seanet
Setup
icon on the desktop to run the Seanet setup program, select Utilities from the top
menu bar of the Seanet Setup window followed by Com Setup from the sub-menu to open
the
Channel Setup
page, a dialog box will be opened notifying detection of the SeaHub
on one of the COM ports and you will be asked to confirm Auto Enable of an Aif device - this
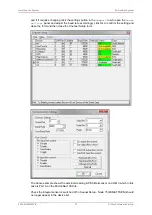
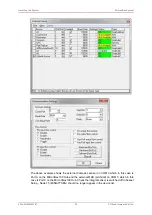
should be confirmed by selecting YES. The Channel Setup page will then automatically add
and enable the ports that are required as shown below.
Note
Port numbers may differ on different computers dependent on Windows setup.

