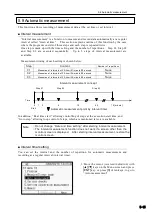
5.8 Automatic measurement
5-20
■
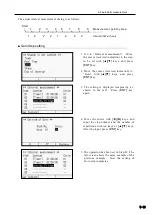
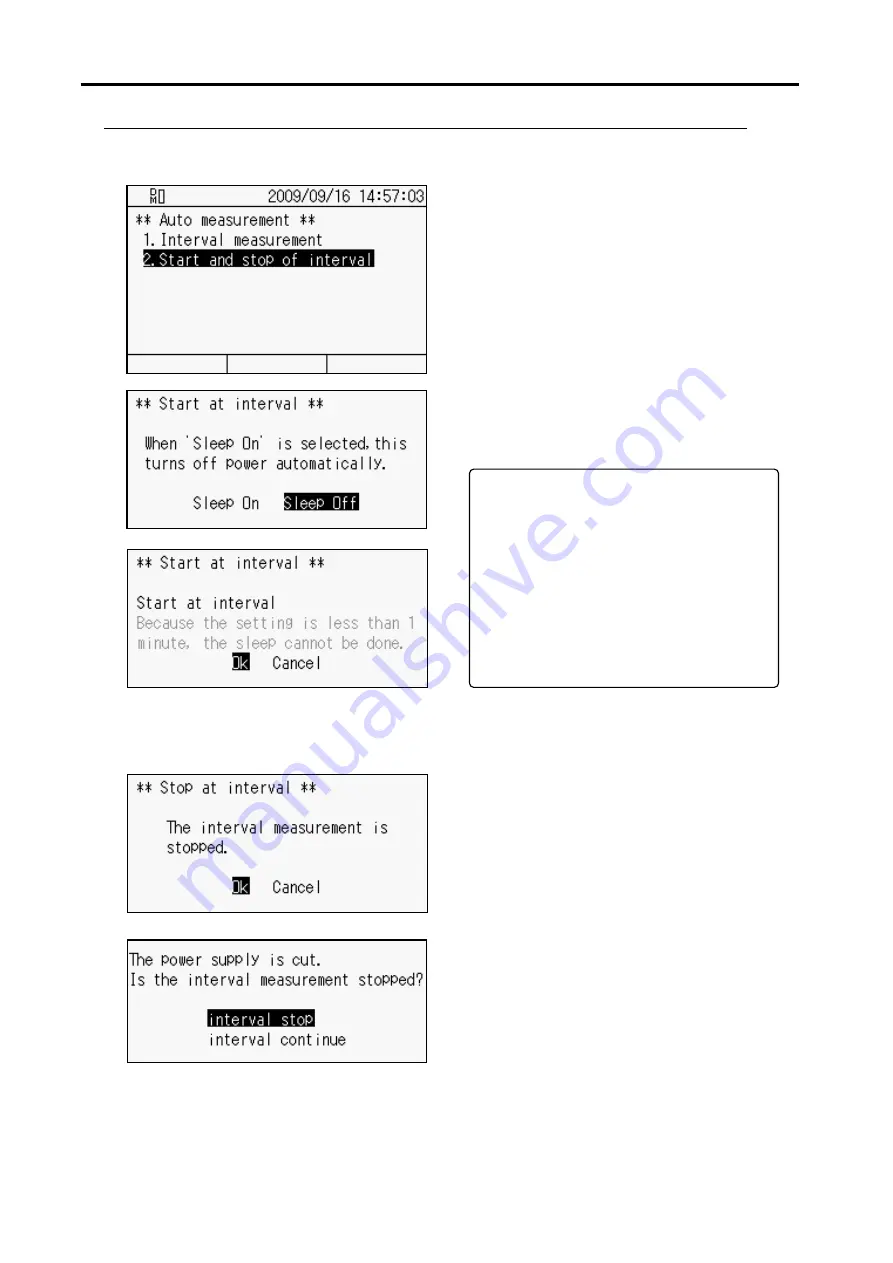
Start and stop of interval measurement
Before starting interval measurement, set destination for saving data, or output destination
(e.g. external printer).
○
Start
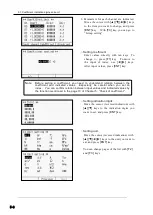
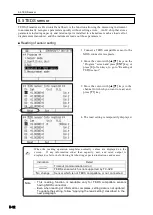
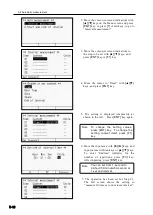
1. Move the cursor (reversed indication) on
the “Auto measurement” screen with
[▲][▼]
keys and press [
ENT]
key, or press
[
2]
of ten keys to go to “Start and stop of
interval”.
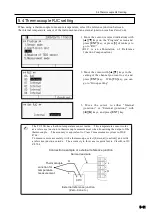
2. Move the cursor to either “Sleep On” or
“Sleep Off” with
[
◄][►]
keys, and press
[
ENT]
key.
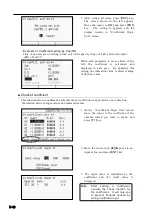
3. Interval measurement starts. During
measurement, the indicator showing that
the device is measuring in the sub LCD
lights up.
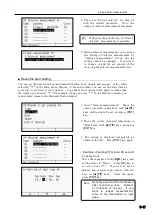
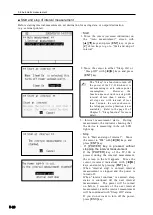
○ Stop
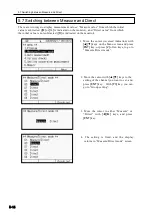
Go to “Start and stop of interval”. Move
the cursor to “
Ok
” with
[
◄][►]
keys, and
press [
ENT]
key.
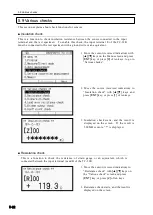
The “Sleep” is a function to turn off
the power of the TC-32K when it is
not measuring so as to reduce power
consumption.
However,
the
function does not work in a step with
interval of less than 1 minute. If
all steps are with interval of less
than 1 minute, the screen shown in
the left appears (sleep function is not
available). Refer to the page 21 of
Chapter 5, “Sleep function” for more
detail.
✍
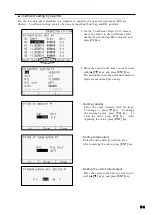
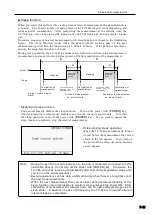
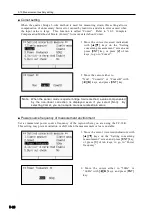
○ If [POWER] key is pressed without
stopping the interval measurement
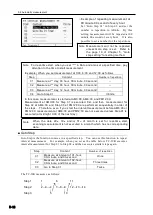
If the
[POWER]
key of the TC-32K is
pressed during the interval measurement,
the screen in the left appears. Move the
cursor (reversed indication) with
[
◄][►]
keys, and enter by pressing [
ENT]
key.
When “interval stop” is entered, interval
measurement is stopped and the power is
turned off.
When “interval continue” is entered, sleep
status is continued till the next interval
measurement. The power will be turned
on before 5 seconds of the next interval
measurement, and the interval measurement
will be continued with “Sleep Off” status.
If you do not want to turn off the power,
press
[ESC]
key.
Содержание TC-32K
Страница 1: ...O p e r a t i o n M a n u a l TC 32K HANDHELD DATA LOGGER...
Страница 8: ...Chapter 12 Error Message 12 1 Explanations and countermeasures for error messages 12 2...
Страница 9: ...Chapter 1 Overview 1 1 Overview 1 2 1 2 Features 1 2 1 3 Details about each part 1 3...
Страница 22: ...2 5 Operation outline 2 10 memo...
Страница 23: ...Chapter 3 Sensor Connection 3 1 Sensor connection 3 2...
Страница 65: ...5 10 Measurement auxiliary setting 5 28 memo...
Страница 78: ...6 5 Recording in data memory and CF card 6 13 memo...
Страница 86: ...7 7 Remote measurement 7 8 memo...
Страница 98: ...8 7 Factory setting 8 12 memo...
Страница 127: ...11 4 Outside drawing 11 8 11 4 Outside drawing Unit mm...
Страница 128: ...Chapter 12 Error Message 12 1 Explanations and countermeasures for error messages 12 2...

