5.8 Automatic measurement
5-17
■ Real-time start setting
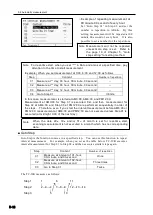
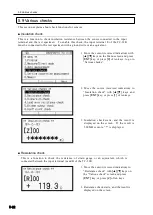
You can set the time to start measurement with date, hour, minute and second. Also, when
selecting “**” in the Date, Hour, Minute, or Second column, you can set the start time as
every day, every hour or every minute. You cannot enter values in the upper columns than
the column you entered “**” (for example, when you enter “**” in the Minutes column, you
cannot enter values in the Date and Hour columns).
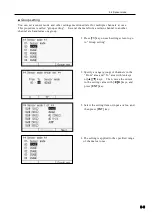
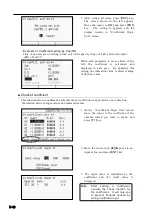
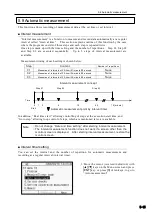
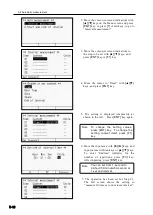
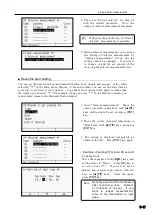
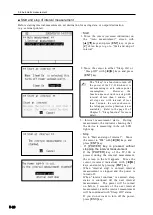
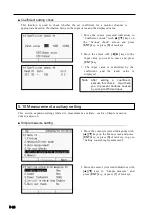
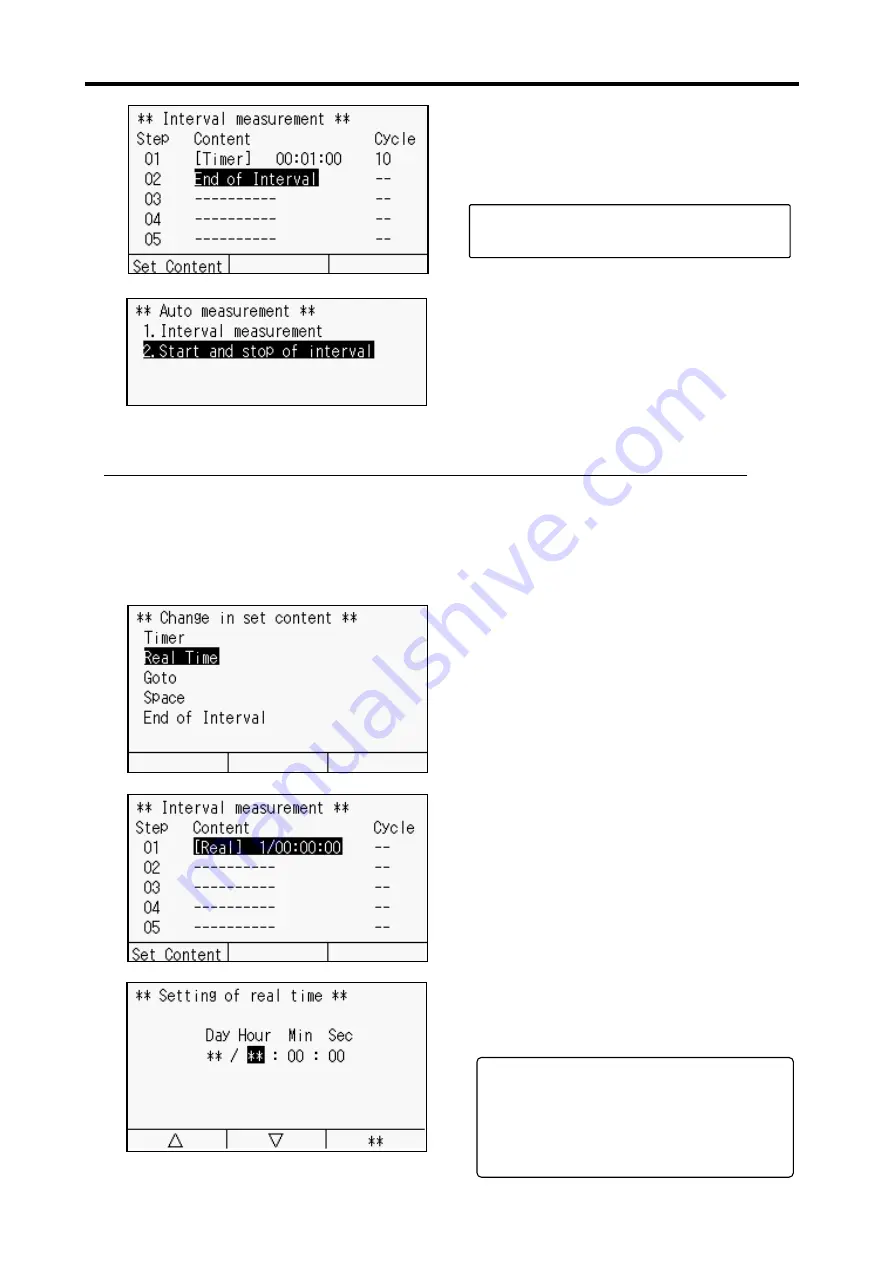
9. During interval measurement, you can see
the setting of interval measurement by
“Interval measurement” screen, but the
setting cannot be changed. If you want
to change or add the set content of the
step, stop the interval measurement first.
8. Then, set “End of interval” for Step 02
with the similar procedure. Now, the
setting of interval measurement completes.
Without setting of the step of “End of
interval”, measurement is possible.
✍
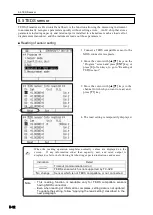
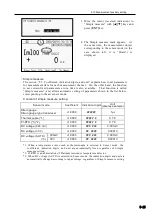
3. The setting is displayed temporarily as
shown in the left. Press [
ENT]
key again.
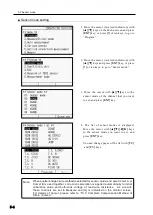
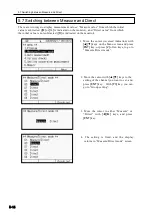
2. Move the cursor (reversed indication) to
“Real Time” with
[▲][▼]
keys, and press
[ENT]
key.
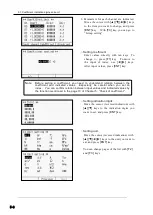
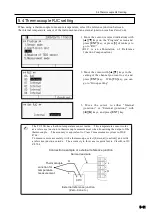
1. Go to “Interval measurement”.
Move the
cursor (reversed indication) with
[▲][▼]
keys on the step to be set, and press
[ENT]
key.
○
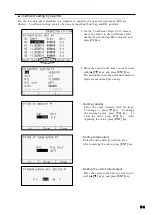
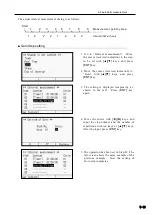
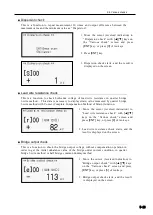
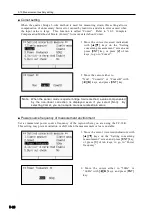
Example of setting 00 minute 00 second
of every hour
Move the input area with
[
◄][►]
keys, and
set the cursor to “Hour”. Press
[F3]
key to
set every hour (**). If you set as far as
minute and second, input values with ten
keys or
[▲][▼]
keys. After the input,
press
[ENT]
key.
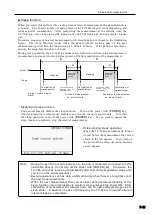
Real-time start will be terminated
after measuring once. Number
of repetition is not set. If you
want to repeat measurement,
refer to the description in next
page.
Note
Содержание TC-32K
Страница 1: ...O p e r a t i o n M a n u a l TC 32K HANDHELD DATA LOGGER...
Страница 8: ...Chapter 12 Error Message 12 1 Explanations and countermeasures for error messages 12 2...
Страница 9: ...Chapter 1 Overview 1 1 Overview 1 2 1 2 Features 1 2 1 3 Details about each part 1 3...
Страница 22: ...2 5 Operation outline 2 10 memo...
Страница 23: ...Chapter 3 Sensor Connection 3 1 Sensor connection 3 2...
Страница 65: ...5 10 Measurement auxiliary setting 5 28 memo...
Страница 78: ...6 5 Recording in data memory and CF card 6 13 memo...
Страница 86: ...7 7 Remote measurement 7 8 memo...
Страница 98: ...8 7 Factory setting 8 12 memo...
Страница 127: ...11 4 Outside drawing 11 8 11 4 Outside drawing Unit mm...
Страница 128: ...Chapter 12 Error Message 12 1 Explanations and countermeasures for error messages 12 2...

