T A L K S W I T C H I N S T A L L A T I O N
6
If you prefer to use Windows Explorer or if the install process does not launch automatically:
1. Double-click the
My Computer
icon.
2. Double-click the
CD-ROM/DVD
drive.
3. Double-click the
Startscreen.exe
icon and follow the instructions. After you click the
Finish
button, you will see the TalkSwitch icon on your desktop. This means you have
successfully installed the TalkSwitch management software.
Upgrading the TalkSwitch software and firmware
We are continually looking for ways to enhance your communications capabilities. When new
features are added, we provide our users with immediate access to an update directly from
Windows
Start
menu.
1. Click
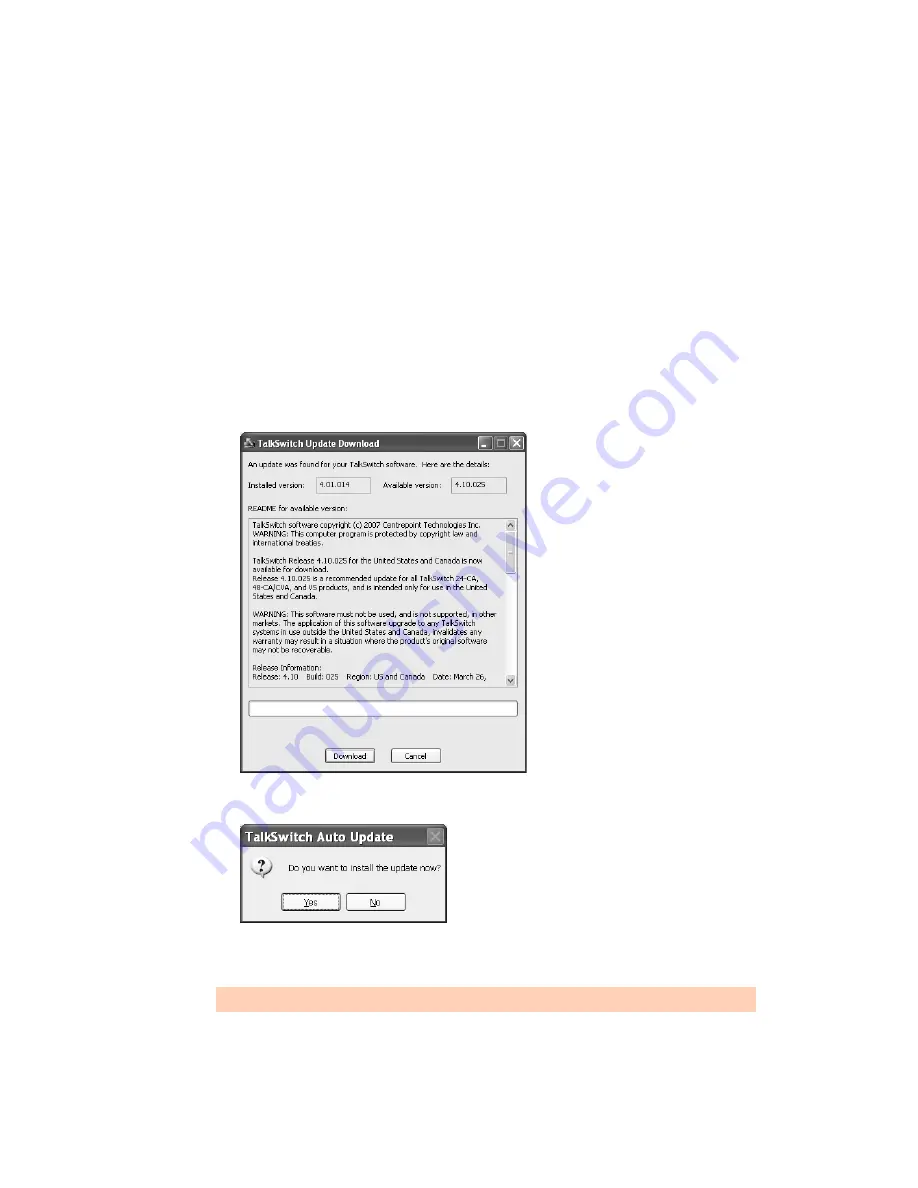
Start > Programs > TalkSwitch 6.11 > TalkSwitch Auto Update
.
If your TalkSwitch management software is due for an update, a window informs you of the
status of your software version. If you need an update, you have the option to download
the update.
2. Click the
Download
button to download the update. After the file is downloaded, the Auto
Update program prompts you to install the update.
3. Click
Yes
to install the update. You can also install the update later from
C:\Program
Files\TalkSwitch\TalkSwitch Configuration 6.11
.
The TalkSwitch management software must be closed in order to install the update.


