


T A L K S W I T C H C O N F I G U R A T I O N
112
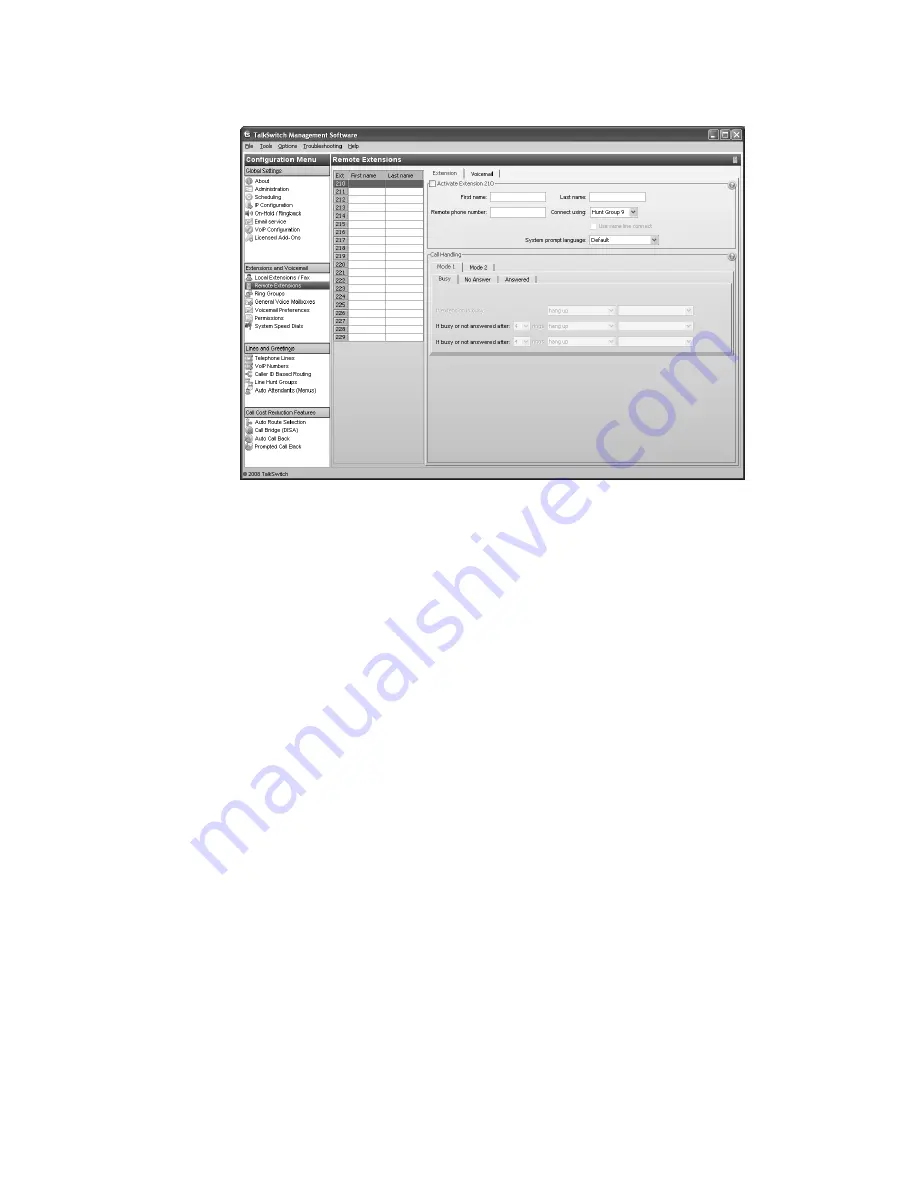
3. Select the
Extension
tab.
Activate extension
The
Activate Extension
area allows you to set the name, phone number, hunt group, language,
and same line connect feature for each remote extension.
1. Select the
Activate Extension
check box.
2. Enter the user’s
First name
and
Last name
. The names appear within the configuration
windows. The
Last name
is used with the dial-by-name directory.
3. Enter the
Remote phone number
. Enter the number as you would normally dial it (i.e.
without the hunt group number). You can enter digits 0–9, space, dash, comma,
#
and
*
. A
comma pauses dialing for two seconds.
An administrator can change the phone number by phone. Enter command mode by either
pressing
#
on an analog extension phone, or
*55#
on an IP phone. Dial the system password
+
#
, the remote extension number, and then
8
+ the new phone
#
.
4. Select the hunt group in the
Connect using
list. The TalkSwitch unit will use a line from this
hunt group to connect with the remote extension. We recommend the default
Hunt group 9
unless you have set up a different hunt group for calling remote extensions.
An administrator can change the hunt group by phone. Enter command mode by either
pressing
#
on an analog extension phone, or
*55#
on an IP phone. Dial the system password
+
#
, the remote extension number, and then
9
+ the new hunt group +
#
.
5. Select the language heard by the user of the extension in the
System prompt language for
this extension
.
6. If you have the 3-Way Calling/Conference service from the telephone company, you can
select the
Use same line connect
check box. The same line connect feature will direct the
telephone company to put the caller on hold, and will then use the same line to try the
remote extension. Because the same line is used, the hunt group setting from Step 4
is ignored.


