


Objet260 User Guide
5 Using Objet Studio
DOC-37004 Rev. E
5-35
Manipulating Objects on the Tray
Positioning
Objects on the
Z-Axis
When you use the automatic positioning option to arrange objects on the
build tray (see "Automatic Orientation" on page 5-30), the objects are
positioned directly on the tray. If you do not insert objects with automatic
positioning, they often appear either above or below the tray.
In practice, the Objet system prints all models on the build tray on a one-
millimeter bed of support material. The importance of positioning objects
directly on the build tray with Objet Studio is to correctly display the objects
on the screen.
To position objects directly on the tray:
1. Select the object.
2. From the
Object
menu, select
Lay On
.
To ensure that objects are always positioned directly on the tray:
1. From the
Tools
menu, select
Options
, and display the
Settings
tab.
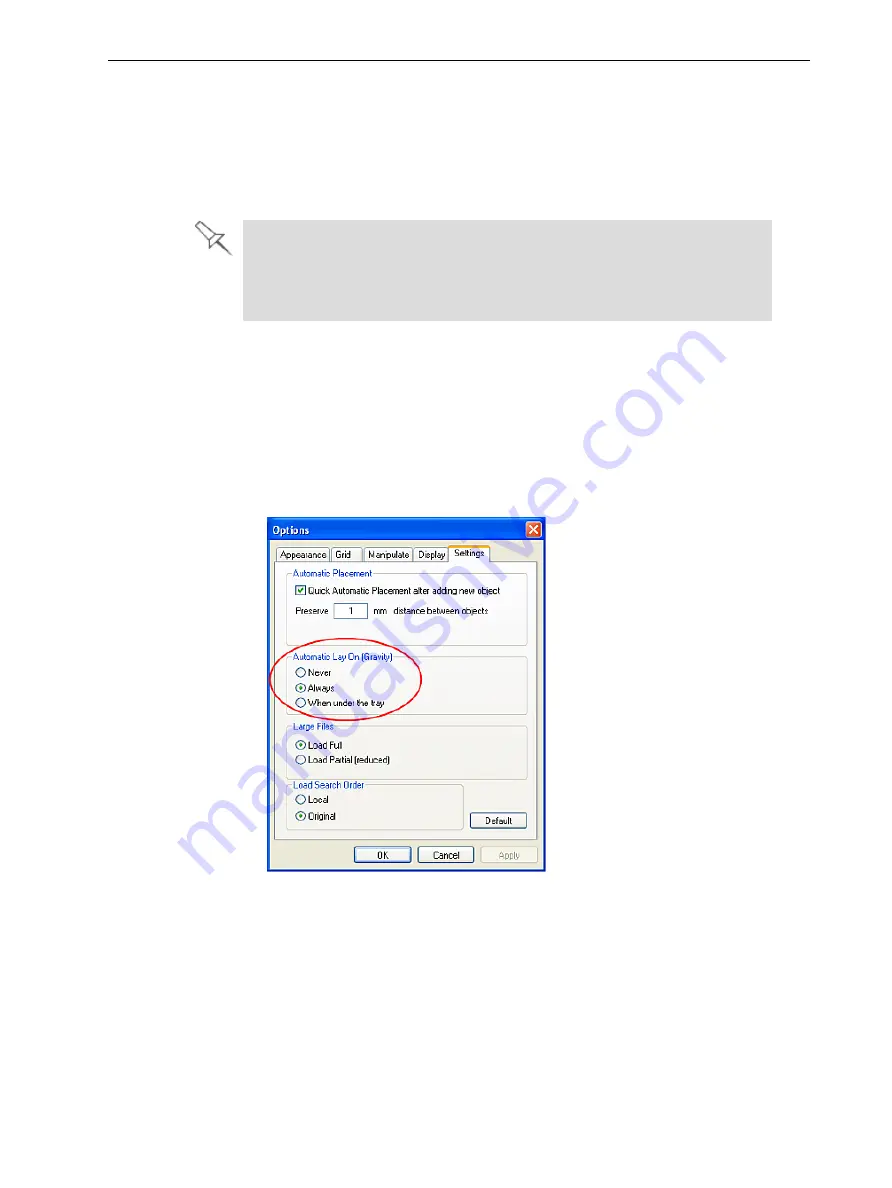
Figure 5-38
Options
dialog box,
Settings
tab
2. In the
Automatic Lay On (Gravity)
section, select
Always
.
Other Z-axis options (in the
Automatic Lay On
section):
•
When under the tray
—The display of objects that are below the build tray is
automatically changed so that the object is at tray level.
•
Never
—The display of objects that are above or below the build tray is not
changed.


