3-35
3
Operation Examples (Lead inspection)
1
DETECT MODE
CNTR(BRT
DRK)
2
DETECT DIRECTION HORI (
→ ←
)
VERT (
↓ ↑
)
3
DETECT AREA
MOVE
UP.L(224,208) LO.R(287,271)
4
THRESHOLD
GRYS.050(0~255) EDGE.W 2(1~8)
FLAT. W04(1~16)
5
PROC. PROJECTION NO
YES
q
UPPER MENU
2
3
4
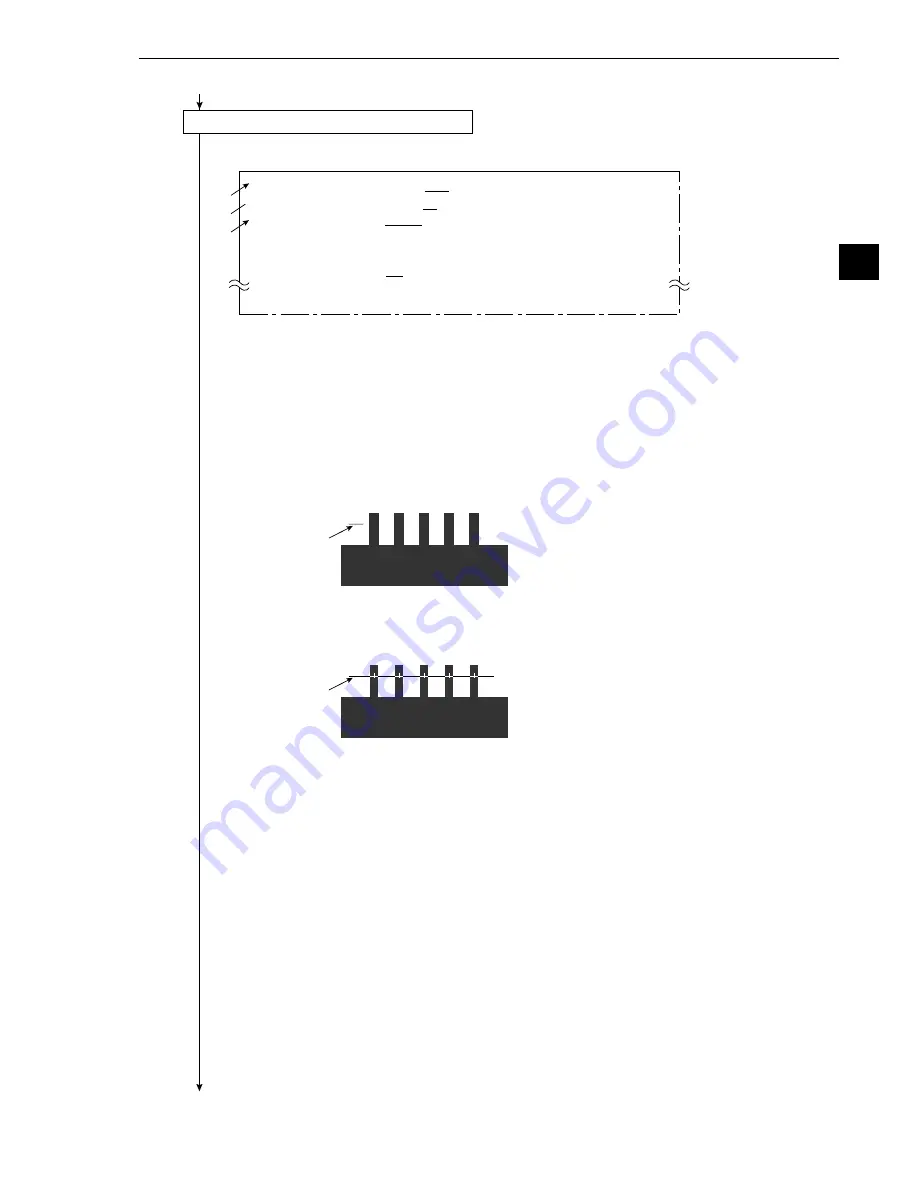
Detection line
Detection line
Continued from the preceding page
(8) Operation for setting the object conditions
1. Press the ESC key, and all of the menus used for setting the edge detection condition will be
displayed.
2. Move the cursor to
1
DETECT MODE (detection mode) with the up and down keys, and
press the SET key. Move the cursor to CNTR (DRK) (center, dark) with the left and right keys,
and press the SET key.
3. Move the cursor to
2
DETECT DIRECTION (detection direction) with the up and down keys,
and press the SET key. Move the cursor to HORI (horizontal) (
_
) with the left and right keys,
and press the SET key.
4. Move the cursor to
3
DETECT AREA (detection window) with the up and down keys, and
press the SET key. Move the cursor to MOVE with the left and right keys, and press the SET
key.
- Move the detection line to the left of the lead to be measured with the up, down, left and right
keys.
- When the position of the line is correct, press the SET key.
5. Move the cursor to LO.R (lower right) with the left and right keys, and press the SET key.
- Extend the detection line to the right lead with the right key.
- When the position is correct, press the SET key and ESC key.
6. Move the cursor to
q
UPPER MENU with the up and down keys, and press the SET key.
-
The screen will return to the [MEASURING COND] (measurement conditions) menu.
7. Press the ESC key.
-
The screen will return to the [TYPE00-MEAS1] (type: 00, measurement: 1) menu.
Continued on the following page


