


checkboxes are set to
.
If the [Specify Frame+Center] key is tapped, all the checkboxes are set to
.
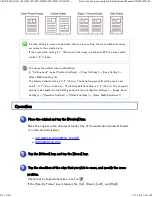
Specify the erase width.
After the settings are completed, tap
and [Back] keys in sequence.
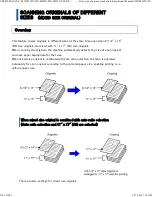
Spec ify th e e ras e edg e on th e re ve rse side wh e n e rasing e dges of on e to three side s of
Up, D ow n , Le ft, an d Righ t on the fron t side to scan a 2 - side d orig inal.
If th e [Re ve rse e ras e position of bac k face.] c h e ckbox is se t to
, the e dge in
th e position opposite to th e erase d e dge on th e fron t side w ill be e rased.
If th e [Re ve rse e ras e position of bac k face.] c h e ckbox is se t to
, the e dge in
th e same position as on th e fron t side w ill be e rased.
Tap th e n u meric value display indic atin g th e margin shift are a on th e front side or
re ve rse s ide , an d en te r the are a usin g th e n ume ric ke ys.
To qu ickly se t th e are a, firs t spe c ify a valu e c lose to th e desire d value by th e
n ume ric ke ys, th e n adju st it w ith
.
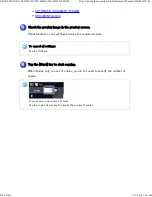
To can c e l th e e rase se ttin g:
Tap th e [Cle ar] key.
USER'S MANUAL | MX-M365N/MX-M465N/MX-M565N USER'S ...
http://siica.sharpusa.com/portals/0/downloads/Manuals/MX-M365N-M...
319 of 1441
3/17/2016 7:14 AM