Installing the storage enclosure
59
4.
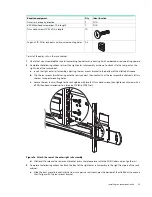
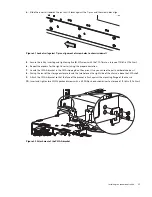
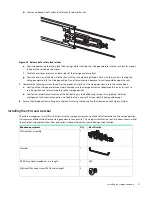
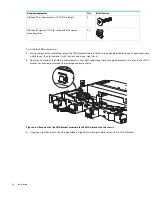
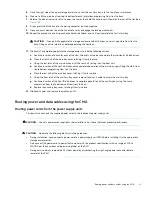
Route the portion of the CMA bracket assembly in your left hand inward until it clips to the CMA B bracket that you
previously installed on the outer rail.
Figure 47 Insertion of CMA bracket assembly into CMA B bracket on the outer rail
5.
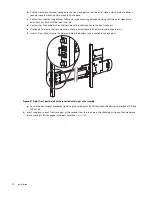
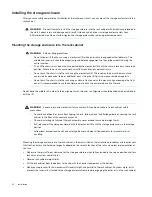
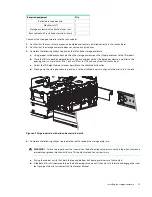
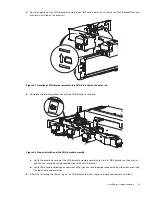
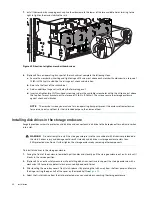
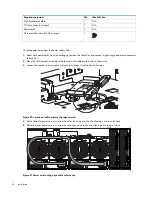
Complete the following actions to verify the CMA bracket installation:
Figure 48 Proper installation of the CMA bracket assembly
a.
Verify the outer blue spring of the CMA bracket assembly securely clips to the CMA B bracket on the outer rail
and that the inner blue spring securely clips to the CMA A bracket.
b.
Verify that all cable holders open upward and that you can read the embossed name King Slide when examining
the top of each cable retainer.
6.
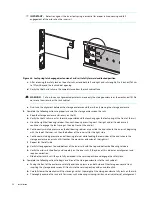
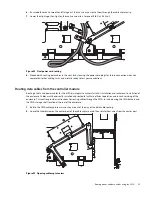
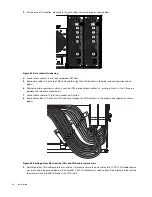
After fully retracting the chassis, tug on the CMA bracket to make sure you properly and securely installed it.


