Installing the rackmount railkit
53
4.
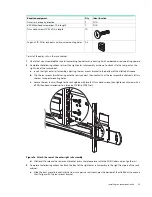
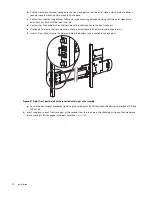
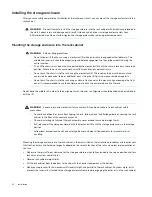
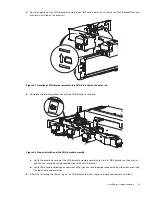
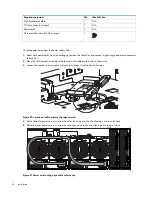
Slide the inner rail towards the rear until it locks against the T-pins and the screw holes align.
Figure 41 Lock of rail against T-pins, alignment of screw holes to chassis sidewall
5.
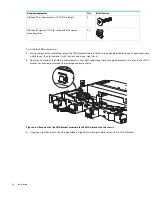
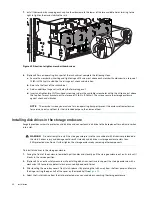
Secure the rail by inserting and tightening five (5) M3 screws with the T10 Torx to a torque of 12 lbf-in (1.36 N-m).
6.
Repeat the process for the right inner rail, using the proper orientation.
7.
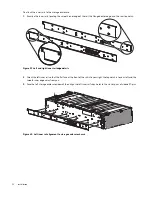
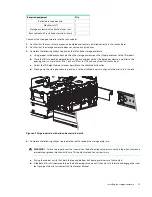
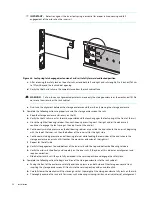
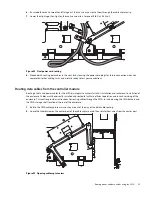
Locate the CMA A bracket in the CMA shipping box, then orient it so you can see the part number etched on it.
8.
Facing the rear of the storage enclosure, locate the two holes on the right side of the chassis, above the CMA shelf.
9.
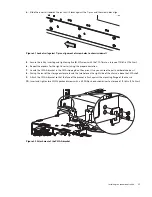
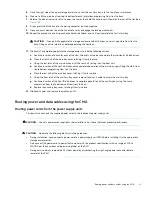
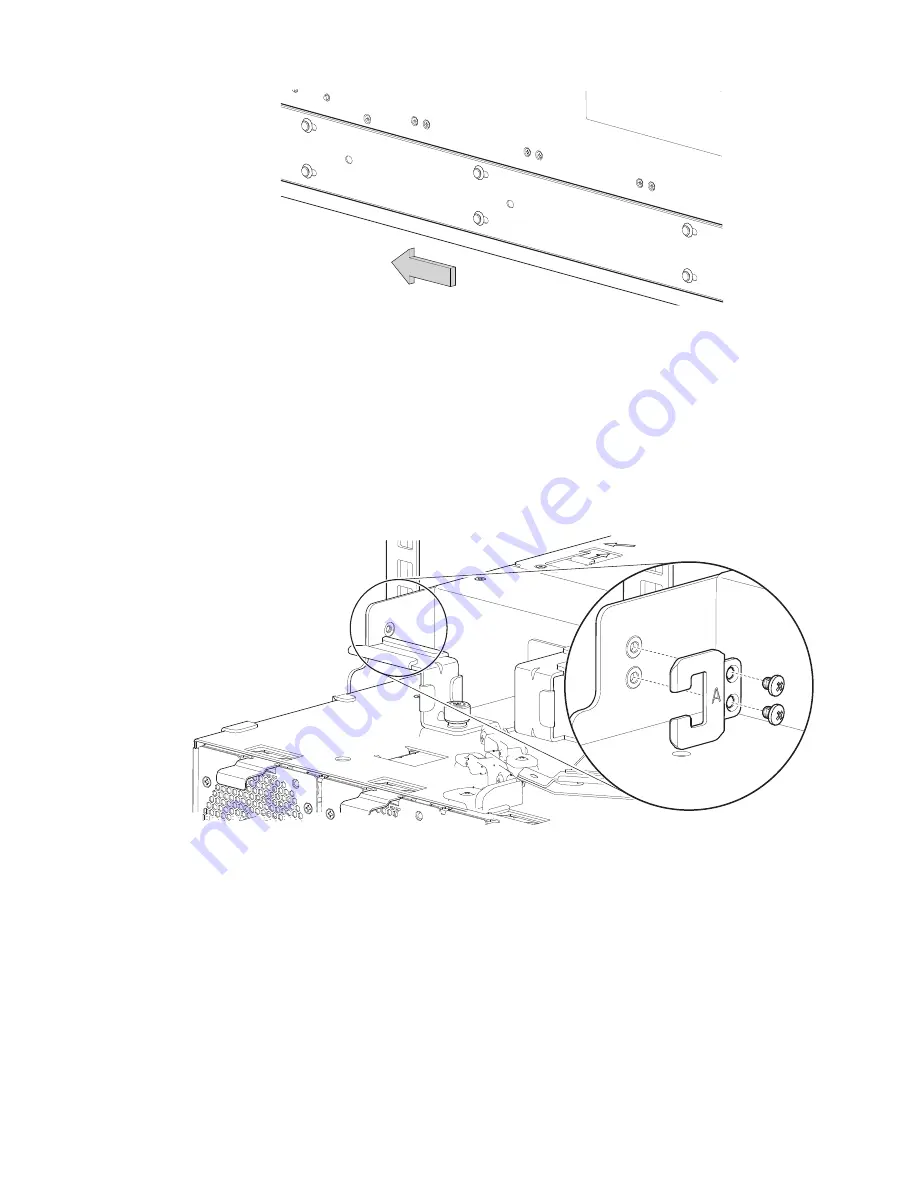
Attach the CMA A bracket so that the face of the bracket is flush against the mounting flange of the chassis.
10.
Insert and tighten two (2) M4 panhead screws with a #2 Phillips-head screwdriver to a torque of 12 lbf-in (1.36 N-m).
Figure 42 Attachment of the CMA A bracket


