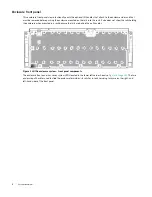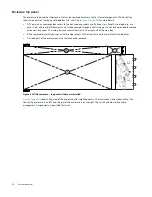
Enclosure core product
23
Installing enclosure top covers
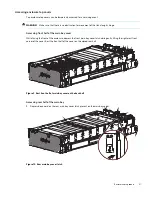
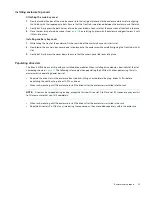
Attaching the main bay cover
1.
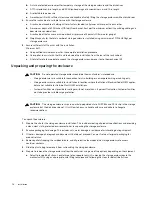
Slowly place both halves of the main bay cover into their original places onto the enclosure while carefully aligning
the lid tabs with their appropriate slots. Ensure that the front tab is positioned between the enclosure and the latch.
2.
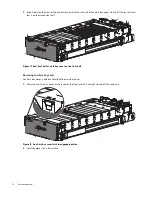
Gently but firmly press the both halves of main bay cover down to ensure that the access panel tabs lock into place.
3.
Close the rear latch of main bay cover (see
), by rotating it up towards the enclosure and gently press it until
it clicks into place.
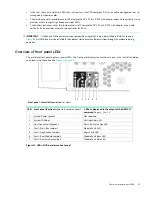
Installing auxiliary bay cover
1.
While facing the front of the enclosure, fix the rear side of the auxiliary bay cover into its slot.
2.
Slowly lower the auxiliary bay cover down into place onto the enclosure while carefully aligning the front tab with its
slot.
3.
Gently but firmly press the cover down to ensure that the access panel tab locks into place.
Populating drive slots
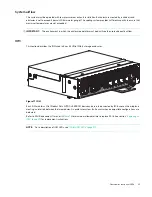
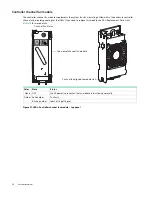
The Exos E 4U106 does not ship with pre-installed drive modules. When installing drive modules, be mindful of the slot
numbering shown in
. The following rules apply when populating the 4U106 with drives possessing 12 watts
maximum drive operating power per slot.
•
Populate the drive slots in the enclosure front to back—filling an entire lateral bay (e.g. drives 0–11)—before
populating the next bay (e.g. drives 12–23), and so on.
•
When rack-mounting a 4U106 enclosure, install the drives after the enclosure is installed into the rack.
NOTE:
A row can be skipped during loading, except the first row (Drive slot 0 to Drive slot 11). However, once you start
to fill a row ensure that you fill it completely.
•
When rack-mounting a 4U106 enclosure, install the drives after the enclosure is installed in the rack.
•
Populate drive slots 96–105 at any time during the sequence, as they are cooled separately within the enclosure.

