48
Installation
7.
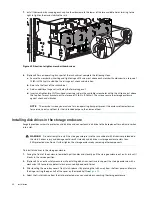
Insert and tighten each setscrew with a #2 Phillips-head screwdriver to a torque of 12 lbf-in (1.36 N-m), then perform
a fit check to validate the correct rail length.
8.
Repeat the process for the right outer rail, using the proper orientation for the rack cabinet and rail.
9.
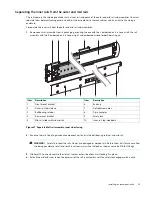
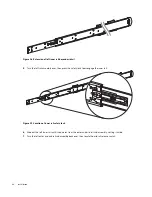
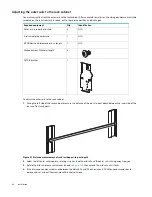
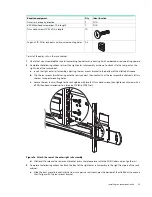
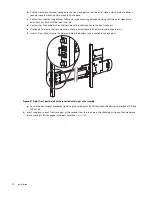
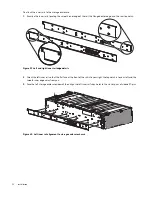
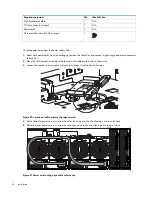
Turn over the right outer rail assembly to access the inner side of the rear outer rail, then locate the CMA B bracket
attachment holes.
IMPORTANT:
Orient the rail with the bracket front to your right, the rounded rear of the bracket to your left,
and the outer rail away from you.
10.
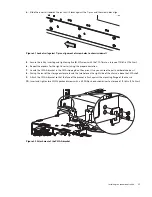
Select the CMA B bracket from the CMA box.
11.
Attach the CMA B bracket with the proper orientation to the right outer rail using four (4) M4 panhead screws,
tightening with a #2 Phillips-head screwdriver to a torque of 18 lbf-in (2.0 N-m).
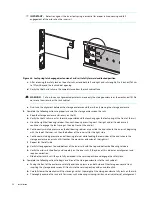
Figure 35 Alignment of CMA B bracket to rear outer rail bracket holes alignment and attachment
Installing the outer rails in the rack cabinet
WARNING!
If you do not properly install and securely fasten the rack rails according to this procedure, you risk
serious personal injury and could damage the storage enclosure.
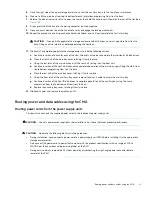
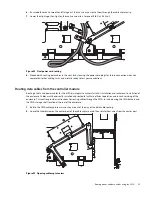
Attach the outer rack rails in 4U increments. Select the location for the outer rails based on the following factors:
•
Rack system safety precautions
•
Position in the rack
•
Population of the storage enclosure, full or partial
Once you determine the appropriate position in the rack cabinet, reread the rack system safety precautions, then proceed
to install the outer rails. The following task assumes your rack posts have square mounting holes.
CMA B bracket
Panhead screws

