46
Installation
Adjusting the outer rails to the rack cabinet
You must correctly attach the outer rails to the rack cabinet. After successful installation, the storage enclosure must slide
smoothly on the rails from fully inserted, out to the service position, and back again.
To adjust the outer rails to the rack cabinet:
1.
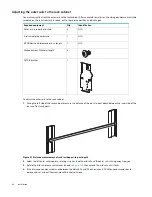
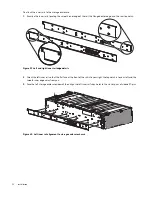
Facing the left side of the rack cabinet, measure the distance of the post-to-post depth between the inner side of the
rear and front rack posts.
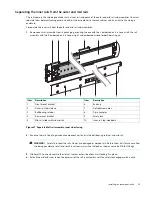
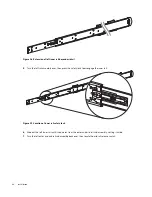
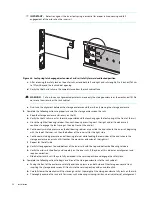
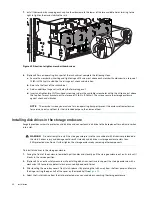
Figure 31 Distance measurement of rack inside post-to-post depth
2.
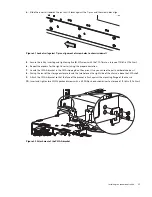
Select the left outer rail assembly, rotating it so you face the mid rail and the outer rail is facing away from you.
3.
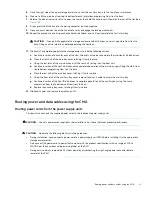
Rotate the mid rail release switch lever (shown in
), then extend the mid rail until it locks.
4.
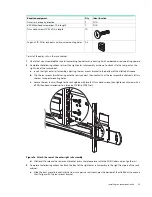
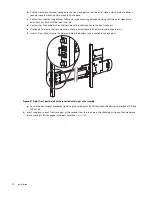
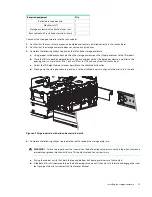
If the distance you measured is not between the default 34 and 35 inches, use a #2 Phillips-head screwdriver to
remove and set aside all four rear mount bracket setscrews.
Required equipment
Qty
Identification
Outer rails, properly oriented
2
N/A
A retractable tape measure
1
N/A
#2 Phillips-head screwdriver, 6-in length
1
N/A
Panhead screw, M4x4mm length
4
CMA B bracket
1


