


Scientific
SMO1000E
170/185
To Set the LAN
Do the following steps to set the oscilloscope to communicate with PC via LAN:
1. Connect the oscilloscope to your local area network using the network cable.
2. Press the
Utility
button on the front panel to enter the UTILITY function menu.
3. Press the
IO Set
softkey to enter the I/O SET function menu.
4. Press the
LAN
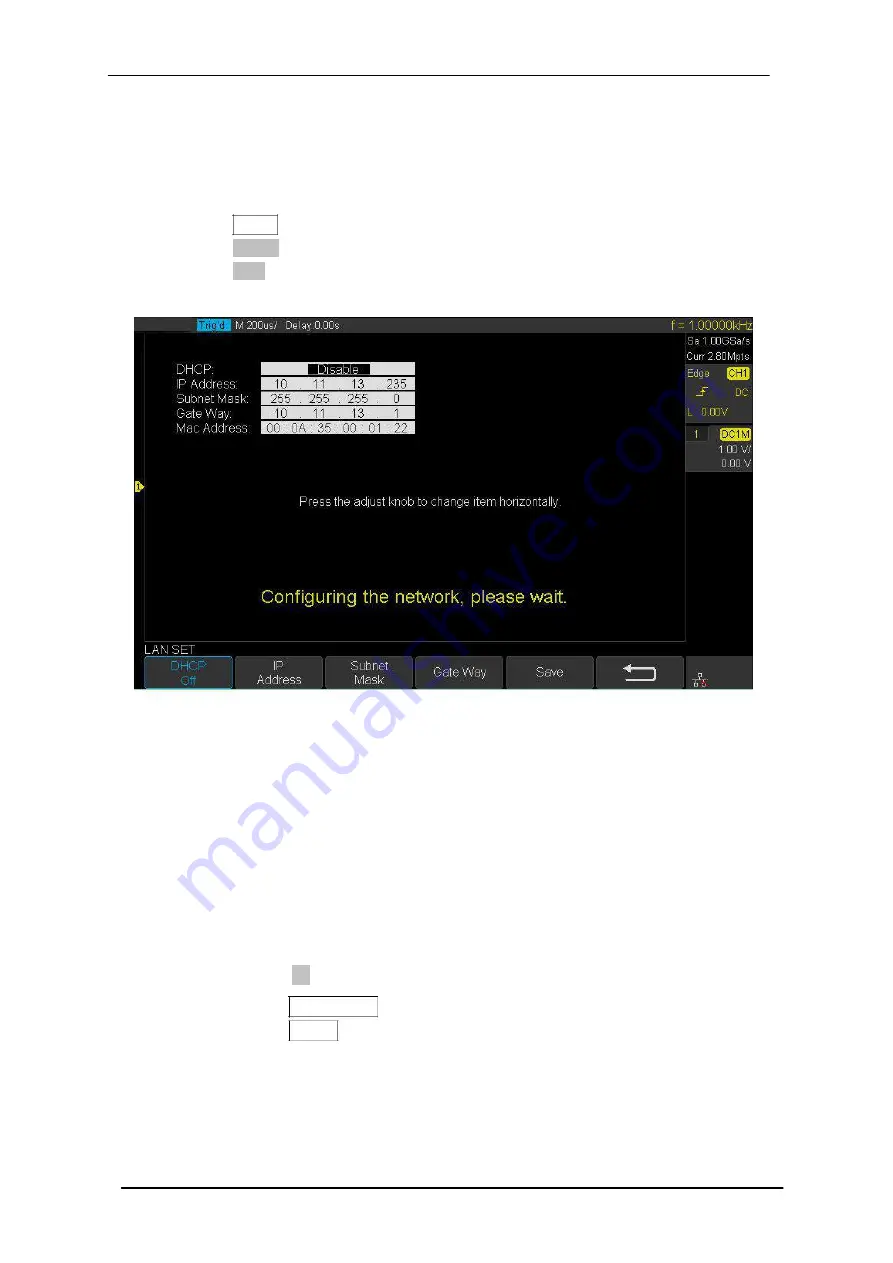
softkey to enter the LAN setting interface, see the picture below:
Figure 67 LAN Setting Interface
5. Press the F1 softkey (the first softkey below the screen) continually to go to the
DHCP line; then turn the
Universal Knob
to select Enable or Disable.
Enable:
the DHCP server in the current network will assign the network parameters
(such as the IP address) for the oscilloscope.
Disable:
you can set the IP address, subnet mask, gate way manually.
Turn the
Universal Knob
to select the desired value.
Push the
Universal Knob
to change item horizontally.
Press the
F1
softkey to go to the next line.
Press the
Save/Recall
softkey to save the current setting.
Press the
Single
button to exit the setting interface.
6. Use EasyScopeX or NI Vista to communicate with the oscilloscope.
Содержание SMO1000E
Страница 1: ...Digital oscilloscope SMO1000E User Manual ...
Страница 17: ...Scientific SMO1000E 17 185 Appearance and Dimensions Figure 1 Front View Figure 2 Top View ...
Страница 54: ...Scientific SMO1000E 54 185 Figure 12 x Interpolation Figure 13 Sinx x Interpolation ...
Страница 82: ...Scientific SMO1000E 82 185 Figure 28 Relative Window Trigger ...
Страница 84: ...Scientific SMO1000E 84 185 Figure 29 Interval Trigger ...
Страница 90: ...Scientific SMO1000E 90 185 Universal Knob to select the desired value Figure 33 Pattern Trigger ...
Страница 109: ...Scientific SMO1000E 109 185 Figure 53 UART Trigger ...


