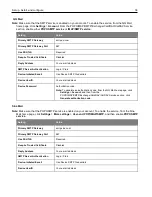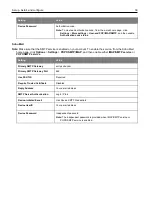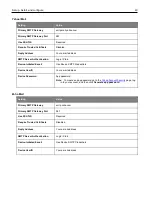
Set up, install, and configure
25
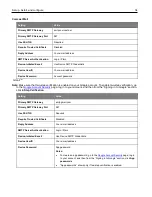
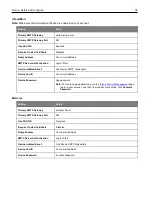
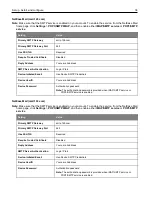
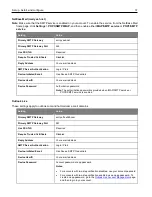
Setting up the printer to fax
Setting up the fax function using analog fax
Notes:
•
This feature is available only in some printer models.
•
Some connection methods are applicable only in some countries or regions.
•
If the fax function is enabled and not fully set up, then the indicator light may blink red.
•
If you do not have a TCP/IP environment, then use the control panel to set up fax.
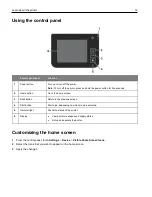
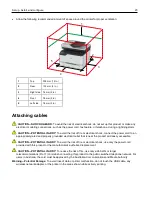
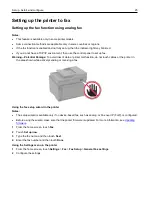
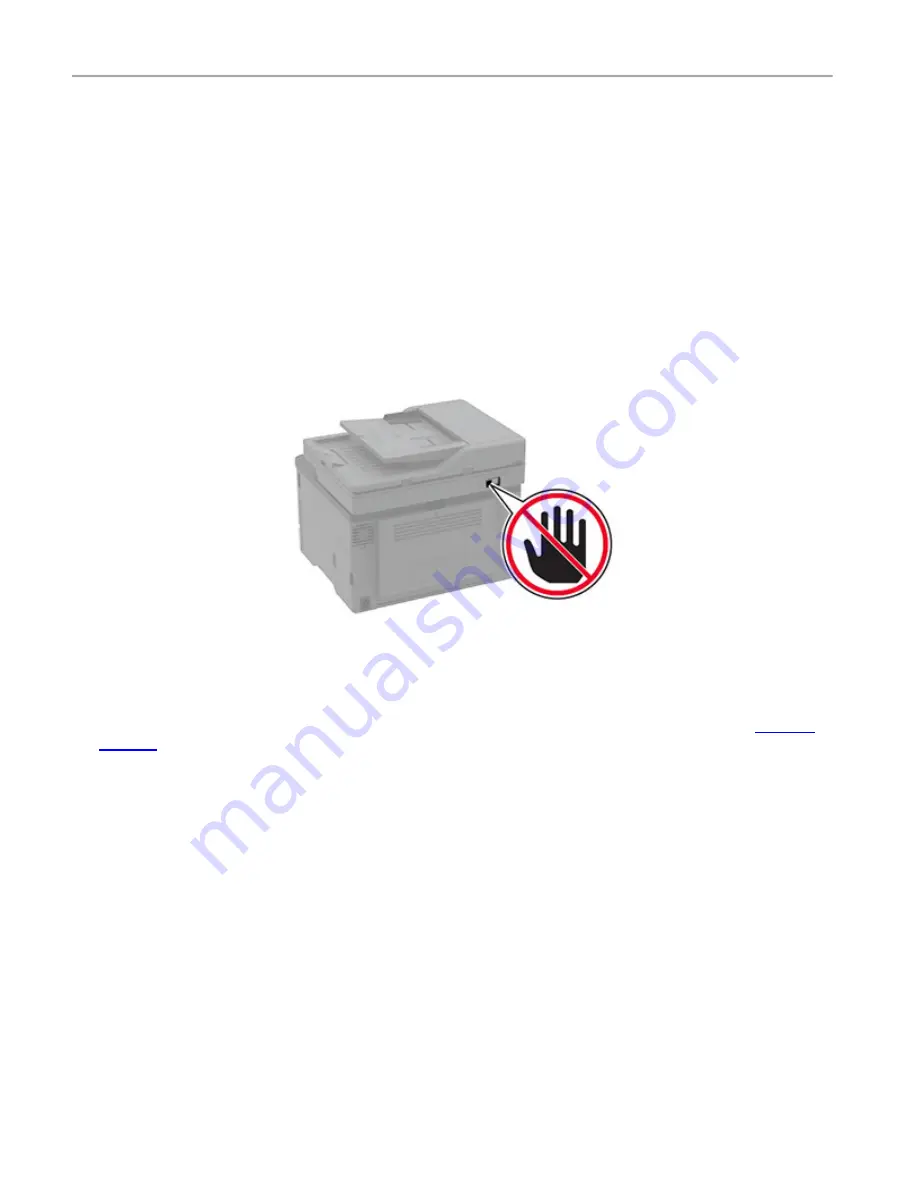
Warning—Potential Damage:
To avoid loss of data or printer malfunction, do not touch cables or the printer in
the area shown while actively sending or receiving a fax.
Using the fax setup wizard in the printer
Notes:
•
The setup wizard is available only if no device-based fax, such as analog, or Fax over IP (FoIP), is configured.
•
Before using the wizard, make sure that the printer firmware is updated. For more information, see
1
From the home screen, touch
Fax
.
2
Touch
Set up now
.
3
Type the fax name, and then touch
Next
.
4
Enter the fax number and then touch
Done
.
Using the Settings menu in the printer
1
From the home screen, touch
Settings
>
Fax
>
Fax Setup
>
General Fax settings
.
2
Configure the settings.
Содержание M C240FW
Страница 142: ...Maintain the printer 142 2 Pull out the print cartridge tray 3 Remove the used print cartridge ...
Страница 147: ...Maintain the printer 147 Scanner glass pad ADF glass Scanner glass 3 Close the scanner cover ...
Страница 201: ...Troubleshoot a problem 201 Below the fuser area Duplex unit 3 Close the door ...
Страница 235: ... 2021 Ricoh Co Ltd M995 7040A AU EN US EN GB EN ...

