42
Schedules
Create a schedule by specifying the day and time to record.
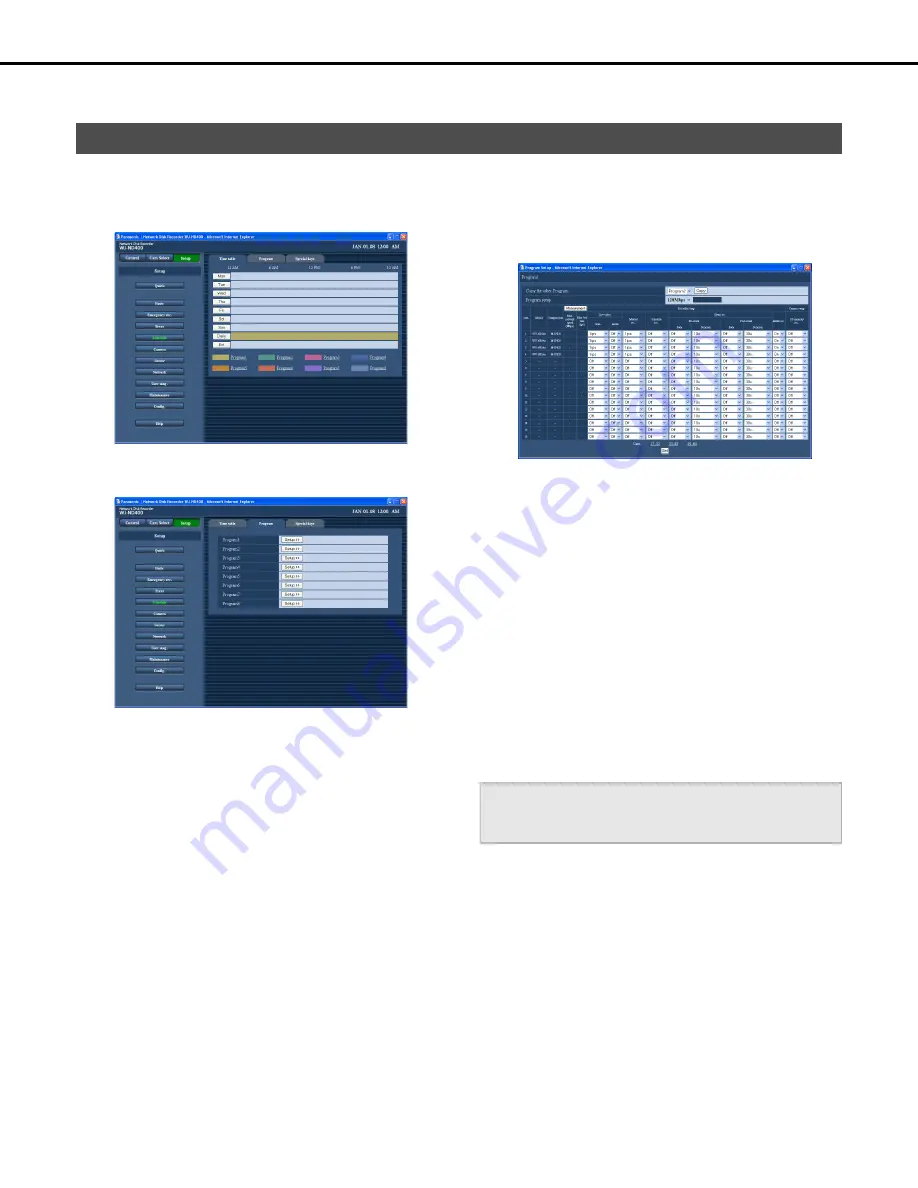
Use the procedure in this section to create a recording program that controls live images, the recording rate, etc.
You can create up to eight recording programs on the recorder.
1
Click the [Schedule] button on the setup menu.
2
On the sub-menu that appears, click [Program].
This will display the schedule program setting window.
3
Click the [Setup >>] button of the program number
whose settings you want to configure.
This will display the program setting window.
Button Functions
4
Configure the settings for each item.
Refer to “Program settings” table for details about the
settings.
•
To configure the settings of a camera that is not shown on
the display, click the applicable camera number range
above the [Set] button to change the contents of the
display.
•
Clicking a camera number range will save the currently
displayed camera settings.
5
Click the [Set] button.
Program
[Copy] button
: Copies the settings of the currently
selected program. Changes the
settings of the currently displayed
window.
[Measurement]
button
: Click to check for proper operation at
the specified recording rate. (page 45)
Important:
•
Only the currently displayed page (the selected program) can
be copied.
Содержание WJND400 - NETWORK DISK RECORDER
Страница 73: ...4 ...


