Network settings
13
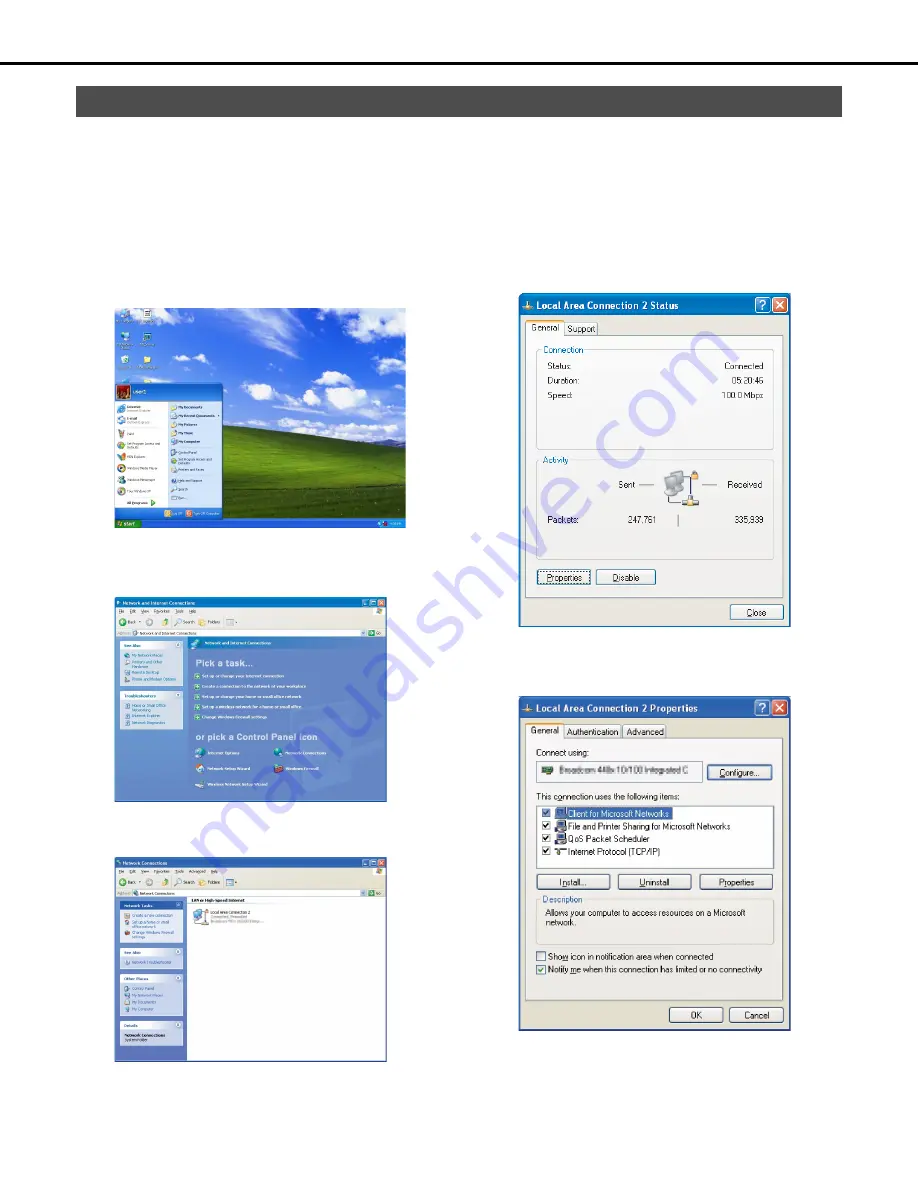
This section explains how to match the PC network settings to the settings of the recorder. In order to access the recorder, the IP address of the
PC must be set to the same subnet mask area as the recorder client PC port.
The examples in this manual are presented using the basic settings of Windows XP. If you are using an operating system other than Windows
XP, refer to the user documentation of the operating system you are using.
Example:
If you are using the recorder's initial default settings (IP address: 192.16
8
.1.250), set the IP address of the PC to; 192.16
8
.1.XXX, where XXX is
any value except 250 (which is used by the recorder) from 2 to 254.
1
Log in to the PC as an administrator.
2
Click [Start] and then select [Control Panel].
3
Click [Network and Internet Connections].
This will display the [Network and Internet Connections]
window.
4
Click [Network Connections].
This will display the [Network Connections] window.
5
Double click [Local Area Connection].
This will display the [Local Area Connection Status] window.
6
Click [Properties].
This will display the [Local Area Connection Properties]
window.
PC network settings
Содержание WJND400 - NETWORK DISK RECORDER
Страница 73: ...4 ...


