Connections: Using This Unit With a Hard Disk
135
C
onn
ect
ion
s
1)
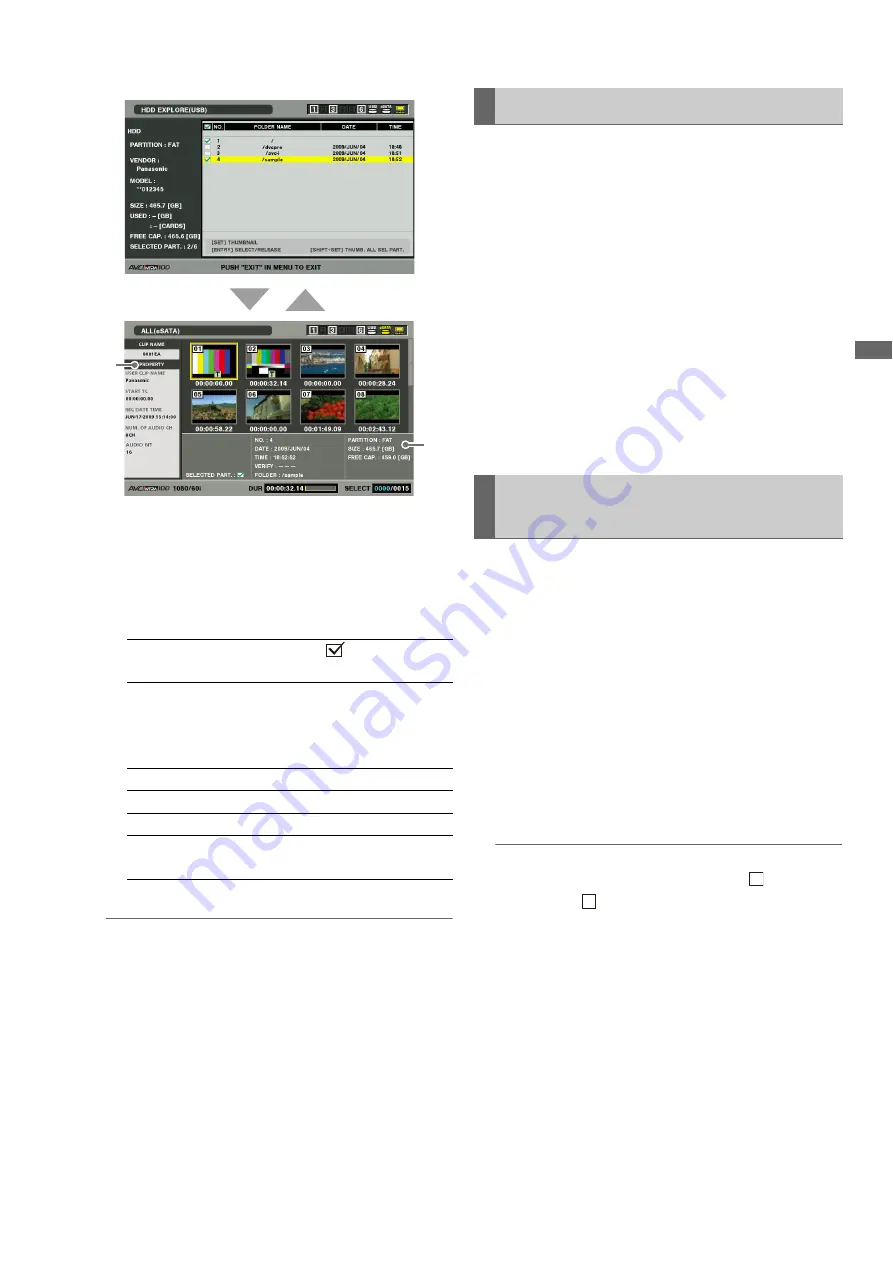
Clip information
Displays clip properties.
➝
Refer to “Thumbnail and Clip Management” (page
49).
2)
Hard disk information
*
1
Date created is not shown for root.
◆
NOTE:
• Press the EXIT button to return to the hard disk explorer screen.
• Use the TRIM +/– buttons to move to thumbnail displays on
previous and subsequent folders without returning to the hard
disk explorer screen.
• Press the ENTRY button to select a displayed folder as a target.
• There is a limit of 1000 clips and clips that exceed this limit will
not be displayed.
Use the steps below to view a variety of metadata on clips
stored on a hard disk. It shows information in the same way as
the P2 card clip property.
1
Move the cursor to a clip in the hard disk thumbnail
screen.
2
Press the MENU button.
3
Use the cursor buttons to choose [PROPERTY] –
[CLIP PROPERTY] and press the SET button.
You can also use the PROP (SHIFT + TC PRESET) button.
➝
For details, refer to “Viewing and Revising Clip
Information” (page 71). (But repairs cannot be made.)
Use the steps below to delete clips that are no longer
necessary on a hard disk.
1
Select a clip to delete in the hard disk thumbnail
screen.
2
Press the MENU button.
3
Use the cursor buttons to choose [OPERATION] –
[DELETE] and press the SET button.
4
Select [YES] and press the SET button.
◆
NOTE:
• It may not be possible to delete clips with the
(bad clip
indicator) and
(unknown clip indicator).
SELECTED
PART.:
A check mark
appears for the
selected folder.
SELECTED
PART. No.:
This indication appears only when
multiple folders are selected and a
list of numbers of selected folders
is displayed.
NUMBER(NO.):
Folder number (1 - )
DATE/TIME:
Folder creation date
FOLDER:
Folder name
*
1
SIZE/FREE
CAP.:
Capacity and remaining capacity
of hard disk space
1)
2)
SET
EXIT
Viewing Hard Disk Clip Information
Deleting Hard Disk Clips (TYPE S
and FAT Formatted Hard Disks)
X
?


