Digital Video Recorder
53
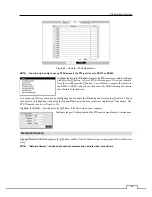
Highlight
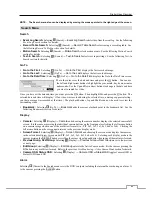
Use Audio Recording
and press the
button to toggle between On and Off. When it is On, the DVR will
record audio from the device when the video from the network device is recording.
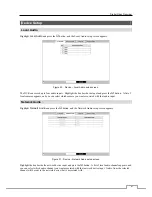
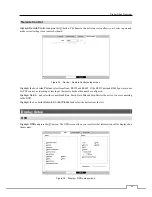
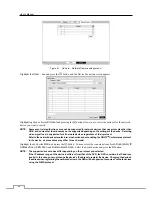
Highlight the
Device Remote Setup
box and press the button. The
Device Remote Setup
screen appears.
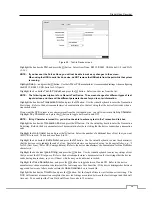
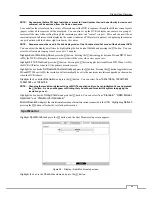
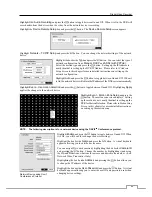
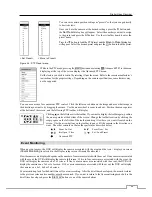
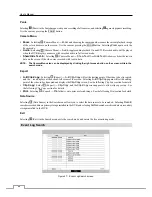
Highlight
Network – TCP/IP Setup
and press the
button. You can change the network settings of the network
device.
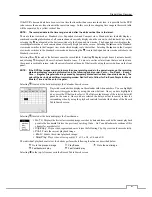
Highlight the box beside
Type
and press the button. You can select the type of
network configuration from:
Manual
,
DHCP
and
ADSL (with PPPoE)
.
Select the desired type and press the button. Setting up the IP Address is
nearly identical to setting up the DVR IP Address. Please refer to
IP Address
Setup Screen
in this chapter for more detailed instructions on setting up the
network configuration
.
Highlight
Auto
and press the
button to toggle between On and Off. When it
is On, the network device will obtain the IP address of the DNS server automatically.
Highlight
Event – Use motion detection
and press the button to toggle between On and Off. Highlighting
Apply
applies the changes to the network device.
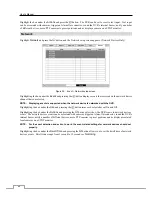
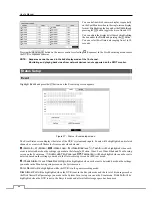
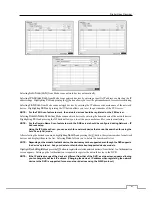
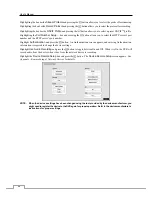
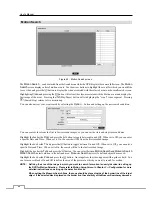
Highlight
Event – Motion Zone Setup
and press the
button. The motion zone screen displays. Setting
up the motion zone is nearly identical to setting up the
DVR for Motion Detection. Please refer to
Motion Setup
Screen
in this chapter for more detailed instructions
on setting up the motion zone
.
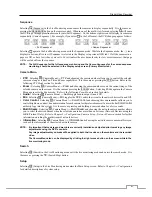
NOTE: The following description is for a network device using the ONVIF
TM
Conformance protocol.
Network Device using Onvif
Conformance Protocol
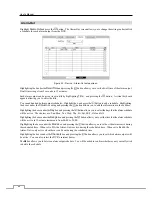
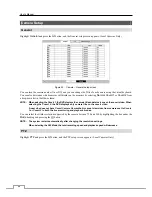
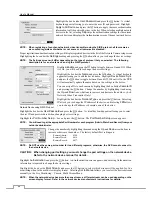
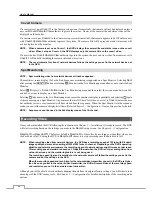
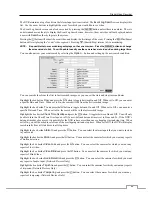
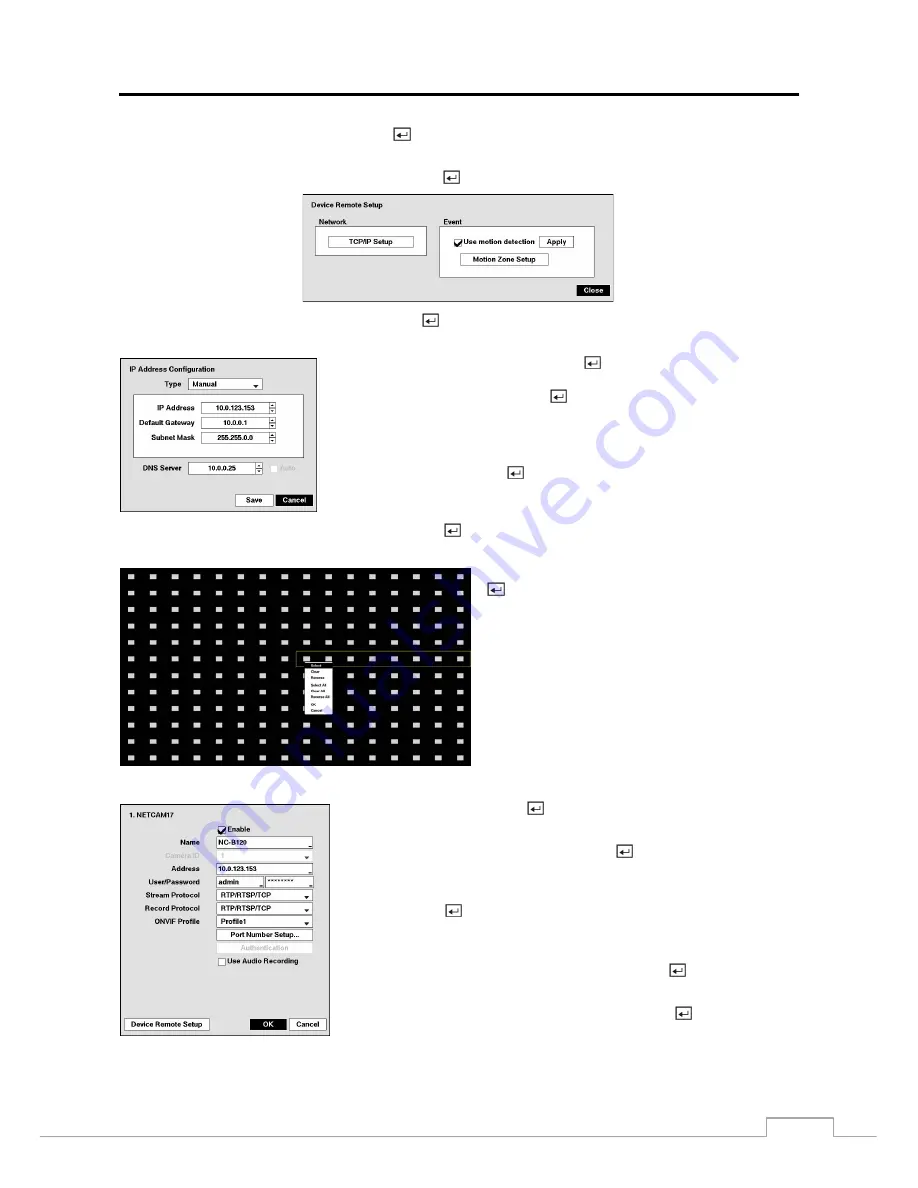
Highlight
Enable
and press the
button to toggle between On and Off. When
it is On, you will be able to change the device settings.
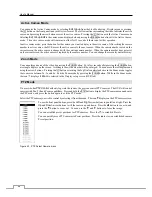
Highlight the box beside
Name
and press the
button. A virtual keyboard
appears allowing you to edit the device name.
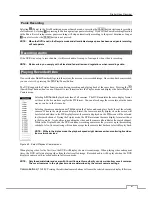
You can assign IDs to each camera by highlighting the box beside
Camera ID
and pressing the button. Change the number by highlighting it and using
the
Up
and
Down
arrow buttons to increase and decrease the number. (4-ch
Network Video Transmitter Only)
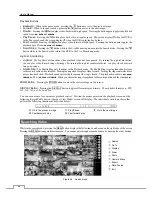
Highlighting the box beside
Address
and pressing the button allows you
to change the IP address of the device.
Highlight the box beside
User
/
Password
and press the
button. A virtual
keyboard appears allowing you to enter the user ID and password used when
changing device settings.

