User’s Manual
50
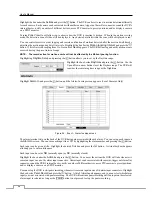
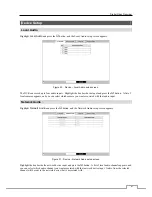
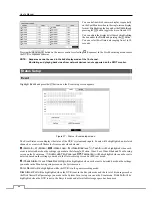
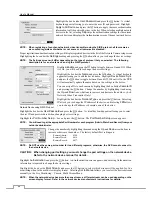
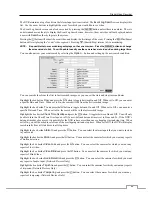
Figure 41 : Camera – Network Camera setup screen.
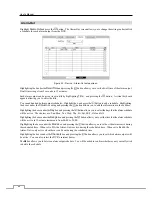
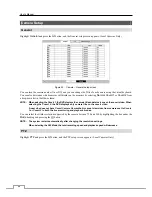
Highlight the
Scan…
box and press the
button, and the Device Scan setup screen appears.
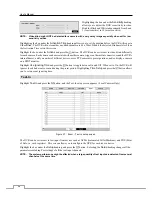
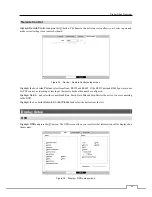
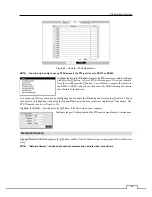
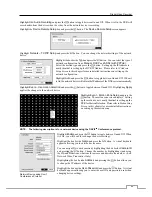
Highlighting the box beside
Protocol
and pressing the button allows you to select the protocol for the network
device you want to search.
NOTE: Some event related functions may not be supported for network devices that use protocols other than
SiRiS
, and some other functions may not be supported depending on the settings of the device. Detecting
video signal loss is supported for all network devices regardless of their protocol.
Refer to the network device manufacturer’s instructions about enabling the ONVIF
TM
Conformance protocol
in the device, as procedures may differ for each model.
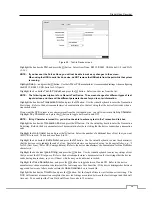
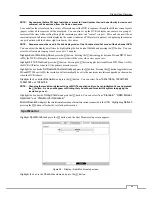
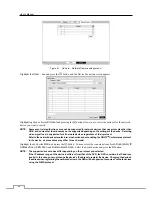
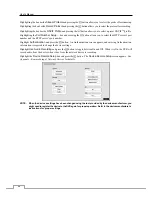
Highlight the box beside
Mode
, and press the
button. You can select the scan mode from:
Auto Scan (LAN)
,
IP
Address Scan
,
FEN Scan
and
Domain Name Scan
. Select the desired mode and press the button.
NOTE: The supported scan modes differ depending on the protocol you selected.
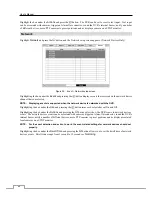
If the IP address range of the device is different from that of the DVR, the DVR considers the IP address
invalid. In this case, you must change the device’s IP address to register the device. Changing the device’s
IP address when registering the network device to the DVR will be supported for some of network devices
using the SiRiS protocol.

