Digital Video Recorder
29
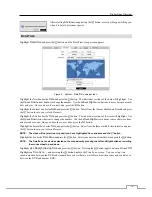
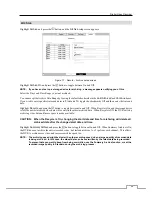
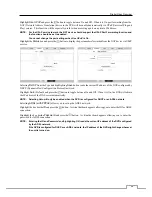
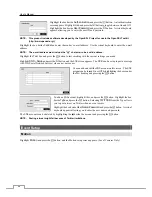
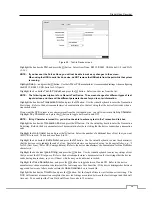
Highlight
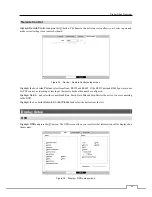
Use UPnP
and press the button to toggle between On and Off. When it is On, port forwarding from the
NAT (Network Address Translation) device to the DVR will be enabled automatically via UPnP (Universal Plug and
Play) service. This function will be especially useful when accessing a port on a private IP address.
NOTE: For the UPnP service to work, the NAT device should support the UPnP Port Forwarding function and
the function should be set to enabled.
You cannot change the port settings when
Use UPnP
is On.
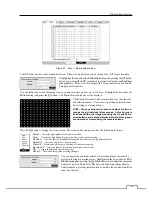
Highlight the
Status
box and press the
button to display the port numbers forwarded from the NAT device via UPnP
service.
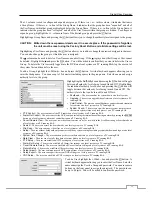
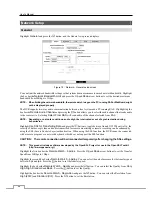
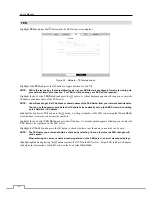
Selecting
DHCP
from the Type and highlighting
Save
button reads the current IP address of the DVR configured by
DHCP (Dynamic Host Configuration Protocol) network.
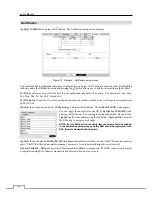
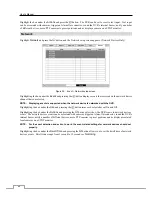
Highlight
Auto
(Default) and press the
button to toggle between On and Off. When it is On, the DVR will obtain
the IP address of the DNS server automatically.
NOTE: Selecting
Auto
will only be enabled when the DVR is configured for DHCP or an ADSL network.
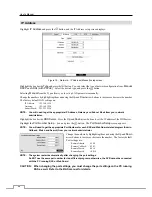
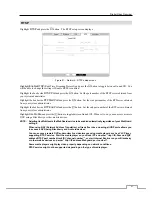
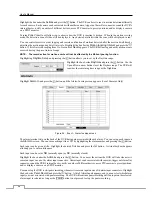
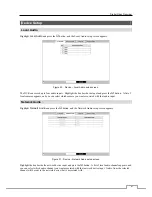
Selecting
ADSL (with PPPoE)
allows you to set up the ADSL network.
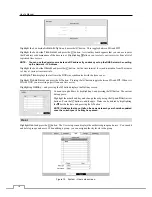
Highlight the box beside
ID
and press the
button. A virtual keyboard appears allowing you to enter the ID for ADSL
connection.
Highlight the box beside
Password
and press the
button. A virtual keyboard appears allowing you to enter the
password for ADSL connection.
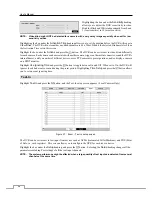
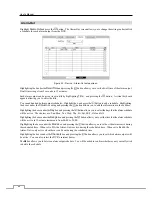
NOTE: Entering
the
ID
and
Password
and highlighting
OK
reads the current IP address of the DVR configured
by the ADSL network.
If the DVR is configured for DHCP or an ADSL network, the IP address of the DVR might change whenever
the unit is turned on.

