


E-023-2-E
3
④
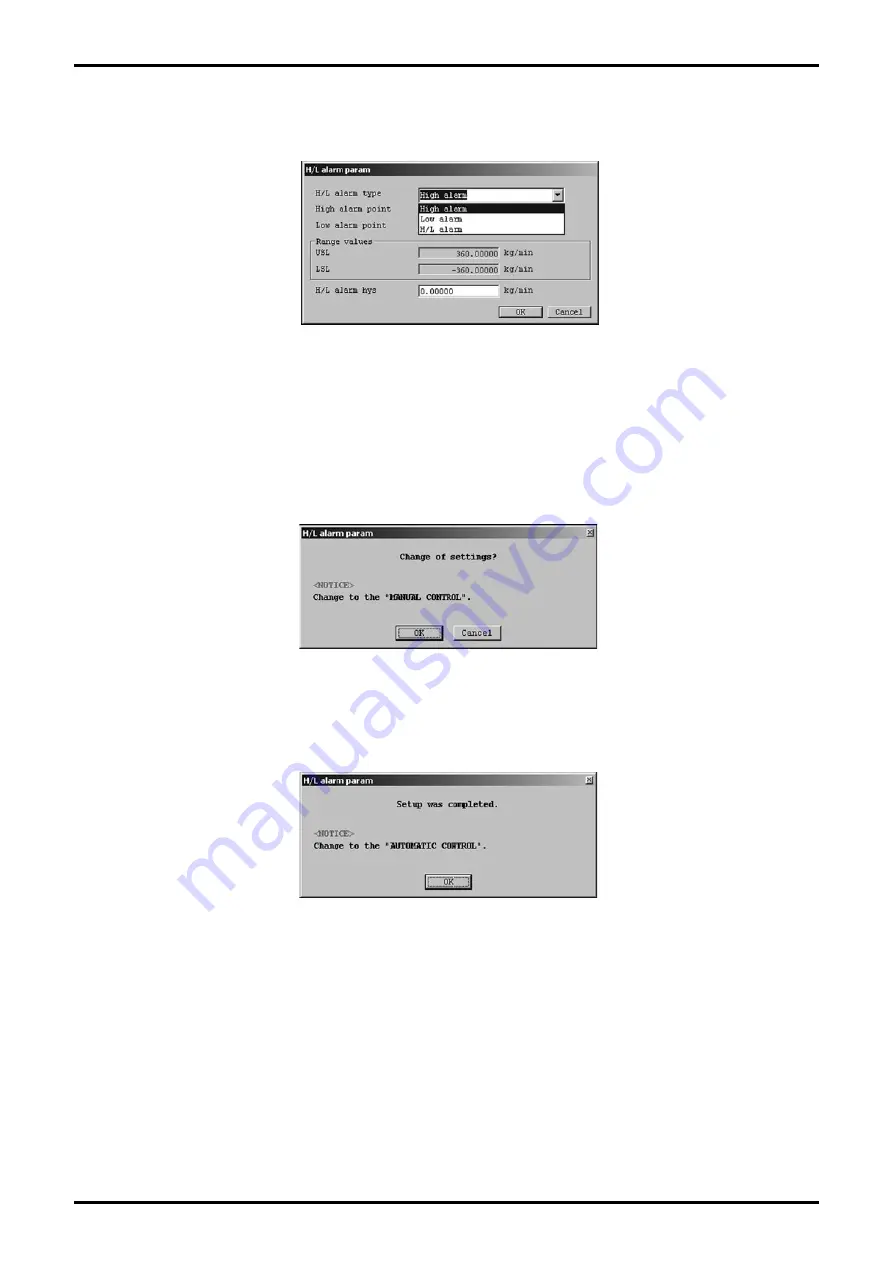
Set each item. For the items with a triangle on the right side, click the triangle to make your selection
from the drop-down list, as shown in Fig. 57. For the other items, directly input a numerical value.
⑤
After all settings are complete, click the "OK" button to display a message box (Fig. 58).
Click "OK" here to change the settings to the inputted values, and to reflect the changed setting values
in the flowmeter
’
s output. For the sake of safety, if the flowmeter
’
s output is used to control valves or
other such parts, then change that control loop to manual control so that the control loop is in a state
whereby it is not influenced by the flowmeter
’
s output.
⑥
Click "OK" to change the settings to the inputted values, and then click the "OK" button in the displayed
message box (Fig. 59) to complete the setting process.
⑦
After the "OK" button is clicked, the item input window will appear again. Click the "Cancel" button to
close the item input window.
To cancel the settings, click the "Cancel" button in any step from
②
to
⑤
.
Fig.57
Fig.58
Fig.59


