


E-023-2-E
2
⑤
Click "OK" to change the settings to the inputted values, and then click the "OK" button in the displayed
message box (Fig. 33) to complete the setting process.
⑥
After the "OK" button is clicked, the item input window will appear again. Click the "Cancel" button to
close the item input window.
To cancel the settings, click the "Cancel" button in any step from
②
to
④
.
3.6.2.3 Analog output 2 setting (Analog output 2)
①
Click the "Setup (S)" menu, and then select and click "Analog output 2" from the "Outputs" drop-down
list.
②
"Analog output 2" can be set by following the same procedures as described in 3.6.2.2 "Analog output
1", steps
②
to
⑤
.
3.6.2.4 Pulse output 1 setting (Pulse output 1)
①
Click the "Setup (S)" menu, and then select and click "Pulse output 1" from the "Outputs" drop-down
list.
②
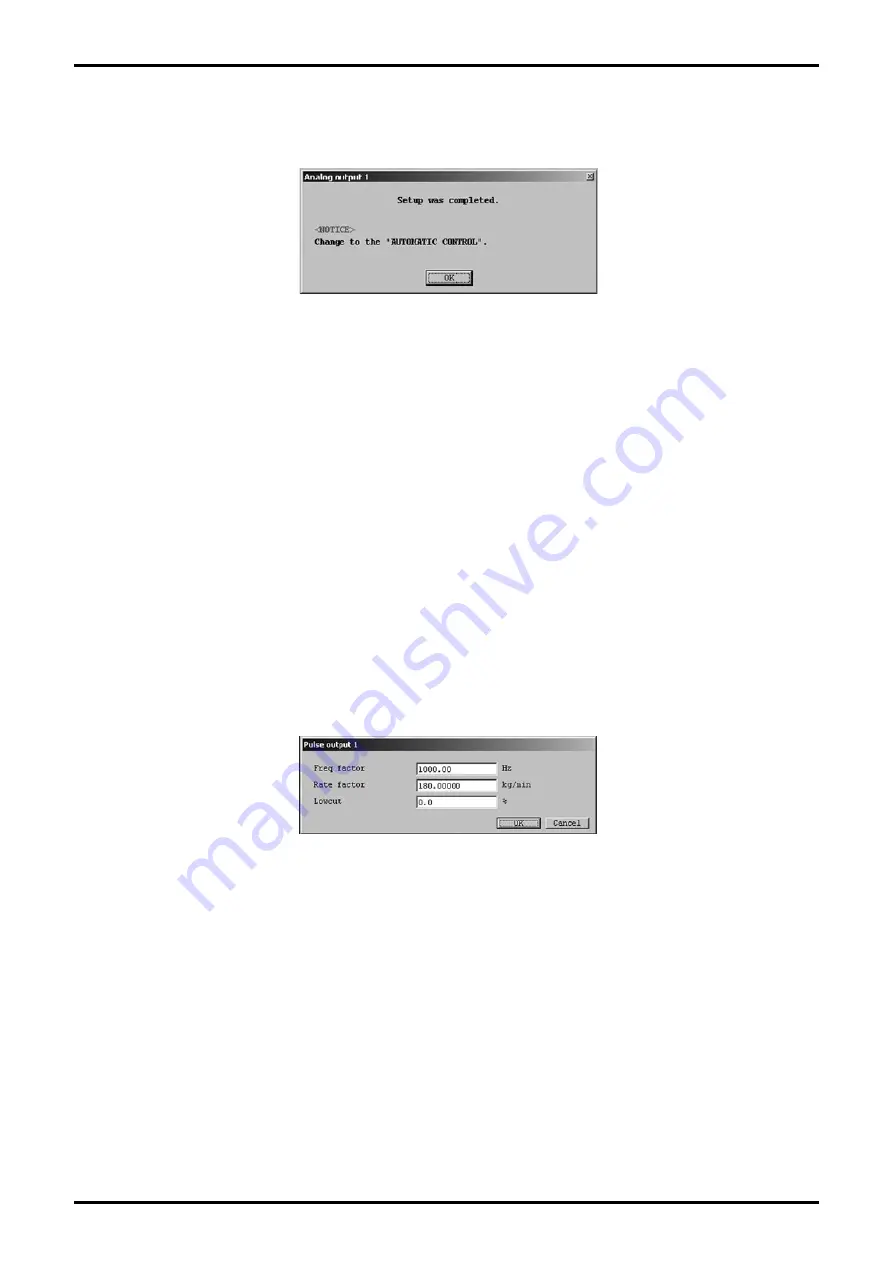
The following window will be displayed (Fig. 34). Set pulse output 1 here.
③
Set each item.
When "Lowcut" is set to "0.0%", the lowcut function is turned off. "0.0%" is the standard setting.
When "Bi direction" is selected, the lowcut function will work in both positive and negative directions.
Fig.33
Fig.34


