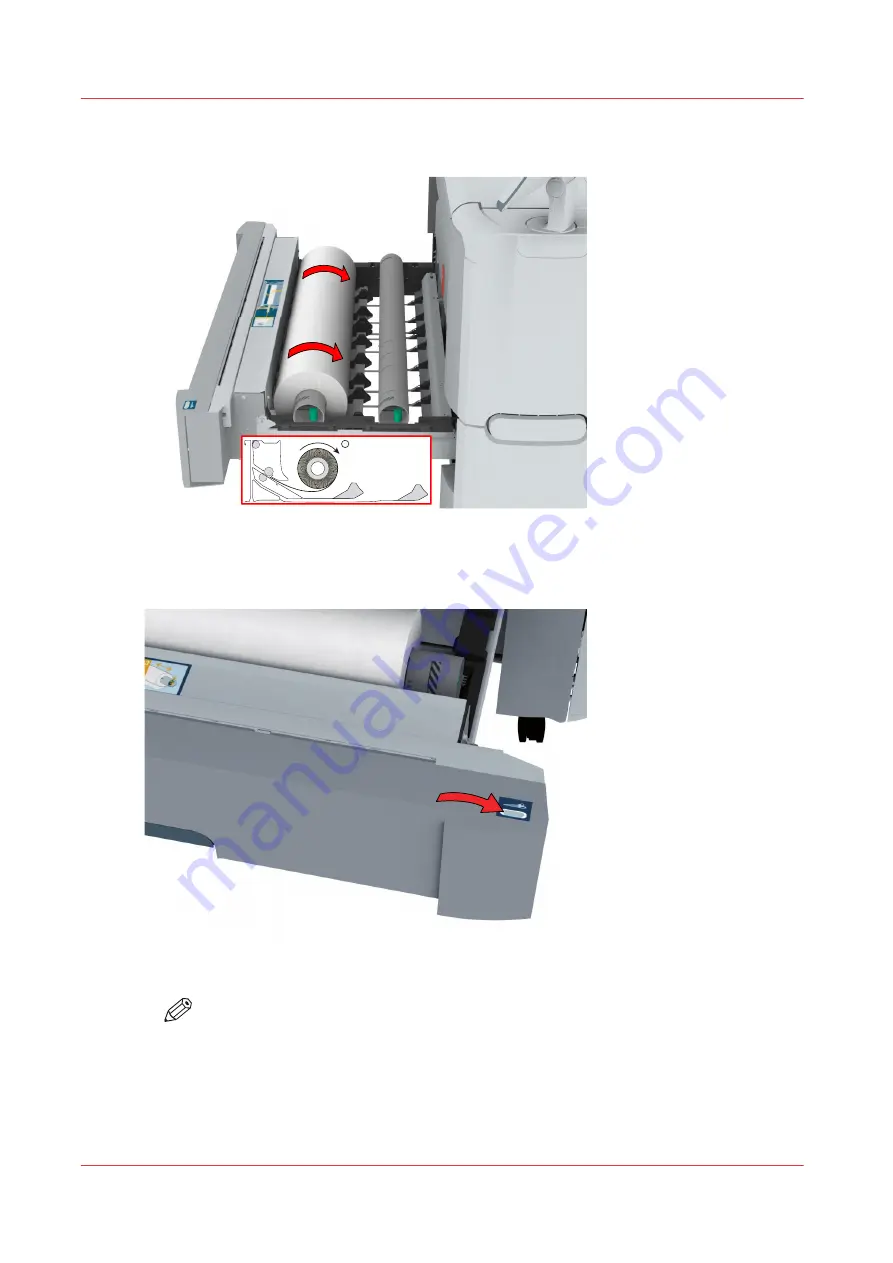
7.
Use both hands to slide the media under the metal paper guide (2) until the media is transported
automatically.
2
8.
If necessary, press the [clean cut button] to trim a strip of the new media roll. Press once for a
strip of approximately 20 cm (7.9 in) or hold the button and release it when the strip has the
desired length.
9.
Close the media drawer.
NOTE
Do not open the media drawer during loading.
10.
The user panel displays the message that new media is detected. Follow the steps in the wizard
to define the correct media type and size if not detected automatically.
Load a media roll (position 1)
232
Chapter 5 - Maintain the Printing System
Содержание plotwave 345
Страница 1: ...Operation guide Oc PlotWave 345 365...
Страница 4: ......
Страница 10: ...Contents 10...
Страница 11: ...Chapter 1 Introduction...
Страница 16: ...Available documentation 16 Chapter 1 Introduction...
Страница 17: ...Chapter 2 Get to Know the Printing System...
Страница 40: ...The cloud 40 Chapter 2 Get to Know the Printing System...
Страница 41: ...Chapter 3 Define your Workflow with Oc Express WebTools...
Страница 136: ...Connect your mobile device to Oc Mobile WebTools 136 Chapter 3 Define your Workflow with Oc Express WebTools...
Страница 137: ...Chapter 4 Use the Printing System...
Страница 208: ...Clear the system 208 Chapter 4 Use the Printing System...
Страница 209: ...Chapter 5 Maintain the Printing System...
Страница 221: ...12 Close the media drawer Move and re adjust the printing system Chapter 5 Maintain the Printing System 221...
Страница 250: ...Calibrate the scanner 250 Chapter 5 Maintain the Printing System...
Страница 251: ...Chapter 6 License Management...
Страница 257: ...Chapter 7 Account Management...
Страница 264: ...Workflow on the printer 264 Chapter 7 Account Management...
Страница 265: ...Chapter 8 Solve Problems...
Страница 279: ...Chapter 9 Support...
Страница 287: ...Chapter 10 Contact...
Страница 299: ......


