


Leave free space on each array for future volumes/expansion
: By default, the volumes will take
up all of the space in the RAID arrays. This setting lets you keep a percentage of the RAID array
space free for additional volumes or expansion of current volumes. Select
0%
,
10%
,
25%
,
50%
, or
75%
.
3. Click
Next
.
The
New Configuration Preview
page is displayed.
4. Ensure that the settings for
Arrays
,
Volumes
,
Pool Spares
, and
Volume Access
are correct.
5. If all settings are acceptable, select the confirmation check box, then click the
Quickstart
button.
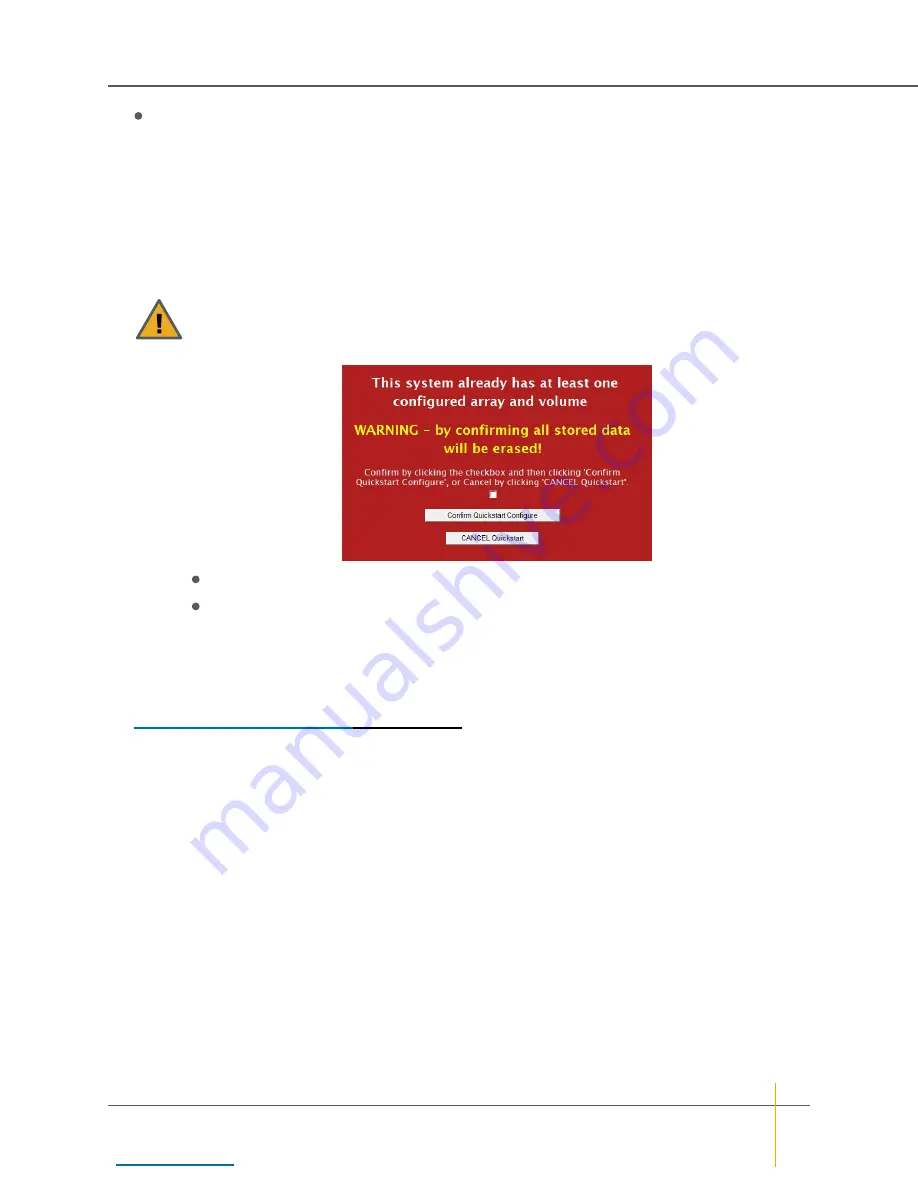
CAUTION
: If any arrays or volumes have already been configured on the unit, the graphical
user interface (GUI) displays the following warning:
Figure 1-18: Data erasure warning
If you wish to continue, click the check box and select
Confirm Quickstart Configure
.
If you do not wish to continue, click
CANCEL Quickstart
.
Note
The Quick Start operation may take as much as several hours to complete, depending on the size
and number of the disk drives in the unit. You can check the progress of the operation by going to
RAID
Information > Progress
.
6. Select
Quick Start > Check List
to return to the
Quick Start Configuration Checklist
. Proceed to
Volume Configuration and Access
Chapter 1: Basic Setup — Set up the system
Nexsan High-Density Storage
User Guide
35