


3. Do one of the following:
Click
Save Configuration
. The settings are saved and are applied after the system is restarted (see
Click
Save and Apply Changes
. The settings are saved and applied immediately.
The
Host Name
list shows the hosts that the unit can see on the network, plus an entry for
Default
host
access. If a host’s name is black, the host is online. If a host’s name is gray, the host is offline. Only the
settings of offline hosts and for
Default
can be changed. The
Host Name
section also contains a field for
manually adding new hosts.
Each entry has an
Allow Access
check box (to allow or deny host access to this system) and an
Advanced
link (for setting host authentication settings; see
below).
►
To change host access:
1. Check or uncheck the
Allow Access
check box to either permit or prevent access to the system from
this host. This box is checked by default.
Note
If at any time you wish to return the
Host Name
section to its initial state, click
Reset
.
2. Click
Apply Settings
.
►
To manually add an iSCSI host:
Note
New hosts are detected automatically by the Nexsan storage system and added to the host list. iSCSI
hosts are detected the first time they attempt to log in to the storage. Hosts may be added manually, but this
is not generally required for normal operation.
1. Enter the host name into the text field. The name should be entered in full “eui” or “iqn” format, exactly as
it is configured on the host.
2. Click the
Add
button.
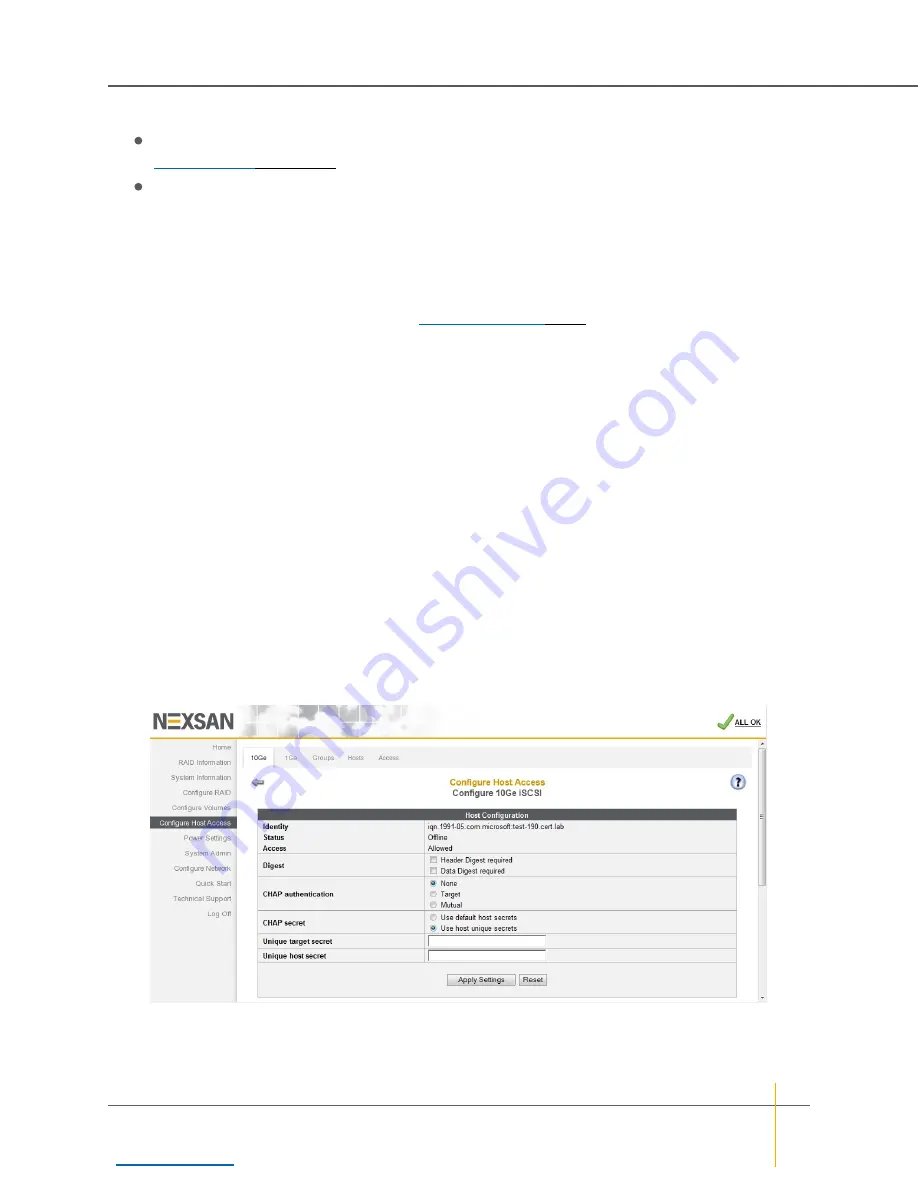
Host authentication
Clicking
Advanced
for an entry in the
Host Name
list takes you to the
Host Configuration
page, which allows
you to set host authentication settings.
Chapter 3: The Graphical User Interface — Configure Host Access
Nexsan High-Density Storage
User Guide
168