User’s Manual
52
NOTE: Event related functions are not supported for network devices that use the
ONVIF
TM
Conformance
protocol,
and some other functions may not be supported depending on the settings of the device.
Refer to the network device manufacture’s instructions about enabling the ONVIF
TM
Conformance protocol
in the device, as procedures may differ for each model.
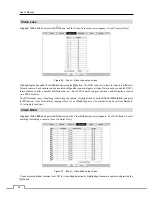
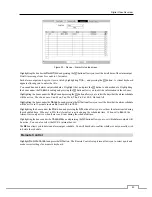
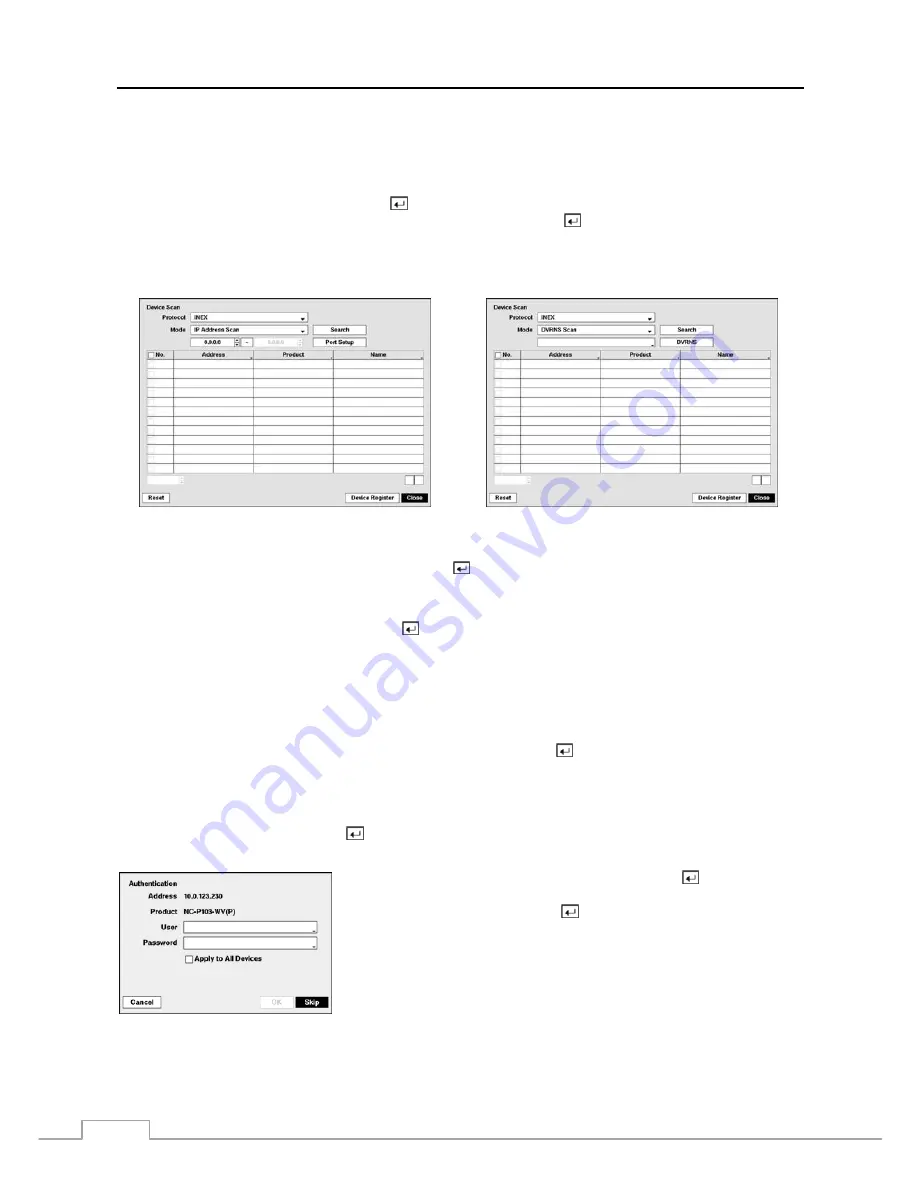
Highlight the box beside
Mode
, and press the
button. You can select the scan mode from:
Auto Scan (LAN)
,
IP
Address Scan
and
DVRNS Scan
. Select the desired mode and press the button.
NOTE: If the IP address range of the device is different from that of the DVR, the DVR considers the IP address
invalid. In this case, you must change the device’s IP address to register the device.
The
DVRNS Scan
mode is not supported when the
ONVIF
TM
Conformance
protocol is selected.
Selecting
Auto Scan (LAN)
from Mode scans network devices automatically.
Selecting
IP Address Scan
from Mode scans network devices by entering a specific IP address or adjusting the IP
address range. Highlighting
Port Setup
and pressing the button allows you to set the port number used for remote
monitoring.
Selecting
DVRNS Scan
from Mode scans network devices by entering the IP address or domain name of the network
device. Highlighting
DVRNS
and pressing the button allows you to set the port number of the DVRNS server.
NOTE: For the DVRNS Scan feature to work, the network device should be registered on the DVRNS server.
You can use the domain name instead of IP address if you set up the DNS Server when setting up the
Network – IP Address.
Using the IP Address Scan, you can search for a network device that cannot be searched for using the
Auto Scan (LAN) mode.
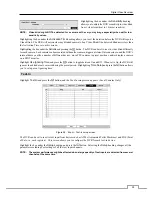
After selecting the desired scan mode, highlighting
Search
and pressing the
button, the system searches for network
devices and displays them in the list. Selecting
Reset
allows you to delete the search results list.
NOTE: Depending on the model of network device, the device may not be supported even though the DVR supports
the device's protocol. Ask your dealer or distributor about supported device models.
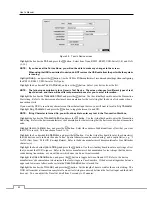
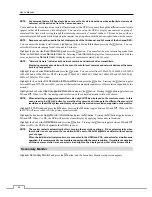
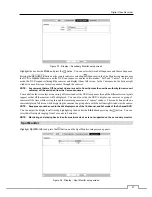
Highlight
Device Register
and press the button to register the selected network device(s) from the list. An Authentication
screen appears. Setting up the Authentication is required to register the network device to the DVR.
Highlight the box beside
User
/
Password
and press the
button. A virtual
keyboard appears allowing you to enter the user ID and password. Highlight
Apply to All Devices
and press the button to apply the same authentication
information to all the network devices in the list. When selecting multiple
network devices in the list, selecting
Skip
skips the authentication settings
for the current network device and displays the Authentication screen of the
next network device.
NOTE: When registering a four-channel network video transmitter using the iNEX protocol, all four cameras are
counted regardless of whether or not some or all cameras are disabled.
Содержание 16-channel models
Страница 1: ......
Страница 2: ......
Страница 16: ...User s Manual 8 ...
Страница 93: ...Digital Video Recorder 85 Map of Screens ...

