Digital Video Recorder
35
Highlight the
iSCSI – Target Port
box and press the button. Use the arrow buttons to enter the port number of
the iSCSI device that you are connecting to the DVR.
Highlight the
iSCSI – Target Nodes
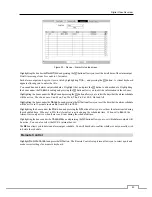
box and press the button, and the Target Nodes screen appears.
Highlight
Discover
and press the button. Proper iSCSI settings will display the list of iSCSI hard disk drives currently
connected to the DVR in the
Target Node Name
list, and selecting a specific device from the list displays its full name
in the
Full Node Name
box. Selecting a desired device and selecting
OK
allows you to use the selected device for
recording.
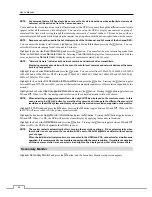
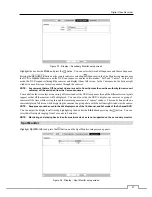
Highlight the box beside
iSCSI – CHAP Authentication
and press the button. An Authentication screen appears.
Highlight
Use
and press the
button to toggle between On and Off.
Highlight the box beside
User
/
Password
and press the
button.
A virtual keyboard appears allowing you to enter the user ID and
password.
NOTE: Setting up the Authentication will be required to access the iSCSI device that uses the CHAP Authentication
function.
The box beside
Session
displays the current connection status between the DVR and iSCSI device.
NOTE: The system restarts automatically after changing the iSCSI settings.
When using an iSCSI device, refer to the device manufacturer’s instructions for proper settings.
Recorded video and audio on an iSCSI device might play properly depending on network conditions.
CAUTION: The iSCSI device should be connected directly to the iSCSI connector on the rear panel
of the DVR.
Event Setup
Motion
Highlight
Motion
and press the
button, and the Motion setup screen appears. (Local Cameras Only)
Содержание 16-channel models
Страница 1: ......
Страница 2: ......
Страница 16: ...User s Manual 8 ...
Страница 93: ...Digital Video Recorder 85 Map of Screens ...


