background image

For more information on this product visit 

www.swann.com

Be protected & see every detail in HD 

• A state of the art & expandable surveillance system with 1080p HD resolution

• Set & forget by recording from 16 cameras for 80 days+ onto a 2TB hard drive

• Add up to 16 x PRO-H855™, H856™ & T800™ series cameras & enjoy High Definition 

recording & playback 

• Save time & have peace of mind by easily locating incident video, then transfer to external 

storage via USB or network

• View live or playback video in high definition on your HDTV, LCD screen or monitor via 

HDMI connection or VGA port

• Connect in minutes using SwannLink ‘Peer-to-Peer’ easy network connection software

• Surveillance in the palm of your hand with live viewing on 3G/4G-enabled Smartphone 

& tablets including iPhone, iPad, Android devices and more* using the free 

SwannView Link app

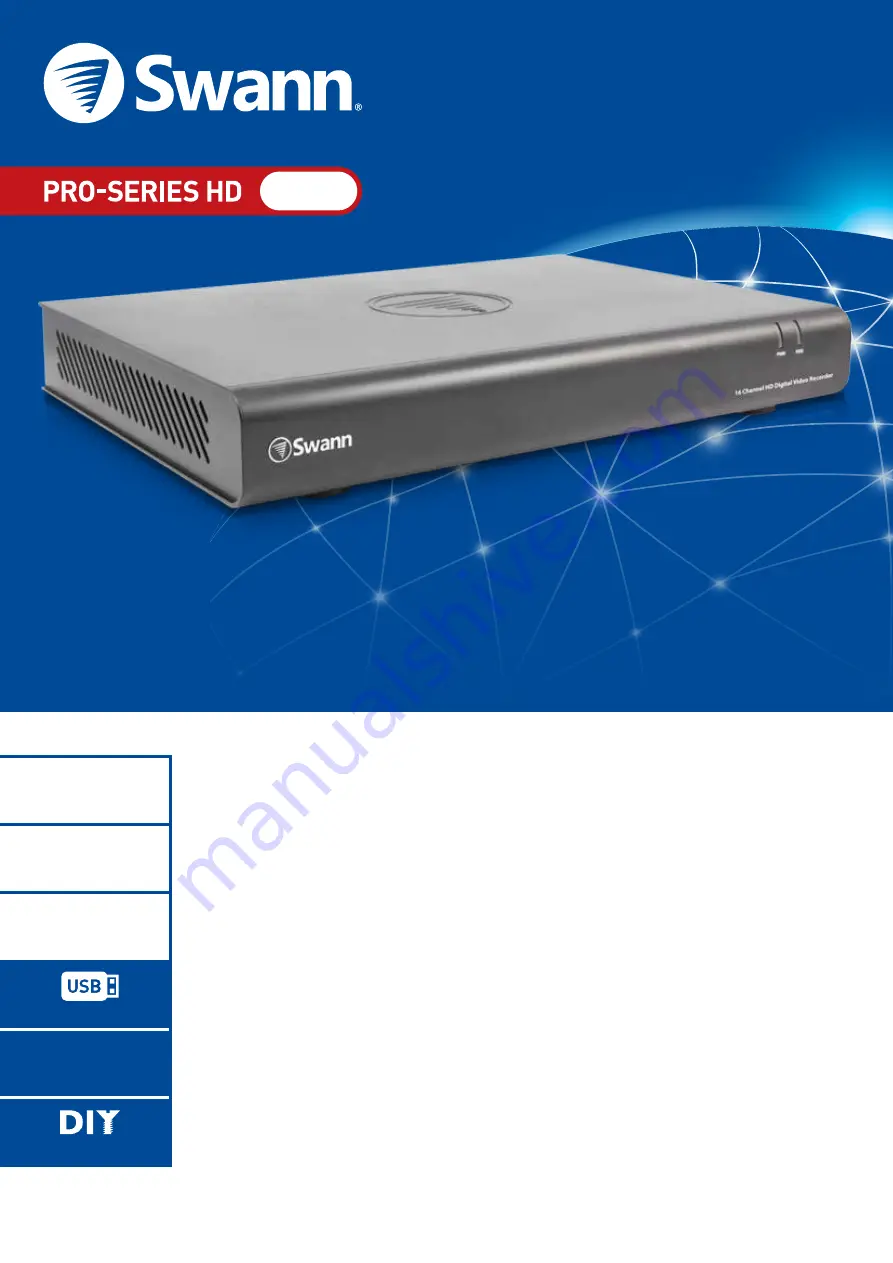
SWDVR-16455H-UK

Professional HD Security Recorder

16 Channel 

Digital Video Recorder

720P

PRO-SERIES HD

Security Made Smarter

16CH

16 CHANNEL VIEWING

HD

LIVE VIEW & RECORDING

2TB

80 DAYS RE

EASY BACKUP

HDMI

CONNECT TO TV/MONITOR

EASY INSTALLATION

1080P

Содержание DVR16-4550

Страница 1: ...B or network View live or playback video in high definition on your HDTV LCD screen or monitor via HDMI connection or VGA port Connect in minutes using SwannLink Peer to Peer easy network connection software Surveillance in the palm of your hand with live viewing on 3G 4G enabled Smartphone tablets including iPhone iPad Android devices and more using the free SwannView Link app SWDVR 16455H UK Pro...

Страница 2: ...curity systems with realistic colors impressive image quality Professional HD Security Recorder 16 Channel Digital Video Recorder TRADITIONAL CCTV CLEARER See more detail with 5x image quality of traditional security systems 1080P HD RESOLUTION Code SWDVR 16455H UK HDMI Port Video In VGA Port Audio Out LAN USB Port Power Input Audio In PTZ Port DVR16 4550 Digital Video Recorder Video Inputs 16 Cha...

Страница 3: ...Security Made Smarter PRO SERIES HD Professional HD Security System Instruction Manual ...

Страница 4: ...ations FCC Regulation for USA Prohibition against eavesdropping Except for the operations of law enforcement officers conducted under lawful authority no person shall use either directly or indirectly a de vice operated pursuant to the provisions of this Part for the purpose of overhearing or recording the private conversations of others unless such use is authorized by all of the parties engaging...

Страница 5: ... Models 13 Alarm Motion 14 Motion Detection 15 Motion Detection Schedule 16 Motion Detection Tips 17 Alarm Video Loss 18 Video Loss Schedule 19 Device PTZ 20 Controlling a PTZ Camera 21 Creating a Preset 22 Creating a Patrol 23 Recording Configuration 24 Recording Encode 25 Recording Option 26 Recording Schedule 27 Playback Backup 28 Search Playback 29 The Playback Interface 30 The Playback Interf...

Страница 6: ...xception 38 Device HDD 39 Display Output 40 Network General 41 Network Advanced 42 System Status 43 Search Log Search 44 Network Status 45 Device S M A R T 46 System System Information 47 Glossary 48 Glossary cont 49 Glossary cont 50 Warranty Information 51 Helpdesk Technical Support 52 Contents cont ...

Страница 7: ... Menu 2 Click to view a single camera 3 Click to view four cameras 4 Click to view eight cameras 5 Click to view nine cameras 6 Click to view the next screen in single or four camera view 7 Click to enable PIP mode 8 Click to manually record the selected camera 9 Click to access the Setup Wiz ard Double click a live video chan nel to view full screen Menu Bar Status Icons Camera Toolbar Click drag...

Страница 8: ...le on your DVR You can also access previously recorded video for playback and to export to a USB storage device such as a flash drive To maintain system integrity a firm ware upgrade can be performed when available and access to the shutdown menu to restart or safely turn off your DVR 6 Back to top ...

Страница 9: ...eal a number of tabs or sub categories that can be changed from their de fault value Some options may have additional menus that can be accessed To exit or access the previous menu right click the mouse To shutdown reboot or lock your DVR click the Shut down button To ensure the integrity of your data and re cordings always select Shut down when powering off ...

Страница 10: ...play Recording Alarm and De vice menus that are accessible from the Menu You can change the reso lution and bitrate settings as well as the image settings for brightness and contrast Your DVR has several con trols for Motion Detection Video Loss and the ability to create one or more privacy masks 8 Back to top ...

Страница 11: ...on to change then click OK when finished Brightness This changes how light the image appears to be Contrast This increases the difference between the blackest black and the whitest white in the image Saturation This alters how much colour is displayed in the image The higher the saturation the more bright and vivid colours will appear Hue This changes the colour mix of the image Mask Click the che...

Страница 12: ...masks Click Save to save your mask or click Cancel to exit Click the Default button to revert back to default settings Use the Copy to button to apply all settings to the other cameras Don t forget to click Apply to save settings Right click the mouse to exit the Menu A privacy mask can be used if you want to ob scure part of your im age for privacy You can also use this option to minimize false t...

Страница 13: ...2048Kbps for Main Stream and 256Kbps for Sub stream Change the Sub stream bitrate if you re having issues streaming to your mobile device or computer By lowering the bitrate you reduce the amount of data that is transmitted but you also lower the video quality if there is a lot of movement Higher Main Stream bitrates will also consume the HDD space faster but can give you higher quality video if t...

Страница 14: ...4096Kbps for Main Stream and 256Kbps for Sub stream Change the Sub stream bitrate if you re having issues streaming to your mobile device or computer By lowering the bitrate you reduce the amount of data that is transmitted but you also lower the video quality if there is a lot of movement Higher Main Stream bitrates will also consume the HDD space faster but can give you higher quality video if t...

Страница 15: ...096Kbps for Main Stream and 256Kbps for Sub stream Change the Sub stream bitrate if you re having issues streaming to your mobile device or computer By lowering the bitrate you reduce the amount of data that is transmitted but you also lower the video quality if there is a lot of movement Higher Main Stream bitrates will also consume the HDD space faster but can give you higher quality video if th...

Страница 16: ...n to enable an audio warning to send an email and to trigger other cameras when motion is detected Click the Default button to revert back to default settings Use the Copy to button to apply all settings to the other cameras Don t forget to click Apply to save settings Right click the mouse to exit the Menu Whether you re waiting for an expected event hoping you don t spot an unwelcome visitor or ...

Страница 17: ...entrance Movement outside of these zones will not be detected 1 Right click the mouse to access the sub menu then click Delete All 2 Click drag to select the area that you want to create a zone for Mul tiple zones can be created The same action also applies if you want to delete a zone that has been created 3 You can adjust the sensitivity level see above if required 4 Right click the mouse to acc...

Страница 18: ... Default button to revert back to default settings Don t forget to click Apply to save settings Click Cancel to exit Right click the mouse to exit the Menu Bydefault aMotionDe tection alarm schedule has been enabled for each connected cam era You can however change the schedule according to what fits in with your needs The schedule is presented as a 24 hour 7 days a week grid and is colour coded t...

Страница 19: ...k door so it s advisable to place the cameras near those areas 4 When installing cameras outside it s important to keep your front and backyard well lit for ideal night vision and the ability to detect motion It s common for intruders to enter a home through an unlocked garage or by using a garage door opener in an unlocked car located in the driveway Avoiding false triggers 1 A flag or foliage th...

Страница 20: ...ning and to send an email Click the Default button to revert back to default settings Use the Copy to button to apply all settings to the other cameras Don t forget to click Apply to save settings Right click the mouse to exit the Menu Video Loss is regarded as a potential alarm event and is consid ered to occur any time your DVR doesn t re ceive an active video signal from any of its video inputs...

Страница 21: ...r 06 00 a m to 06 00 p m Sunday to Saturday Using the mouse click on a particular square or click drag to change a section Click the Default button to revert back to default settings Don t forget to click Apply to save settings Click Cancel to exit Right click the mouse to exit the Menu ...

Страница 22: ...mend using a Swann branded PTZ camera Address 0 255 The command address of the device you want to asso ciate with this channel Click the Default button to revert back to default settings Use the Copy to button to apply all settings to the other cameras Don t forget to click Apply to save settings Right click the mouse to exit the Menu If you have a PTZ cam era connected to your DVR use this menu t...

Страница 23: ...camera is in Patrol mode 3 The ability to zoom into an object and to control the level of focus the Iris controls are not available To access the PTZ menu right click the mouse as seen above 7 Click this to select a different channel 8 Click this to select a different Preset position 9 Click this to select a different Patrol mode 10 4 Click this to access the Preset menu Click here for more infor ...

Страница 24: ...n leave the default name if you wish 4 Click the Set button to save this will change from No to Yes 5 Click OK to exit Repeat the above steps to create multiple Preset positions Make sure you change the Preset slot for each Preset that you want to create Up to 128 different Preset positions can be created Call Select a saved Preset slot then click this to move the camera to the Preset position Cle...

Страница 25: ...that you created then click OK Repeat the above steps to add multiple Preset positions Select a dif ferent Preset slot for each Preset that you want to add Up to 16 Preset positions can be added to the Patrol 4 When finished click the Add button to add each Preset to the Patrol 5 Click the OK button to confirm then right click to exit Start Click this to start a Patrol Clear Select a saved Preset ...

Страница 26: ...ecording menu From here you can access and change the recording schedule for each cam era connected as well as how your DVR will record video to the hard drive You can also enable audio recording if you have a microphone or some other audio device connected to your DVR s audio input 24 Back to top ...

Страница 27: ...here as well so that the stream will also include sound from your microphone that you can hear on your phone or tablet using the app To monitor what is being recorded your DVR s audio output has to be enabled Click here for more information Click the Default button to revert back to default settings Use the Copy to button to apply all settings to the other cameras Don t forget to click Apply to sa...

Страница 28: ...ing will suit most day to day situations but you can change according to your needs Pack Duration This instructs your DVR to split the recording into dis crete units Even though the recording is broken up into separate units your DVR will play it as one continual video The default selection will suit most situations but you can change according to your needs Click the Default button to revert back...

Страница 29: ... Sunday to Saturday Using the mouse you can click on a particular square or section to change or select the de sired recording mode Normal Motion or None then click drag the mouse over the squares corresponding to your desired time period Click the Default button to revert back to default settings Use the Copy to button to apply all settings to the other cameras Don t forget to click Apply to save...

Страница 30: ... ly recorded videos that are stored on your DVR s hard drive You have the choice of playing video that matches your recording schedule manual re cordings or motion events only The Backup function gives you the abili ty to save important events to a USB storage device such as a flash drive 28 Back to top ...

Страница 31: ...s matching your search criteria Click here for more informa tion Detail Clicking this option will give you an overview of video recorded on a particular day for a particular month for each video input on your DVR You can select a different month and day to view Both Normal and Motion Detection recording types are colour coded You can select to play video in 30 minute allotments see above right exa...

Страница 32: ...Multiple points can be created 3 Copy Click this to save to a USB storage de vice such as a flash drive 4 Fast Rewind Click this to play backwards Click a number of times to increase speed 5 Play Click to play 6 Pause Single Frame Pauses playback Sub sequent presses will move a single frame for ward in the video 7 Fast Forwards Speeds up playback Click a number of times to increase speed 8 Slow Fo...

Страница 33: ...ital Zoom The channel will dis play full screen and the zoom controls will ap pear on screen From left to right here are the descriptions for each button Zoom In Click this to zoom into the video Keep clicking to zoom further 6x zoom available Zoom Out Click this to zoom out of the video Region Zoom Click this to zoom into a par ticular section of the video 6x zoom available When zoomed click and ...

Страница 34: ...ct your start date and time End Time Select your end date and time 1 Click Search to display a list of videos matching your search criteria 2 Select a video then click Play You have the choice of selecting one or more cameras for synchronous playback up to 4 channels can be selected for playback at any one time 3 Click OK to play or click Cancel to exit Right click the mouse to exit the Menu ...

Страница 35: ...s click the checkbox next to the CH heading then click the checkbox next to the video that you want to backup 3 You can also click Play to check that the video you have selected is the one that you want to backup 4 Before proceeding connect a USB flash drive to the spare port locat ed at the rear of your DVR 5 Wait a short moment then click Next 6 Select the location that you want to save to then ...

Страница 36: ...VR is configured and how it operates Some of the options such as screen resolu tion email configuration password creation and Daylight Saving Time are configured during the Setup Wizard so they won t be covered in great de tail here You can also perform a firm ware upgrade when available 34 Back to top ...

Страница 37: ...e the system time and date if required Enable Password Enable this for added security when accessing the Menu Auto Lock Time You can change this to alter the time your DVR will exit the Menu when idle Device Name Give your DVR a relevant name Click the Default button to revert back to default settings Don t forget to click Apply to save settings Right click the mouse to exit the Menu The settings ...

Страница 38: ... existing user the Administrator cannot be deleted Modify Modify an existing user s password Click the Permission but ton to modify configuration and operation permissions see above right example The Administrator s permissions cannot be modified Right click the mouse to exit the Menu ...

Страница 39: ...h as a USB flash drive Check for latest version Click this to check if an updated firmware is available using your Internet connection A message will appear on screen informing you if an update is available Click the Upgrade but ton to proceed Default Settings Click this to restore factory default settings Configuration Click this to export or import a configuration file contain ing all the settin...

Страница 40: ... your DVR s internal buzzer Send Email Click the checkbox to send an email notification Click Email Settings if any changes are required to your email account Show Exception Click the checkbox to display a message on screen Click the Default button to revert back to default settings Don t forget to click Apply to save settings Right click the mouse to exit the Menu ...

Страница 41: ...unction before formatting Click here for more information Right click the mouse to exit the Menu Note That as per standard industry practice the usable size of the HDD will be somewhat smaller than the manufacturer s model size As per the above screenshot a 1TB HDD shows around 924GB of usable space This function gives you the option of format ting your DVR s hard drive and it will be list ed here...

Страница 42: ...enus Mouse Sensitivity Increase or decrease the mouse sensitivity Border Adjustment Adjust the top bottom left and right border if nec essary for your HDTV or monitor Audio Click the checkbox to enable audio monitoring in Live View mode Click the Default button to revert back to default settings Don t forget to click Apply to save settings Right click the mouse to exit the Menu ...

Страница 43: ...r Subnet Mask This allows the flow of network traffic between hosts to be segregated based on a network configuration A typical address might be 255 255 255 0 or something similar Default Gateway This allows your DVR to connect to the Internet This is typically the same IP address as your modem or router Auto DNS Static DNS Select how would like to define your DNS servers It s recommended to leave...

Страница 44: ...DVR Server Port This is the port that your DVR will use to send information through The default number will work in most situations HTTP Port This port is used to log into your DVR from a remote location UPNP enable This option allows your DVR and your router to open and close the necessary ports Click the checkbox if required UID This is your DVR s unique UID Click Send UID to send this to your e...

Страница 45: ...for your DVR to function Each action that your DVR performs as well as events detected are logged which you can search and view If you call our help desk for assistance our staff may ask you to access these tabs to assist them in solving any technical issues that you may be having Note DVR8 4X50 screen shown as example 43 Back to top ...

Страница 46: ...ding on the Major Type selected you have various options to choose from Start Time Select your start date and time End Time Select your end date and time Search Click this to commence the search The logs matching your search criteria will be displayed see above right example Clear Log Click this to clear the system logs Right click the mouse to exit the Menu ...

Страница 47: ...Back to top 45 Network Status Displays the current network settings provided by your network Right click the mouse to exit the Menu ...

Страница 48: ...Back to top 46 Device S M A R T Displays technical and performance information about the hard drive selected Right click the mouse to exit the Menu ...

Страница 49: ...Back to top 47 System System Information Displays technical information about your DVR Right click the mouse to exit the Menu Note DVR8 4X50 screen shown as example ...

Страница 50: ...der Auto focus Will adjust the lens of your camera to focus on an object being viewed Bitrate The amount of data that your DVR will use to record video or stream to the app The higher the bitrate the more space each record ing will consume on the hard drive Increasing this will also consume more bandwidth when streaming to apps and software BLC Back Light Compensation Improves exposure of an objec...

Страница 51: ...ame and password Live View Is the default display mode for your DVR Each camera con nected will be displayed on screen MAC Address Is a unique identifier for network devices Can also be used as a super password if you have forgotten your current password Main Stream Is the video feed that your DVR will display and record Mask Is used to obscure part of your image for privacy It can also be used to...

Страница 52: ...n your router Sub Stream Is the video stream that your DVR will send to remote devices via the network or Internet Video quality is reduced to make it easier to send Subnet Mask Is a method that allows one large network to be broken down into several smaller ones Time Server Is a computer or server that reads the actual time from reference clock and distributes the information to its clients on th...

Страница 53: ...f origin The warranty does not cover any incidental accidental or consequential damages arising from the use of or the inability to use this product Any costs associated with the fitting or removal of this product by a tradesman or other person or any other costs associated with its use are the respon sibility of the end user This warranty applies to the original purchaser of the product only and ...

Страница 54: ...Technical Support Technical Support E mail tech swann com Technical Support Website support swann com Telephone Helpdesk USA Toll Free 1 800 627 2799 USA Parts Warranty 1 800 627 2799 M F 9am 5pm US PT AUSTRALIA 1800 788 210 NEW ZEALAND Toll Free 0800 479 266 UK 0808 168 9031 Back to top ...

Отзывы: