CHAPTER
4
BenchMike Pro Instruction Handbook: Setup
4-1
4 Setup
Your instrument was carefully inspected electrically and mechanically prior to shipment. It should be free of sur-
face mars and scratches, and it should be in perfect working order upon receipt. If any indication of damage is
found, file a claim with the carrier immediately, prior to using the instrument. If no damage is apparent, proceed by
using this manual to install and setup this instrument.
4.1
Setting Up the BenchMike Pro
4.1.1
Turning Power On
When the BenchMike Pro is turned on, the last saved display settings are shown and the last selected library is
used. If the BenchMike Pro has been set to Lock, a password is required to perform setup operations. When
shipped from the factory, the BenchMike Pro is not locked.
4.1.2
Using the Three Data Buttons
The three data buttons on the right of the touch screen are used to perform three common functions:
Go/Stop
to start or stop performing measurements,
Send Data
to send data via the serial port, and
Clear Data
to erase all accumulated data. These three buttons can be customized to perform different
functions.
4.1.3
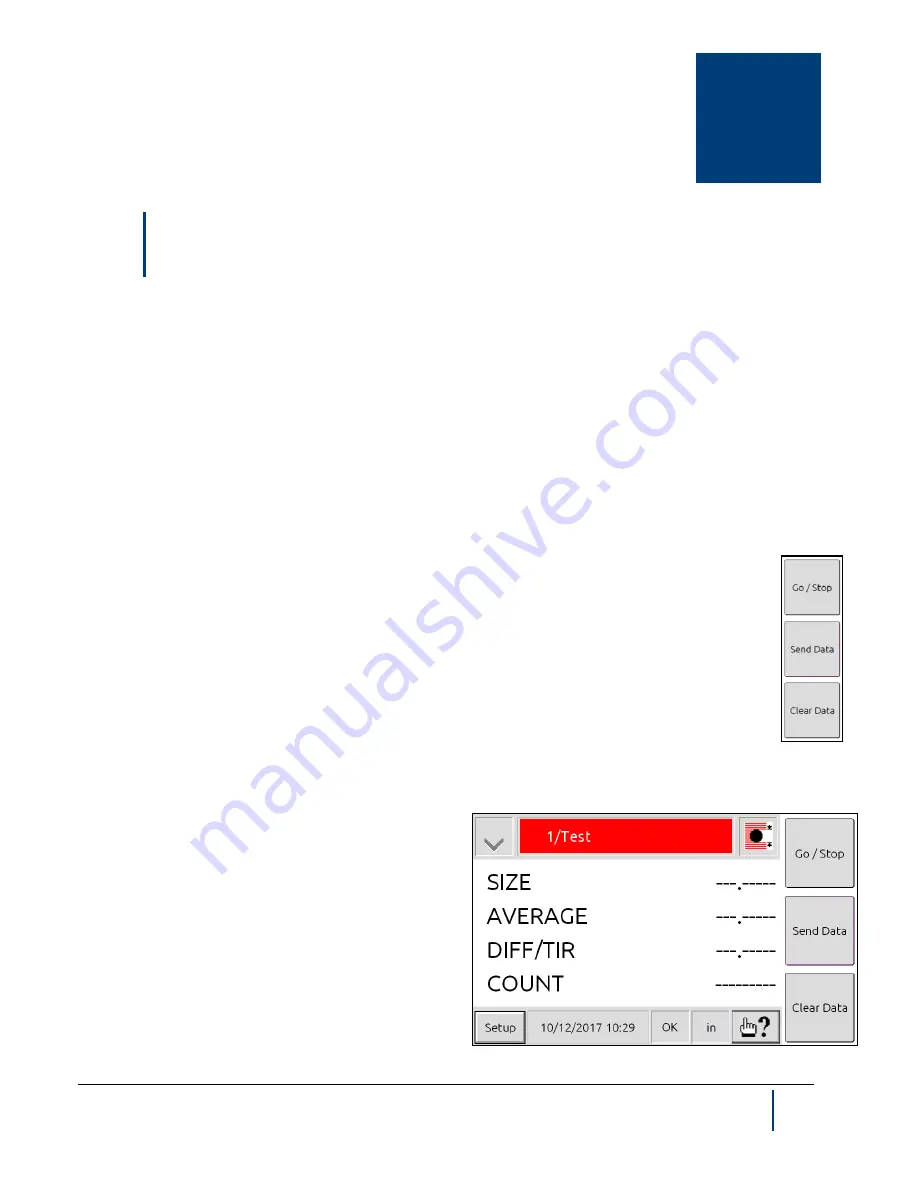
Touch Screen Layout
When the BenchMike Pro is turned on, the main measurement display will appear. In addition to dis-
playing your measurements, this page provides access to menus used to configure the BenchMike Pro and dis-
plays general information, such as the presence or ab-
sence of error conditions.
The bar along the top of the touch screen has four icons.
Touch the
Mode
icon on the top left to clear data, begin
measurements, print, and perform other functions. The
Title
is in the center and can be changed to match the
name of the product being measured or any other de-
sired title The
Feature
icon allows you to change the
active feature and/or display graphs of measured val-
ues. The
Measurement
icon allows you to change the
type of measurements being taken. This icon indicates
the measurement type currently selected.
Содержание BenchMike Pro 2025
Страница 4: ......
Страница 14: ......
Страница 22: ......
Страница 40: ...2 18 BenchMike Pro Instruction Handbook Installation 11 Select a Make of Raw then select Add printer ...
Страница 44: ...2 22 BenchMike Pro Instruction Handbook Installation 20 Verify the report ...
Страница 50: ...2 28 BenchMike Pro Instruction Handbook Installation 10 Choose the Raw Make then click Continue ...
Страница 51: ...BenchMike Pro Instruction Handbook Installation 2 29 11 Choose the Raw Queue en Model then click Add Printer ...
Страница 112: ......
Страница 150: ......
Страница 156: ......
Страница 160: ...BenchMike Pro Instruction Handbook Index Units 4 25 Universal Slide Fixture 3 3 Ventilation Requirements 2 1 ...


