BenchMike Pro Instruction Handbook: Setup
4-39
The
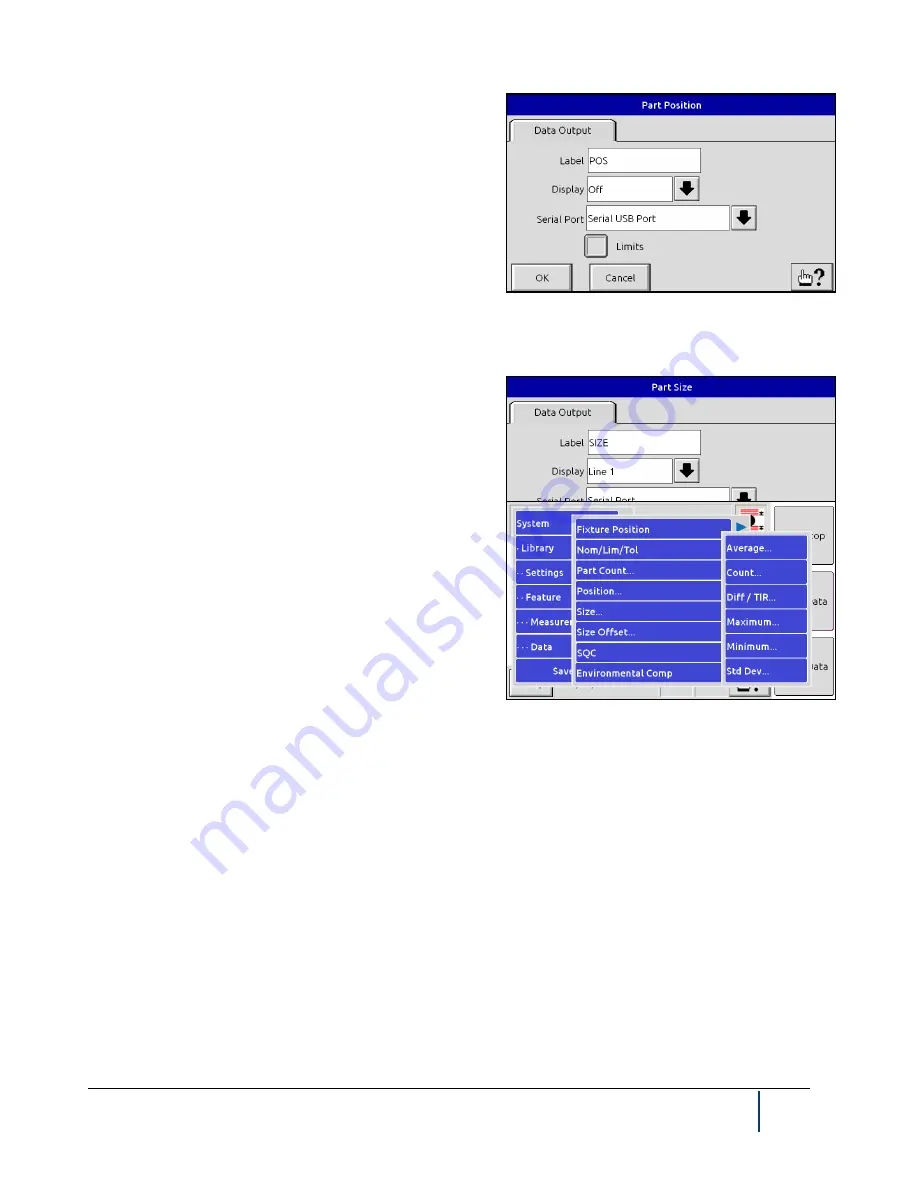
Part Position
displays the vertical part position. Part Po-
sition is the position of the part relative to the vertical center of
the scan. A positive value indicates that the part is above the
centerline, and a negative value indicates that the part is be-
low the centerline. Use this page to alter the title of this value
to something meaningful and relevant to your application, to
display or not display the position on the main measurement
display, and to transmit this value via the serial output port(s).
By default, the first line of data on the main measurement
display contains the
Part Size
(diameter measurement). This label can be changed from SIZE to any other alpha-
numeric character string by touching the SIZE box on this screen. This measurement can be moved to another
line or removed from the display. The Size value can also be
transmitted via the Serial Output port.
NOTE: With the Serial Output drop-down box, you can trans-
mit these data items via the serial or Ethernet port. To set up
for data transmission, see Settings -Serial Output Format and
System-Communication Ports for details.
Selecting the
SQC
command from the
Data
menu causes this
menu to be displayed.
These SQC values are computed:
•
Average
is the average Size reading, as computed
since the
last time data was cleared.
•
Count
is number of readings that have currently been
accumulated.
•
Maximum
is the largest Size reading detected since data was last cleared.
•
Minimum
is the smallest Size reading detected since data was last
cleared.
•
Diff/TIR
is difference between the Maximum value and the Minimum
value.
•
Standard Deviation
is the standard deviation of the mean from the Nominal.
•
Batch
is the group of readings used to compute the above SQC values.
Содержание BenchMike Pro 2025
Страница 4: ......
Страница 14: ......
Страница 22: ......
Страница 40: ...2 18 BenchMike Pro Instruction Handbook Installation 11 Select a Make of Raw then select Add printer ...
Страница 44: ...2 22 BenchMike Pro Instruction Handbook Installation 20 Verify the report ...
Страница 50: ...2 28 BenchMike Pro Instruction Handbook Installation 10 Choose the Raw Make then click Continue ...
Страница 51: ...BenchMike Pro Instruction Handbook Installation 2 29 11 Choose the Raw Queue en Model then click Add Printer ...
Страница 112: ......
Страница 150: ......
Страница 156: ......
Страница 160: ...BenchMike Pro Instruction Handbook Index Units 4 25 Universal Slide Fixture 3 3 Ventilation Requirements 2 1 ...


