6-6 Software Upgrade and Maintenance
6.4.1.1
Back up the Preset Data
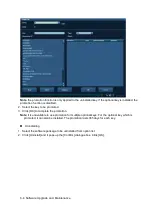
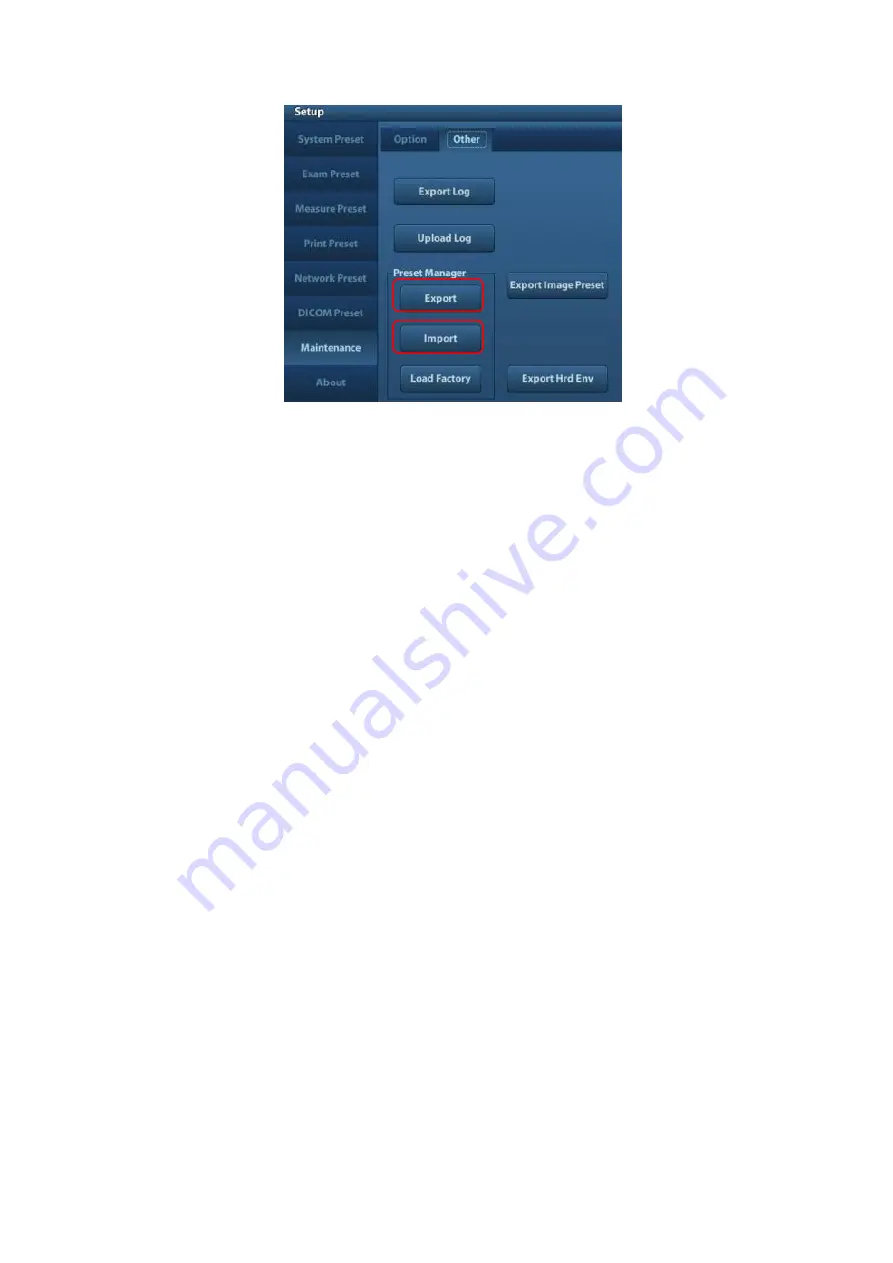
1. On Manage Settings page, Click [Export] to open the [Export Data] dialogue box.
2. Select the path to save data.
3. Click [OK], a progress bar will appear and the preset data of the selected items will be exported
to the specified path.
6.4.1.2
Restore the Preset Data
1. On Manage Settings page, Click [Import] to open the [Import Data] dialogue box.
2. Select the path of the preset data.
3. Click [OK], a progress bar will appear and the preset data will be imported to the specified path.
Note: If selecting [Load factory]
,
it will restore the system to the factory setting, but the
[Region],[Admin] , [Network Preset] and [DICOM Preset] cannot be restored.
6.4.2
Patient Data Backup and Restore
6.4.2.1
Patient Data Backup
1. Press [iStation] on the control panel to open the iStation dialogue box.
2. Click [Select All] to select all the data or select the target data one by one.
3. Select the data, click [Backup] to pop up the Backup patient Record dialogue box, select the
target storage device (recorder or USB disk), click [Backup], the data will be backed up.
6.4.2.2
Restore Patient Data
1. Press [iStation] on the control panel to open the iStation dialogue box;
2. Select the drive which contains the patient data, click [Select All] to select all the data or select
the target data one by one, and click [Restore] to restore the patient data from the current drive
to the patient database.
Содержание Z6
Страница 2: ......
Страница 14: ......
Страница 16: ...2 2 Product Specifications Left side 9 4 7 5 6 8 ...
Страница 72: ......
Страница 119: ...Structure and Assembly Disassembly 7 35 图 7 59 Disassembly of Speaker 8 ...
Страница 120: ......
Страница 132: ......
Страница 142: ......
Страница 152: ......
Страница 168: ......
Страница 171: ...Phantom Usage Illustration B 3 ...
Страница 172: ......
Страница 173: ...P N 046 010452 00 5 0 ...

